メインコンテンツにスキップ

Ematic Genesis Screen Replacement

必要な工具と部品

  1. Ematic Genesis Screen Replacement, Ematic Genesis Casing: 手順 1、 3の画像 1 Ematic Genesis Screen Replacement, Ematic Genesis Casing: 手順 1、 3の画像 2 Ematic Genesis Screen Replacement, Ematic Genesis Casing: 手順 1、 3の画像 3
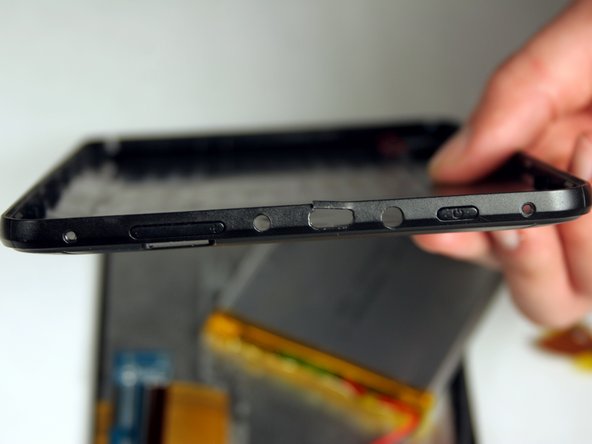
    • Unscrew the two (2) 1.3mm Phillips #00 screws found on the bottom edge of the tablet, where the power and volume buttons are located.

  2. Ematic Genesis Screen Replacement: 手順 2、 3の画像 1 Ematic Genesis Screen Replacement: 手順 2、 3の画像 2 Ematic Genesis Screen Replacement: 手順 2、 3の画像 3
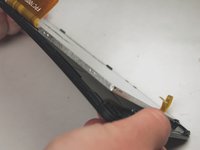
    • Insert plastic opening tool into the edge between the screen plate and the back plate to create a separation between the casings.

    • Insert the flat end of the spudger next to the plastic opening tool and carefully pry the edges apart. Continue this all around the edges until the casings separate.

    • There may be cracking sounds when prying them apart. If carefully done, this is only the locks coming apart and is not harmful.

    • Be careful when separating the two plates as they are connected by the speaker wires and could be disconnected during this process.

  3. Ematic Genesis Screen Replacement: 手順 3、 1の画像 1
    • Remove back plate from screen plate and lay both down flat next to each other.

    • Be careful when separating the two plates as they are connected by the speaker wires and could be disconnected during this process.

  4. Ematic Genesis Screen Replacement, Battery: 手順 4、 3の画像 1 Ematic Genesis Screen Replacement, Battery: 手順 4、 3の画像 2 Ematic Genesis Screen Replacement, Battery: 手順 4、 3の画像 3
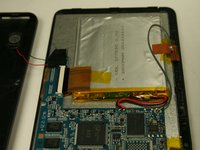
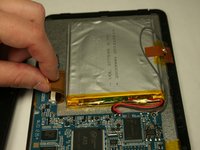
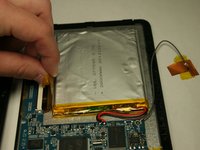
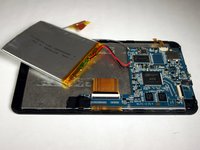
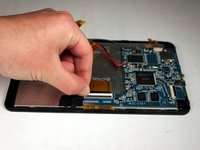
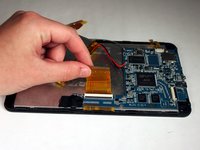
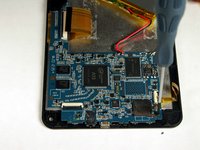
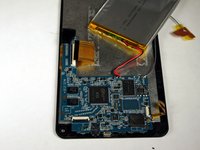
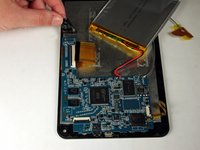
    • Lift up the two pieces of tape holding the copper plate and the connector ribbon to the battery. Gently hold or place away from the battery.

  5. Ematic Genesis Screen Replacement: 手順 5、 3の画像 1 Ematic Genesis Screen Replacement: 手順 5、 3の画像 2 Ematic Genesis Screen Replacement: 手順 5、 3の画像 3
    この手順で使用する道具:
    Plastic Cards
    $2.99
    購入する
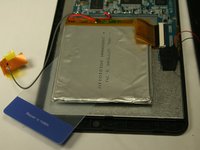
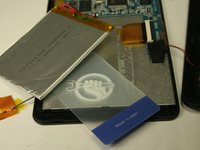
    • Using a plastic card, gently break the adhesive that holds the battery to the metal screen plate.

    • The battery is very bendable. Although it may not be working, there are still dangerous contents inside batteries.

  6. Ematic Genesis Screen Replacement: 手順 6、 1の画像 1
    • If replacing the battery, disconnect the wires that connect the battery to the motherboard.

    • If not replacing the battery, do NOT disconnect the wires.

    • To reconnect the new battery, a soldering kit will be necessary. Use the iFixit soldering guide to gain further information on how to complete this step.

    • はんだ付けとはんだ除去の作業ガイド

  7. Ematic Genesis Screen Replacement, Camera: 手順 7、 2の画像 1 Ematic Genesis Screen Replacement, Camera: 手順 7、 2の画像 2
    • Once the panels are separated, remove the tape holding down the ribbon connector that is connecting the camera to the motherboard.

  8. Ematic Genesis Screen Replacement: 手順 8、 2の画像 1 Ematic Genesis Screen Replacement: 手順 8、 2の画像 2
    • Lift up the black lever of the connector that holds the camera ribbon in place.

  9. Ematic Genesis Screen Replacement: 手順 9、 2の画像 1 Ematic Genesis Screen Replacement: 手順 9、 2の画像 2
    • Gently pull the ribbon out of the connector and lift the camera out of the casing.

    • There is adhesive holding the camera in the case. Pull up strong enough to separate the camera from the casing without damaging the components.

  10. Ematic Genesis Screen Replacement, Button: 手順 10、 3の画像 1 Ematic Genesis Screen Replacement, Button: 手順 10、 3の画像 2 Ematic Genesis Screen Replacement, Button: 手順 10、 3の画像 3
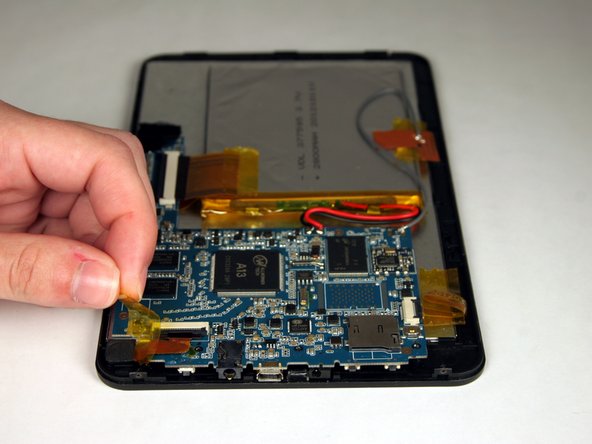
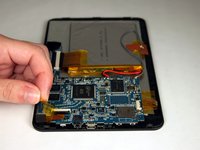
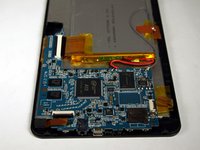
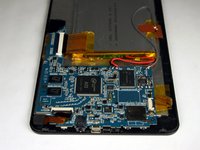
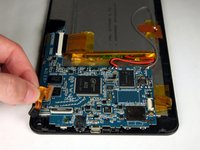
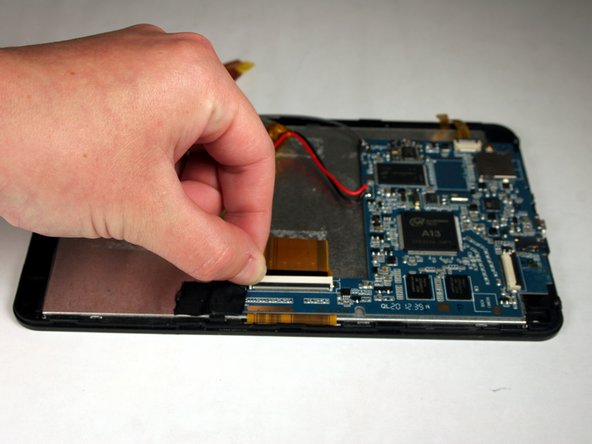
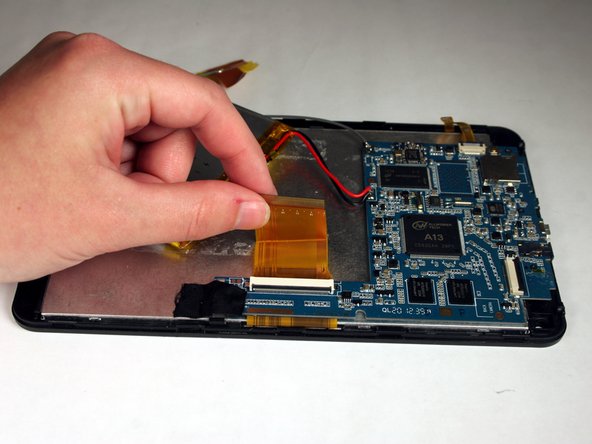
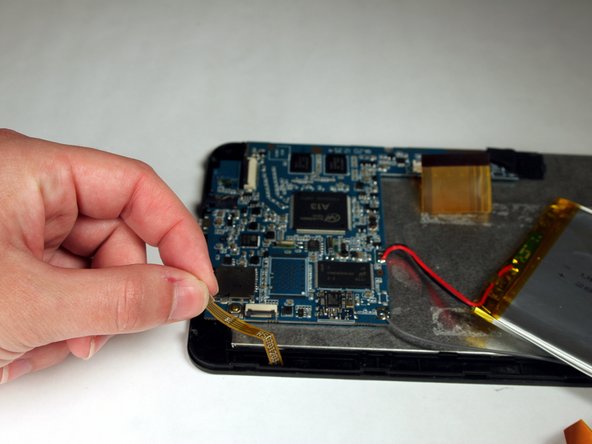
    • Once battery is removed, flip up the black lever of the connector that is holding the wide ribbon in place for the screen. Remove the ribbon from the connector.

  11. Ematic Genesis Screen Replacement: 手順 11、 3の画像 1 Ematic Genesis Screen Replacement: 手順 11、 3の画像 2 Ematic Genesis Screen Replacement: 手順 11、 3の画像 3
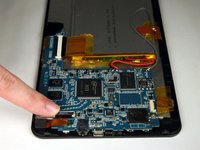
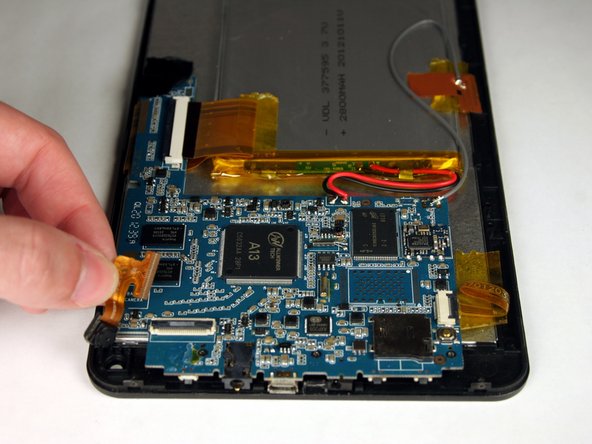
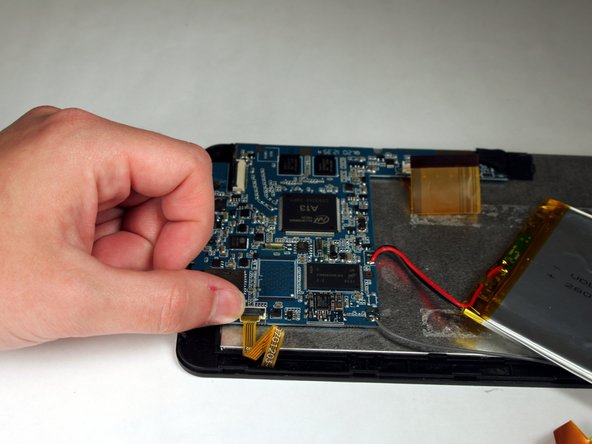
    • Rotate the tablet 180 degrees and flip up the black lever of the connector holding the small, yellow ribbon. Remove ribbon from the connector.

  12. Ematic Genesis Screen Replacement: 手順 12、 3の画像 1 Ematic Genesis Screen Replacement: 手順 12、 3の画像 2 Ematic Genesis Screen Replacement: 手順 12、 3の画像 3
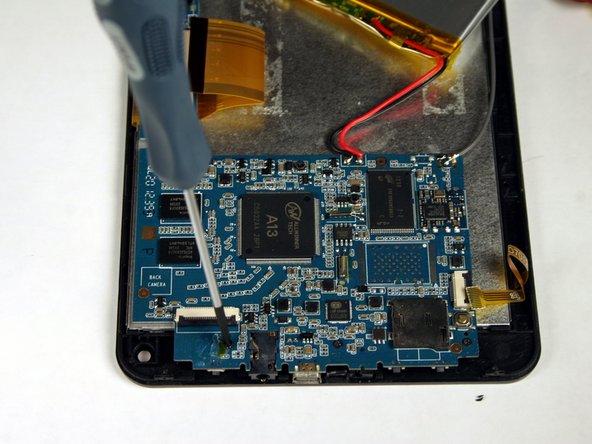
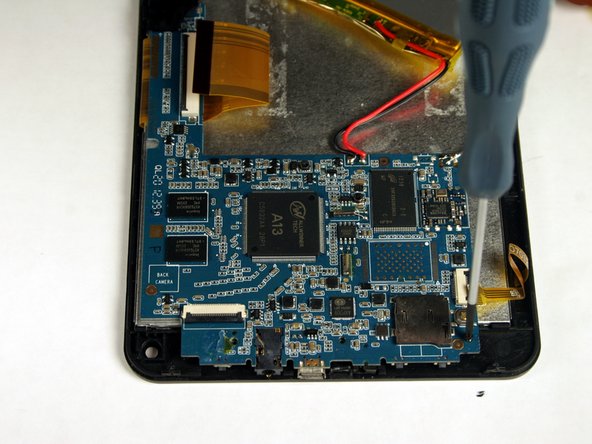
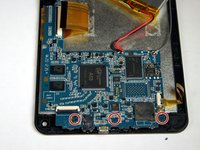
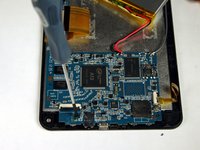
    • Rotate the tablet 90 degrees and remove the three (3) 1.3 mm Phillips #00 screws that hold the motherboard in place.

  13. Ematic Genesis Screen Replacement: 手順 13、 2の画像 1 Ematic Genesis Screen Replacement: 手順 13、 2の画像 2
    • Lift up the tape that covers the speaker wires and holds the motherboard in place.

    • This picture does not show speaker wires attached. These do NOT have to be disconnected for this.

    • Be careful not to disconnect the speaker wires from the motherboard. Otherwise, they will need to be soldered back on.

  14. Ematic Genesis Screen Replacement: 手順 14、 2の画像 1 Ematic Genesis Screen Replacement: 手順 14、 2の画像 2
    • With the motherboard detached from the screen plate, there is now access to the electrical components under the motherboard and the mechanical button components on the back plate.

  15. Ematic Genesis Screen Replacement, Screen: 手順 15、 2の画像 1 Ematic Genesis Screen Replacement, Screen: 手順 15、 2の画像 2
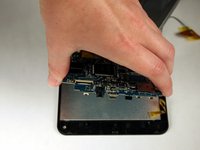
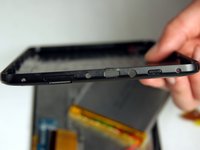
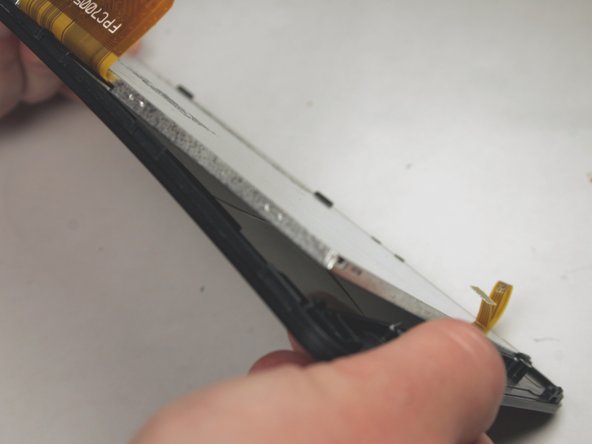
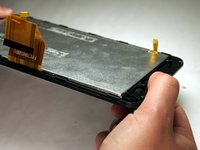
    • Once the battery and motherboard have been removed, gently bend the screen plate to pop out the metal digitizer that sits on the glass and plastic screen.

    • Be careful when bending as glass could break.

終わりに

To reassemble your device, follow these instructions in reverse order.

ある他の人がこのガイドを完成しました。

作成者

3人の作成者と共同で作成されました。

Justin Rohrman

メンバー登録日: 03/23/15

745 ポイント

6のガイドは作成済み

チーム

Baylor, Team 4-3, Williams Spring 2015 Baylor, Team 4-3, Williams Spring 2015人のメンバー

BU-WILLIAMS-S15S4G3

3 メンバー

12のガイドは作成済み

0 件のコメント

コメントを追加

統計データ:

過去 24時間: 0

過去 7 日: 0

過去 30 日: 1

今までの合計 1,144