メインコンテンツにスキップ

Ematic FunTab 3 Speaker Replacement

必要な工具と部品

  1. Ematic FunTab 3 Speaker Replacement, Back Panel: 手順 1、 3の画像 1 Ematic FunTab 3 Speaker Replacement, Back Panel: 手順 1、 3の画像 2 Ematic FunTab 3 Speaker Replacement, Back Panel: 手順 1、 3の画像 3
    • Turn off the device before starting

    • To prevent damage, open the device on the side without the buttons.

    • Insert the hooked end of the plastic opening tool in the gap between the screen and the back panel on the edge of the device.

    • Slide the plastic opening tool down the long side of the device.

    • Insert tool again and slide it down the long slide of the case a second time.

  2. Ematic FunTab 3 Speaker Replacement: 手順 2、 1の画像 1
    • Pull the back panel away from the screen.

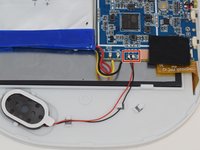
  3. Ematic FunTab 3 Speaker Replacement, Speaker: 手順 3、 2の画像 1 Ematic FunTab 3 Speaker Replacement, Speaker: 手順 3、 2の画像 2
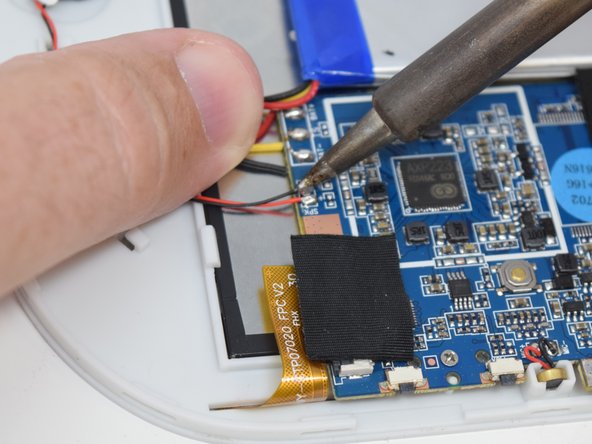
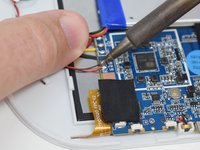
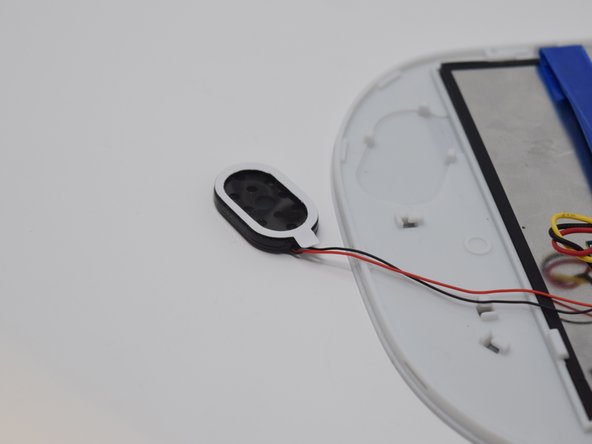
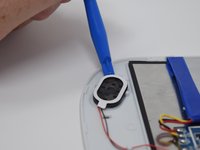
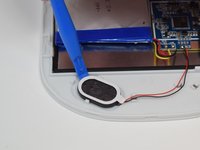
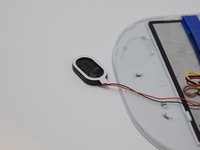
  4. Ematic FunTab 3 Speaker Replacement: 手順 4、 3の画像 1 Ematic FunTab 3 Speaker Replacement: 手順 4、 3の画像 2 Ematic FunTab 3 Speaker Replacement: 手順 4、 3の画像 3
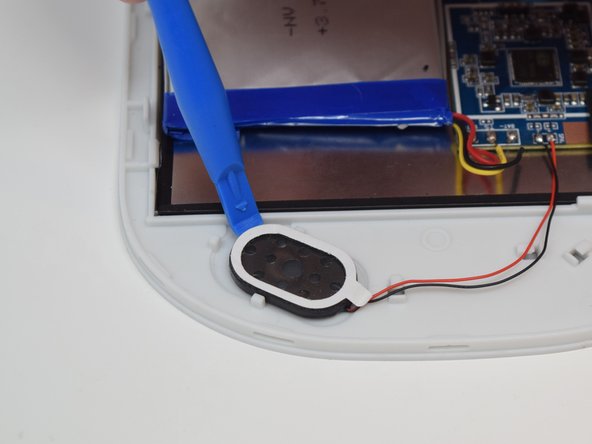
    • After the connections are desoldered, remove the speaker by prying it up using a plastic opening tool.

    • There is glue on the back of the speaker. Some more force may be required.

終わりに

To reassemble your device, follow these instructions in reverse order.

作成者

4人の作成者と共同で作成されました。

Amanda Davis

メンバー登録日: 07/11/18

581 ポイント

5のガイドは作成済み

チーム

UW Tacoma, Team S1-G5, Cardinal Summer 2018 UW Tacoma, Team S1-G5, Cardinal Summer 2018人のメンバー

UWT-CARDINAL-SU18S1G5

4 メンバー

12のガイドは作成済み

0 件のコメント

コメントを追加

統計データ:

過去 24時間: 0

過去 7 日: 0

過去 30 日: 0

今までの合計 175