メインコンテンツにスキップ

Ematic FunTab 2 Motherboard Replacement

必要な工具と部品

  1. Ematic FunTab 2 Motherboard Replacement, Motherboard: 手順 1、 1の画像 1
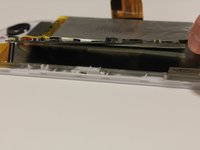
    • Remove back of Ematic FunTab by using the plastic opening tool to pry the back open.

  2. Ematic FunTab 2 Motherboard Replacement: 手順 2、 3の画像 1 Ematic FunTab 2 Motherboard Replacement: 手順 2、 3の画像 2 Ematic FunTab 2 Motherboard Replacement: 手順 2、 3の画像 3
    • Next, you need to remove all connections to the motherboard and the device.

    • Start by first removing the tape from all the connections.

    • Be careful not to remove the camera.

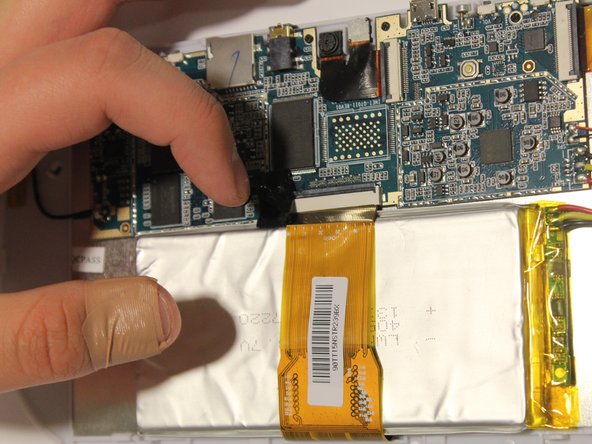
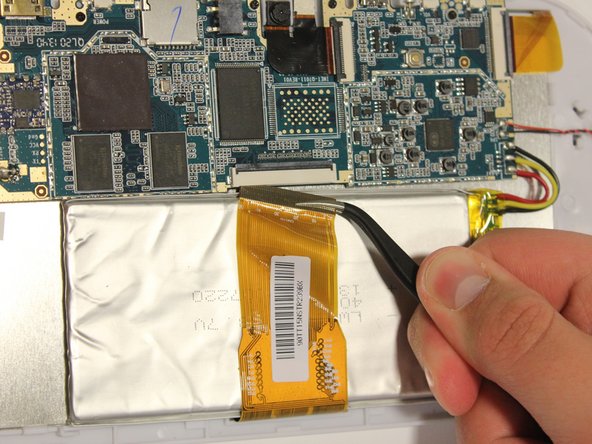
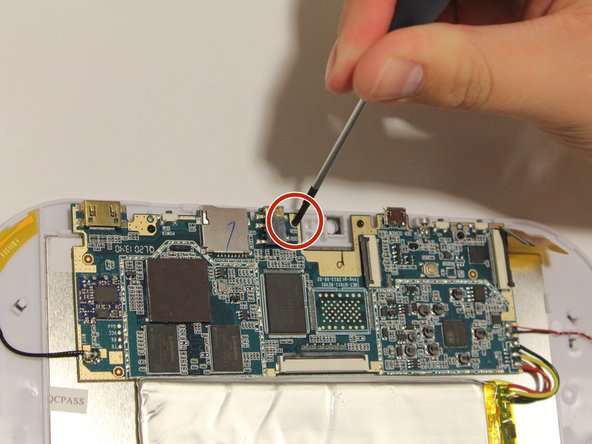
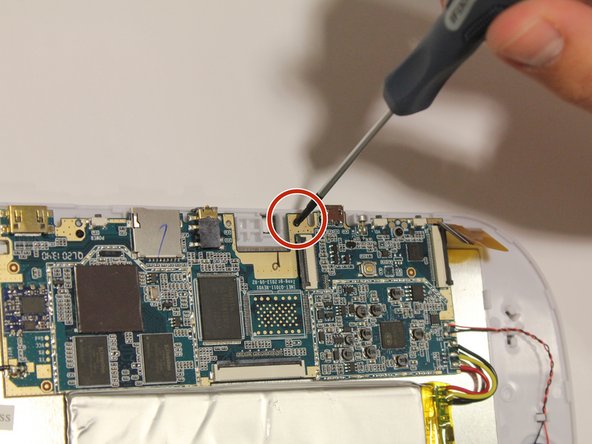
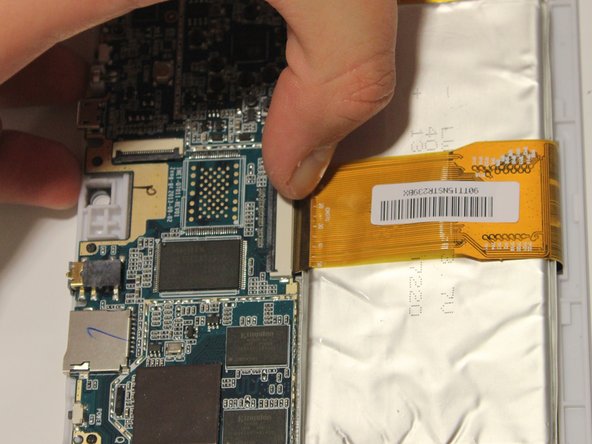
  3. Ematic FunTab 2 Motherboard Replacement: 手順 3、 3の画像 1 Ematic FunTab 2 Motherboard Replacement: 手順 3、 3の画像 2 Ematic FunTab 2 Motherboard Replacement: 手順 3、 3の画像 3
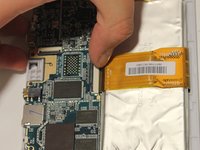
    • Remove LCD connector from the LCD.

    • Be sure to flip up the retaining tabs before pulling the LCD connector out. (It is the black tab on the connection port).

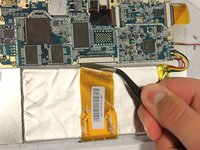
  4. Ematic FunTab 2 Motherboard Replacement: 手順 4、 1の画像 1
    • Remove camera connection from camera with tweezers.

    • Again, be sure to flip up the retaining tab before pulling the connector.

  5. Ematic FunTab 2 Motherboard Replacement: 手順 5、 1の画像 1
    • Remove speaker connection from speaker with tweezers.

    • Before pulling the speaker connection make sure the retaining tab is flipped up.

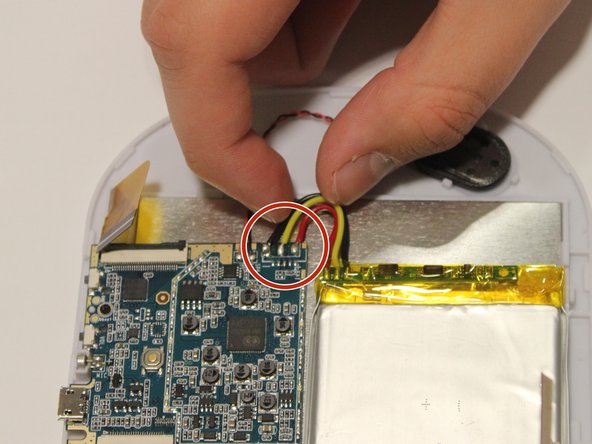
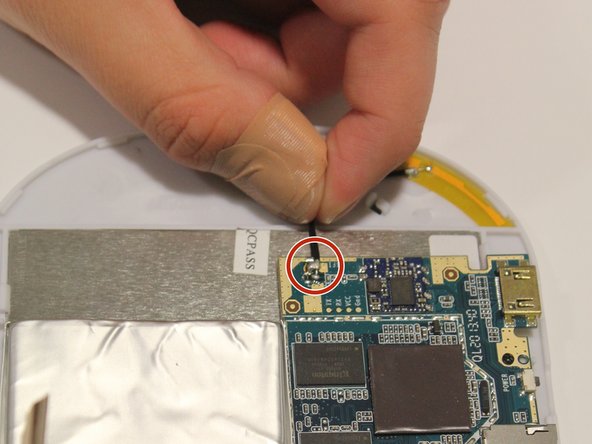
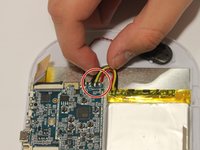
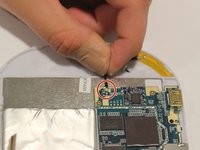
  6. Ematic FunTab 2 Motherboard Replacement: 手順 6、 3の画像 1 Ematic FunTab 2 Motherboard Replacement: 手順 6、 3の画像 2 Ematic FunTab 2 Motherboard Replacement: 手順 6、 3の画像 3
    • Remove wires:

    • Start by removing the black wire on each side.

    • Next, remove the WiFi antenna wire from the motherboard.

    • Finally, remove the yellow, red, and black wires.

    • To put the wires back in their correct locations you will need a soldering iron to solder the wire back in place. You will do this once the motherboard is replaced. Here is a guide on how to solder はんだ付けとはんだ除去の作業ガイド

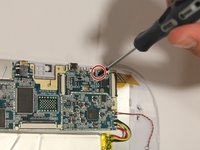
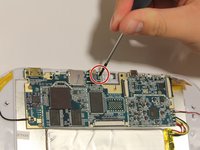
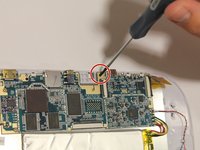
  7. Ematic FunTab 2 Motherboard Replacement: 手順 7、 3の画像 1 Ematic FunTab 2 Motherboard Replacement: 手順 7、 3の画像 2 Ematic FunTab 2 Motherboard Replacement: 手順 7、 3の画像 3
    • Unscrew all four screws on motherboard with the Phillip's head screwdriver.

    • All of the screws are the same size, and should all fit in either corresponding screw location.

  8. Ematic FunTab 2 Motherboard Replacement: 手順 8、 2の画像 1 Ematic FunTab 2 Motherboard Replacement: 手順 8、 2の画像 2
    • It is now safe to remove and replace the old motherboard with your new motherboard.

終わりに

To reassemble your device, follow these instructions in reverse order.

ある他の人がこのガイドを完成しました。

作成者

4人の作成者と共同で作成されました。

Amanda Wolosz

メンバー登録日: 04/05/15

287 ポイント

1ガイドが承認済み

チーム

University of Alabama, Team 1-1, Naidoo Spring 2015 University of Alabama, Team 1-1, Naidoo Spring 2015人のメンバー

UA-NAIDOO-S15S1G1

4 メンバー

4のガイドは作成済み

0 件のコメント

コメントを追加

統計データ:

過去 24時間: 0

過去 7 日: 0

過去 30 日: 0

今までの合計 1,105