はじめに
This guide demonstrates how to replace the shoulder buttons or L and R buttons on your EasySMX ESM-9100 game controller. A probable reason for the L and R buttons (also known as the shoulder buttons) on your controller to stop working may be that they have become misaligned within the controller and no longer make contact with the receiver when pressed. When the receiver is pressed, it typically makes an audible distinct clicking noise. If attempting to realign the buttons without disassembly has not resolved the issue, the next step is to access the controller internals to align them properly. Follow this simple guide to replace or realign the L/R buttons. Since this process involves working closely with the internal electronics, take care not to damage them to prevent the controller from becoming entirely unresponsive.
Before you begin this repair, ensure that the controller is unplugged from your console or PC.
必要な工具と部品
-
-
Place the controller face down on a solid surface.
-
Use a Phillips #00 screwdriver to remove the seven 10 mm screws from the back cover.
-
-
-
-
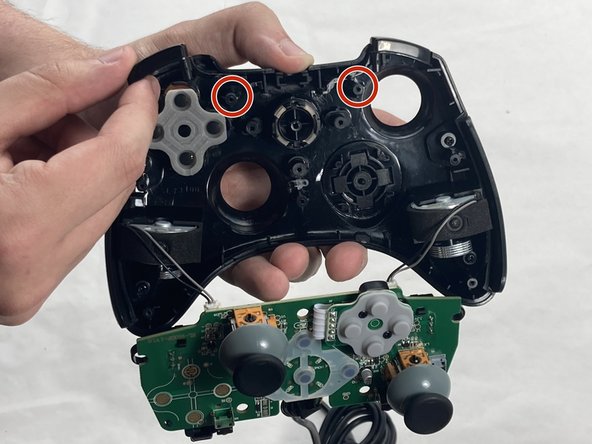
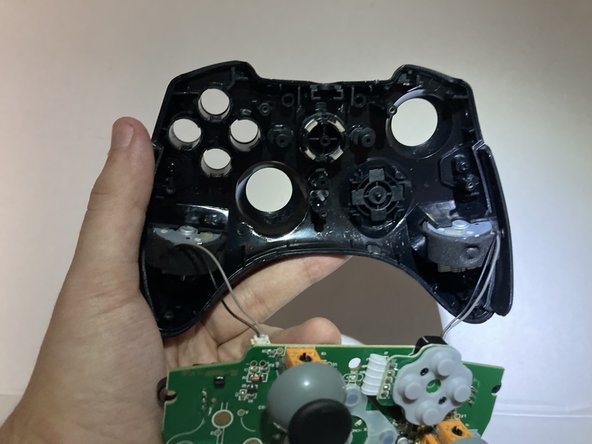
Remove the L and R shoulder buttons from their sockets on the top case.
-
Avoid touching the receiver as this is the component that will let the controller know the button has been pressed.
-
To reassemble your device, follow these instructions in reverse order. Take your e-waste to an R2 or e-Stewards certified recycler.
To reassemble your device, follow these instructions in reverse order. Take your e-waste to an R2 or e-Stewards certified recycler.
2 の人々がこのガイドを完成させました。


