はじめに
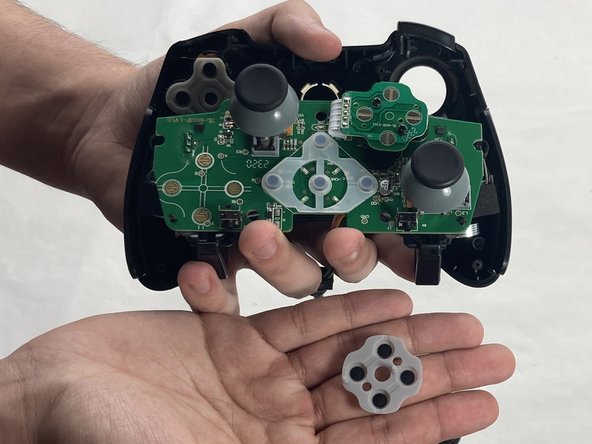
This guide demonstrates how to replace the d-pad buttons on your EasySMX ESM-9100 game controller. A probable reason for the d-pad on your controller to stop working is that the rubber is not aligned correctly, and the button itself has gotten stuck to the front cover of the device. The rubber is supposed to be pressed with the button, which in turn returns the button to its original position. The only method to fix this is to access the rubber and button directly in the controller. If the d-pad of your EasySMX ESM-9100 stops working, follow this guide.
Since this will require working closely with the internal electronics, be careful not to damage them to avoid making the controller entirely unresponsive. Use ESD safe tools when working close to the battery and delicate components like the circuit board.
Before you begin this repair, ensure that the controller is unplugged from your console or PC.
必要な工具と部品
-
-
Place the controller face down on a solid surface.
-
Use a Phillips #00 screwdriver to remove the seven 10 mm screws from the back cover.
-
-


To reassemble your device, follow these instructions in reverse order. Take your e-waste to an R2 or e-Stewards certified recycler.
To reassemble your device, follow these instructions in reverse order. Take your e-waste to an R2 or e-Stewards certified recycler.
ある他の人がこのガイドを完成しました。

チーム

UMass Dartmouth, Team 4-4, Shaddix Spring 2024 UMass Dartmouth, Team 4-4, Shaddix Spring 2024人のメンバー
UMASSD-SHADDIX-S24S4G4
4 メンバー
6のガイドは作成済み