はじめに
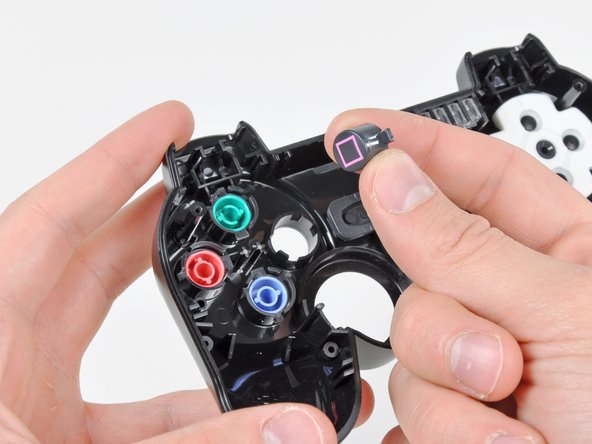
このガイドを参照して、DualShock 3コントローラーの破損したボタンを交換します。
必要な工具と部品


デバイスを再組み立てする際は、これらの手順を逆の順番に従って作業を進めてください。
デバイスを再組み立てする際は、これらの手順を逆の順番に従って作業を進めてください。
95 の人々がこのガイドを完成させました。
以下の翻訳者の皆さんにお礼を申し上げます:
100%

Midori Doiさんは世界中で修理する私たちを助けてくれています! あなたも貢献してみませんか?
翻訳を始める ›

6 件のコメント
My Dualshock 3 didn't have the three armed plastic piece on the D-pad. Mine's a red one, relatively recent. My controller also had the problem where it would randomly send button press events when using the L-stick. I traced the problem to the ribbon connector between the board and the contacts, which was very dirty. I cleaned the contacts and put the controller back together with an additional rubber shim between the back cover and the battery, which got rid of the creakiness of the somewhat loose-fitting case. Works great now.
How do you clean the contacts? Is there a special way?
Are these instructions the same for the dual-shock 2?
TNX-could not really figure out where the 3-armed plastic should fit in but tnx to step 11 i know-now im going to dismantle my controller again.