はじめに
We will show how to replace the tablet's battery.
必要な工具と部品
-
-
-
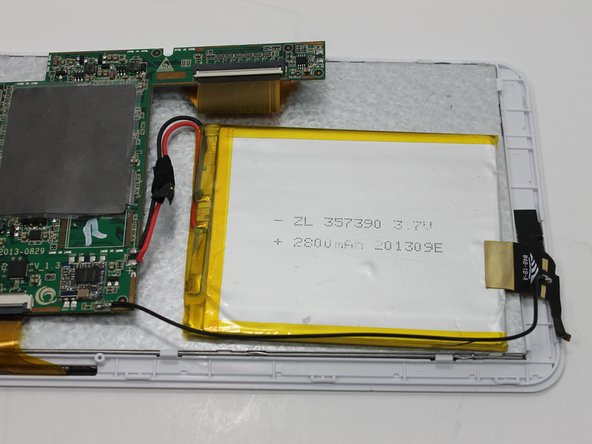
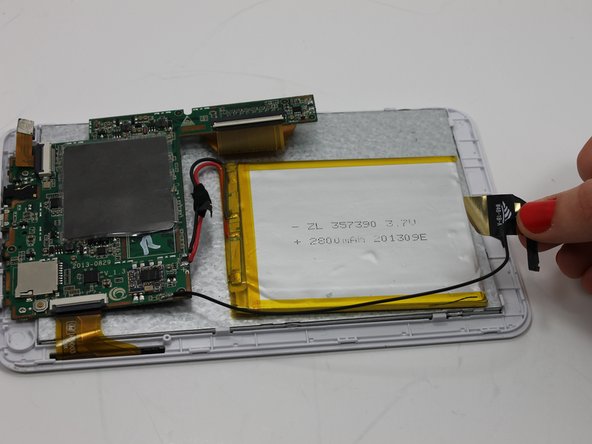
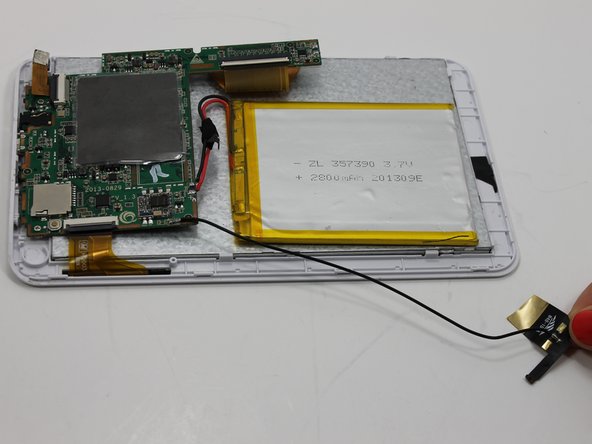
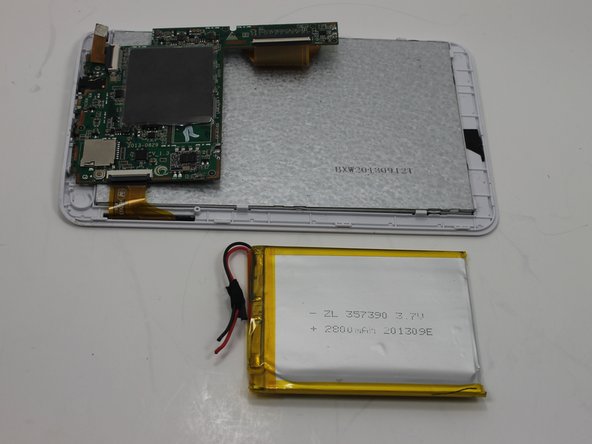
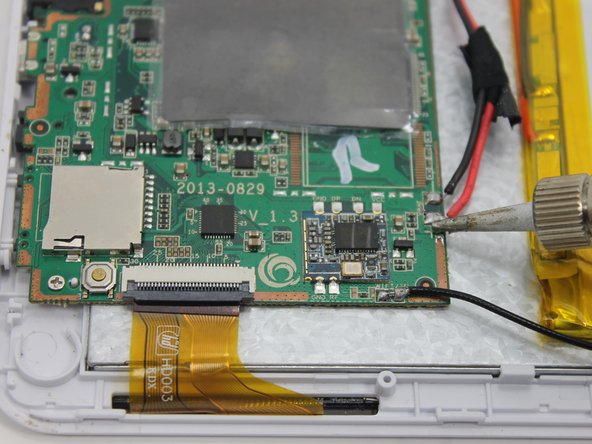
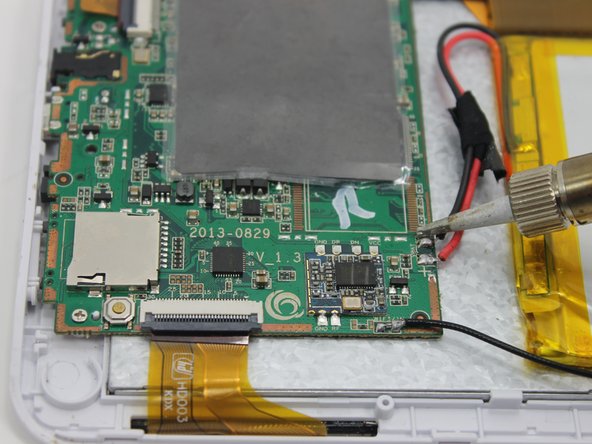
Install the new battery by soldering the three wires to the motherboard. For additional soldering instructions please view this page: はんだ付けとはんだ除去の作業ガイド
-


もう少しです!
To reassemble your device, follow these instructions in reverse order.
終わりに
To reassemble your device, follow these instructions in reverse order.
チーム

Michigan Tech, Team 1-4, Lauer Spring 2015 Michigan Tech, Team 1-4, Lauer Spring 2015人のメンバー
MTU-LAUER-S15S1G4
2 メンバー
10のガイドは作成済み