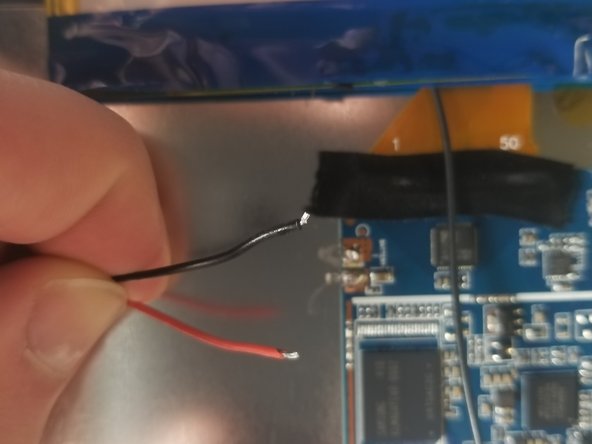
メインコンテンツにスキップ

Dragon Touch A1x Plus Cameras Replacement

必要な工具と部品

  1. Dragon Touch A1x Plus Cameras Replacement, Battery: 手順 1、 1の画像 1
    • Insert the plastic opening tool between the white back cover and black front over.

  2. Dragon Touch A1x Plus Cameras Replacement: 手順 2、 2の画像 1 Dragon Touch A1x Plus Cameras Replacement: 手順 2、 2の画像 2
    • Slide the plastic opening tool along the edgeof the device until back cover is detached and remove the cover.

    • You may need to pry the back cover off using the opening tool while moving it along the edge.

  3. Dragon Touch A1x Plus Cameras Replacement: 手順 3、 1の画像 1
    • Remove the yellow tape holding the battery to the device using your fingers or plastic opening tool if necessary.

  4. Dragon Touch A1x Plus Cameras Replacement: 手順 4、 1の画像 1
    • Use the hair dryer to melt the glue holding the battery to the device.

    • Be careful not to overheat the battery as it could cause the battery to combust.

  5. Dragon Touch A1x Plus Cameras Replacement: 手順 5、 1の画像 1
    この手順で使用する道具:
    Plastic Cards
    $2.99
    購入する
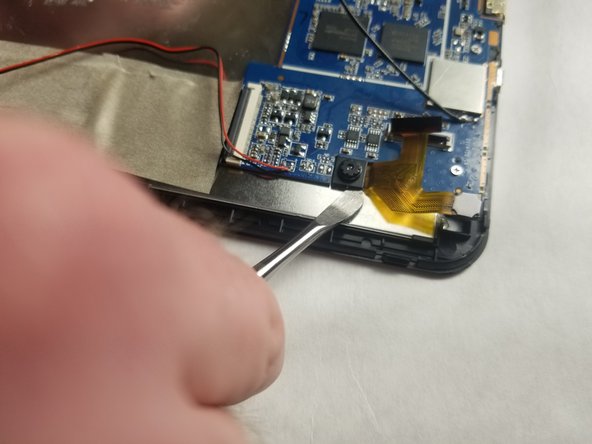
    • Insert the plastic card under the battery and use it to remove the battery from the device.

    • Be careful not to deform the battery.

  6. Dragon Touch A1x Plus Cameras Replacement: 手順 6、 2の画像 1 Dragon Touch A1x Plus Cameras Replacement: 手順 6、 2の画像 2
    • Desolder the red and black wires connecting the battery to the motherboard and remove the battery.

  7. Dragon Touch A1x Plus Cameras Replacement, Cameras: 手順 7、 2の画像 1 Dragon Touch A1x Plus Cameras Replacement, Cameras: 手順 7、 2の画像 2
    • Remove black tape holding the cameras to the motherboard.

  8. Dragon Touch A1x Plus Cameras Replacement: 手順 8、 2の画像 1 Dragon Touch A1x Plus Cameras Replacement: 手順 8、 2の画像 2
    • Use your fingernail to flip up the small locking flap on the ZIF connector.

    • Pull the ribbon cable from the ZIF connector.

  9. Dragon Touch A1x Plus Cameras Replacement: 手順 9、 1の画像 1
    • Remove the front camera from the device using your fingers.

  10. Dragon Touch A1x Plus Cameras Replacement: 手順 10、 2の画像 1 Dragon Touch A1x Plus Cameras Replacement: 手順 10、 2の画像 2
    • Melt the glue holding the rear camera in place using a hair dryer.

    • Insert the metal spludger under the rear camera and pry it free from the device.

終わりに

To reassemble your device, follow these instructions in reverse order.

作成者

2人の作成者と共同で作成されました。

Josh Null

メンバー登録日: 03/21/18

313 ポイント

3のガイドは作成済み

チーム

IUPUI, Team S5-G5, Baechle Spring 2018 IUPUI, Team S5-G5, Baechle Spring 2018人のメンバー

IUPUI-BAECHLE-S18S5G5

3 メンバー

6のガイドは作成済み

0 件のコメント

コメントを追加

統計データ:

過去 24時間: 0

過去 7 日: 4

過去 30 日: 5

今までの合計 162