メインコンテンツにスキップ
リペアコミュニティに参加 - アカウントの作成

Disassembling Nokia 2366i Side Buttons

必要な工具と部品

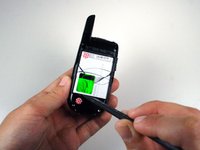
  1. Disassembling Nokia 2366i Side Buttons, Battery: 手順 1、 2の画像 1 Disassembling Nokia 2366i Side Buttons, Battery: 手順 1、 2の画像 2
    • Turn off the phone.

    • Position the phone so that the back side is in view.

    FixBotに聞いてみる
  2. Disassembling Nokia 2366i Side Buttons: 手順 2、 1の画像 1
    • Apply pressure on the cover while simultaneously sliding the cover downward.

    • Remove the back battery cover.

    FixBotに聞いてみる
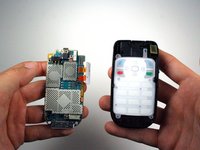
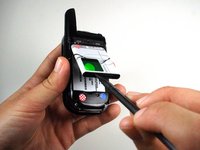
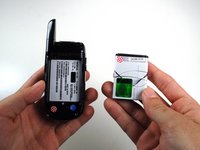
  3. Disassembling Nokia 2366i Side Buttons: 手順 3、 3の画像 1 Disassembling Nokia 2366i Side Buttons: 手順 3、 3の画像 2 Disassembling Nokia 2366i Side Buttons: 手順 3、 3の画像 3
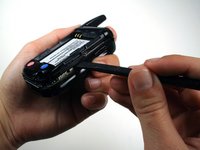
    • Insert the spudger between the base of the phone and the phone battery.

    • Position the phone so that the battery won't fall out of the phone.

    • Carefully lift the battery out of the phone.

    • The battery lifts out of the phone easily.

    FixBotに聞いてみる
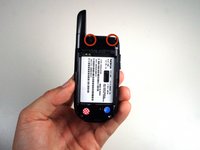
  4. Disassembling Nokia 2366i Side Buttons, Rear Case: 手順 4、 2の画像 1 Disassembling Nokia 2366i Side Buttons, Rear Case: 手順 4、 2の画像 2
    • Use a Phillips #00 screwdriver or your fingers to remove the rubber tabs at top back of the phone.

    FixBotに聞いてみる
  5. Disassembling Nokia 2366i Side Buttons: 手順 5、 2の画像 1 Disassembling Nokia 2366i Side Buttons: 手順 5、 2の画像 2
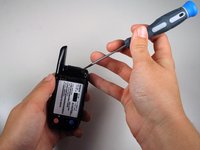
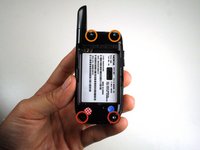
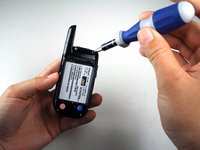
    • Remove four 5mm screws from the back of the phone using a T6 Torx screwdriver:

    • 2 screws at the bottom

    • 2 screws at the top

    FixBotに聞いてみる
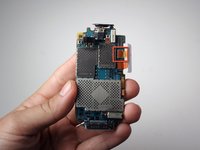
  6. Disassembling Nokia 2366i Side Buttons: 手順 6、 2の画像 1 Disassembling Nokia 2366i Side Buttons: 手順 6、 2の画像 2
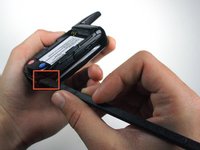
    • Rotate the phone clockwise so the edge is facing you.

    • Insert the spudger in tabs between the outer casing and the inside frame.

    • Slide the spudger upwards.

    • This will remove the rear case of the phone.

    FixBotに聞いてみる
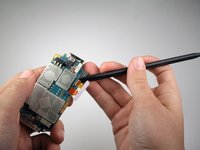
  7. Disassembling Nokia 2366i Side Buttons: 手順 7、 1の画像 1
    • The phone should now be in two different sections.

    • 1) The rear case of the phone.

    • 2) The motherboard and the rest of the phone.

    FixBotに聞いてみる
  8. Disassembling Nokia 2366i Side Buttons, Motherboard: 手順 8、 2の画像 1 Disassembling Nokia 2366i Side Buttons, Motherboard: 手順 8、 2の画像 2
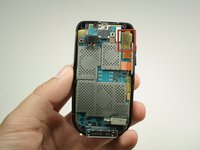
    • Use the spudger to lift off the yellow clip near the top right corner of the motherboard.

    FixBotに聞いてみる
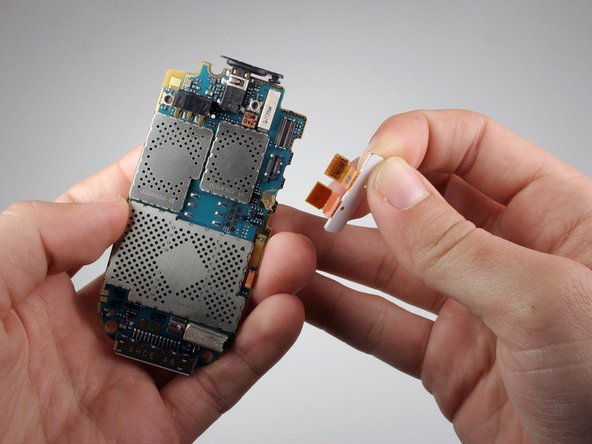
  9. Disassembling Nokia 2366i Side Buttons: 手順 9、 2の画像 1 Disassembling Nokia 2366i Side Buttons: 手順 9、 2の画像 2
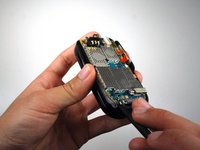
    • Rotate the phone counterclockwise so that the edge is facing you.

    • Use the spudger to lift the motherboard out of the base of the phone.

    • Remove the motherboard from the base of the phone.

    FixBotに聞いてみる
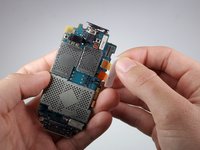
  10. Disassembling Nokia 2366i Side Buttons, Side Buttons: 手順 10、 2の画像 1 Disassembling Nokia 2366i Side Buttons, Side Buttons: 手順 10、 2の画像 2
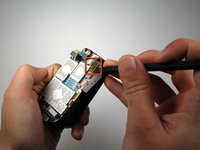
    • Use the spudger to pull off the top orange chip attached to the white tab.

    FixBotに聞いてみる
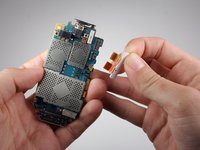
  11. Disassembling Nokia 2366i Side Buttons: 手順 11、 2の画像 1 Disassembling Nokia 2366i Side Buttons: 手順 11、 2の画像 2
    • Lightly pull up on the white tab to remove the orange tab from the logic board.

    • Don't worry about the glue on the bottom orange tab. It's only there to keep the side button in place.

    FixBotに聞いてみる
終わりに

To reassemble your device, follow these instructions in reverse order.

作成者

5人の作成者と共同で作成されました。

Jonathan Newman

メンバー登録日: 01/21/11

516 ポイント

4のガイドは作成済み

チーム

Cal Poly, Team 1-14, Amido Winter 2011 Cal Poly, Team 1-14, Amido Winter 2011人のメンバー

CPSU-AMIDO-W11S1G14

5 メンバー

17のガイドは作成済み

0件のガイドコメント

コメントを追加

統計データ:

過去 24時間: 0

過去 7 日: 4

過去 30 日: 56

今までの合計 1,065