Two clips secure the RAM module in place, one on each side. Using your fingers, spread the clips away from the RAM module.
When released, the RAM module will pop up at a slight angle.
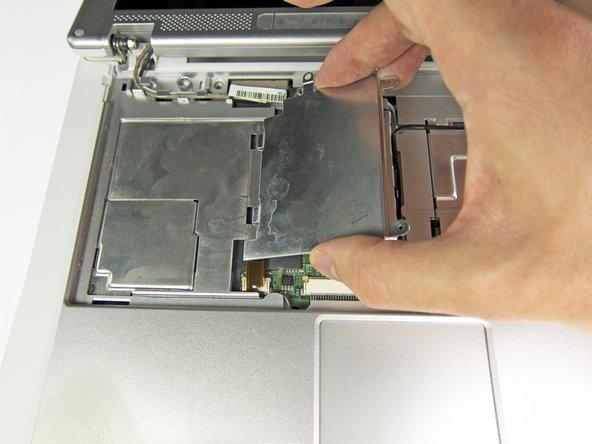
Lift the RAM module to an angle of about 30 degrees and slide it out.
When handling the RAM module, touch only the outside edges. Take care not to touch the gold-colored contact points along the bottom edge.
To install a new RAM module, slide it in place at about the same angle until it is snug, and then swing it downward until the two clips snap into place.
Flip the 700m over and swing the screen all the way open until it lays flat.
Beginning from the left side, use the flat end of a spudger to gently pry up the plastic trim that runs along the top edge of the keyboard. Remove the trim.
Two clips secure the RAM module in place, one on each side. Using your fingers, spread the clips away from the RAM module.
When released, the RAM module will pop up at a slight angle.
Lift the RAM module to an angle of about 30 degrees and slide it out.
When handling the RAM module, touch only the outside edges. Take care not to touch the gold-colored contact points along the bottom edge.
To install a new RAM module, slide it in place at about the same angle until it is snug, and then swing it downward until the two clips snap into place.