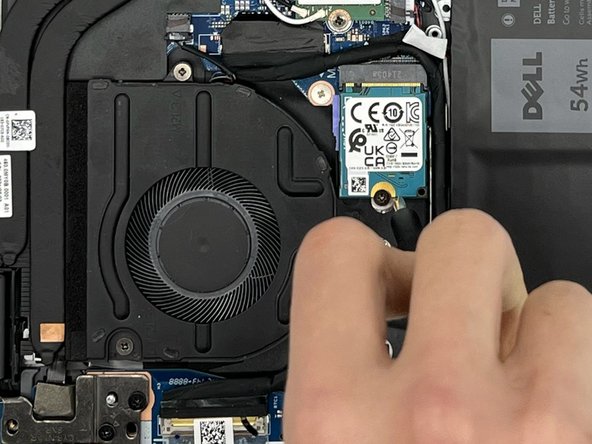
はじめに
Hard drives are responsible for the storage of your digital content in desktop devices. This content includes documents, pictures, videos, programs, music, and app preferences. It is a vital component in your devices as it keeps your information saved.
Experiencing issues such as corrupt files, slowdowns, constant error messages, and system crashes are all derived from a poor/outdated hard drive. This is due to high demands from the consumer that the part can't handle. It is a common issue as more programs and files become advanced.
The following guide is to help with replacing the hard drive to a latest version meeting your demands.
If you find that after following the instructions on our Trouble-Shooting Page you still have issues regarding your hard drive, it could be time to upgrade to a newer version. Make sure that you find the hard drive for the exact model, Dell Inspiron 14-5415.
必要な工具と部品
To reassemble your device, follow these instructions in reverse order.
To reassemble your device, follow these instructions in reverse order.


