メインコンテンツにスキップ

Dell Chromebook 5190 Speaker Replacement

必要な工具と部品

  1. Dell Chromebook 5190 Speaker Replacement, Battery: 手順 1、 1の画像 1
    • Before starting, please make sure you have disconnected and removed all devices populating the laptop's ports.

    • Remove the nine M2.5x7.5 screws located on the bottom side of the laptop.

  2. Dell Chromebook 5190 Speaker Replacement: 手順 2、 3の画像 1 Dell Chromebook 5190 Speaker Replacement: 手順 2、 3の画像 2 Dell Chromebook 5190 Speaker Replacement: 手順 2、 3の画像 3
    • Be cautious, the following instructions are to prevent cracking the base cover.

    • With the opening tool, pry open the upper left corner by the laptop hinge.

    • With the opening tool, pry open the upper right corner by the laptop hinge.

    • Lift off base cover.

  3. Dell Chromebook 5190 Speaker Replacement: 手順 3、 2の画像 1 Dell Chromebook 5190 Speaker Replacement: 手順 3、 2の画像 2
    • Unscrew and remove the M2x3 screw holding the silver metal brackets labeled "Battery Bracket" located on the top left side of the battery.

    • Unscrew and remove the M2x3 screw holding the silver metal brackets labeled "Battery Bracket" located on the top right side of the battery.

  4. Dell Chromebook 5190 Speaker Replacement: 手順 4、 2の画像 1 Dell Chromebook 5190 Speaker Replacement: 手順 4、 2の画像 2
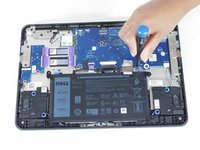
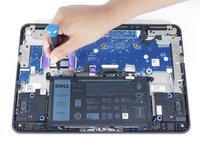
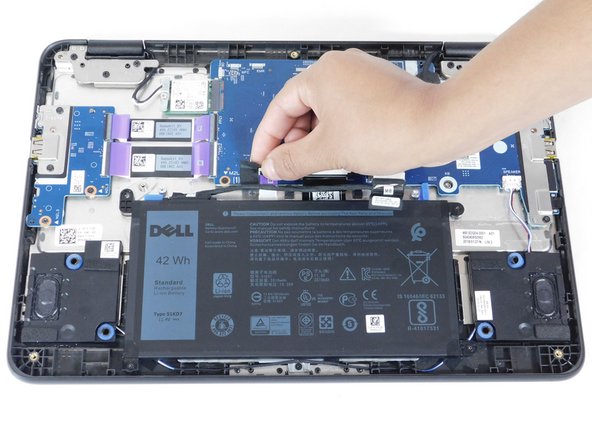
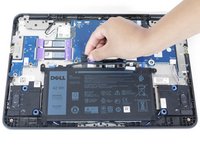
    • Remove the clear adhesive tape on the system board from the battery cable from where it's seated above the battery.

    • Pull out the keyboard cable toward you to disconnect it.

  5. Dell Chromebook 5190 Speaker Replacement: 手順 5、 2の画像 1 Dell Chromebook 5190 Speaker Replacement: 手順 5、 2の画像 2
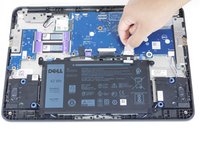
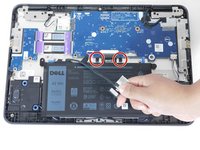
    • Remove the black adhesive tape on the system board from the battery cable.

    • Dismount the cable from where it's seated above the battery.

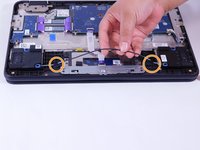
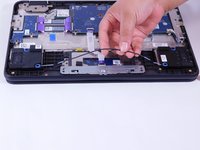
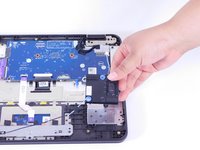
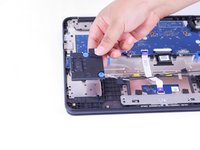
  6. Dell Chromebook 5190 Speaker Replacement: 手順 6、 3の画像 1 Dell Chromebook 5190 Speaker Replacement: 手順 6、 3の画像 2 Dell Chromebook 5190 Speaker Replacement: 手順 6、 3の画像 3
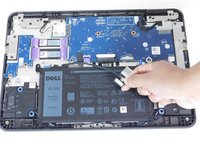
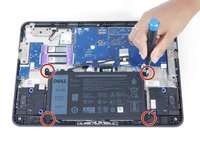
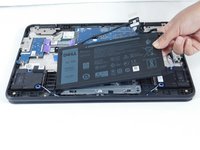
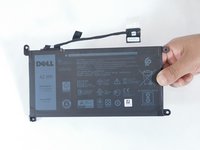
    • Unscrew and remove the four M2x3 screws on each corner of the battery.

    • Dismount the battery.

  7. Dell Chromebook 5190 Speaker Replacement, Speaker: 手順 7、 1の画像 1
    • Remove the speaker cable by pulling it from the motherboard.

  8. Dell Chromebook 5190 Speaker Replacement: 手順 8、 2の画像 1 Dell Chromebook 5190 Speaker Replacement: 手順 8、 2の画像 2
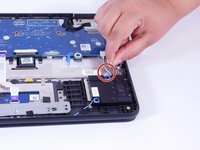
    • Peel the clear adhesive tape that secures the speaker cables.

    • Peel the 2 black adhesive tapes near the bottom of the system.

  9. Dell Chromebook 5190 Speaker Replacement: 手順 9、 3の画像 1 Dell Chromebook 5190 Speaker Replacement: 手順 9、 3の画像 2 Dell Chromebook 5190 Speaker Replacement: 手順 9、 3の画像 3
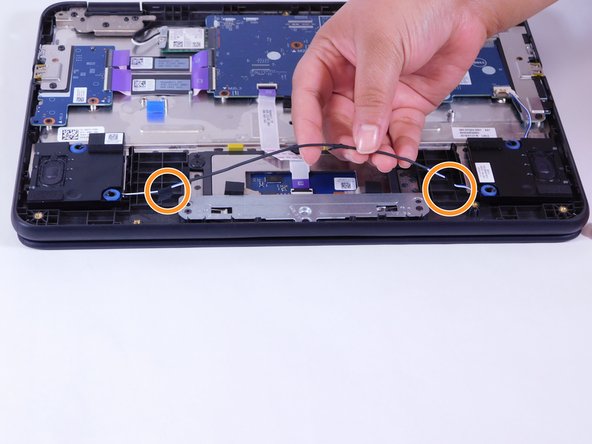
    • Unroute the speaker cable from the speaker connectors.

    • Lift the speaker away from the system.

終わりに

To reassemble your device, follow these instructions in reverse order.

作成者

3人の作成者と共同で作成されました。

Denise Cano

メンバー登録日: 02/10/22

617 ポイント

4のガイドは作成済み

チーム

Gateway, Team 1-3, Pee Spring 2022 Gateway, Team 1-3, Pee Spring 2022人のメンバー

GCC-PEE-S22S1G3

3 メンバー

5のガイドは作成済み

0 件のコメント

コメントを追加

統計データ:

過去 24時間: 0

過去 7 日: 1

過去 30 日: 5

今までの合計 148