メインコンテンツにスキップ

Corsair Dark Core RGB PRO SE Mouse Nano-Switches Replacement

必要な工具と部品

  1. Corsair Dark Core RGB PRO SE Mouse Nano-Switches Replacement, Glide Pads: 手順 1、 2の画像 1 Corsair Dark Core RGB PRO SE Mouse Nano-Switches Replacement, Glide Pads: 手順 1、 2の画像 2
    • Cover the sensor on the bottom of the mouse with your thumb so it doesn't get damaged.

    • Use the heat gun on the bottom of the mouse to loosen the glue on the pads.

    • Repeat this step with the other glide pads.

  2. Corsair Dark Core RGB PRO SE Mouse Nano-Switches Replacement, Mouse Nano-Switches: 手順 2、 1の画像 1
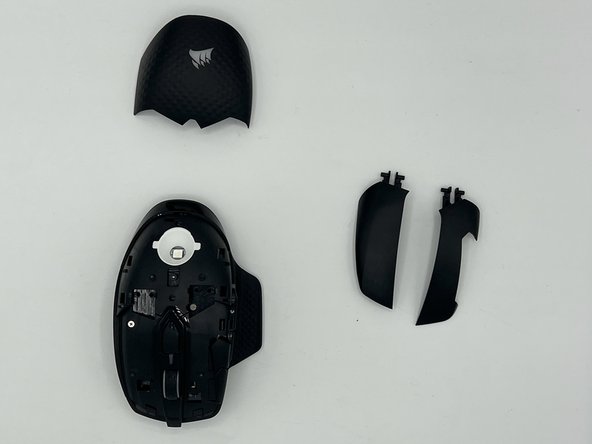
    • Remove the two screws from the bottom of the mouse using a T5 Torx screwdriver.

  3. Corsair Dark Core RGB PRO SE Mouse Nano-Switches Replacement: 手順 3、 1の画像 1
    • Gently pry open the mouse shell using an iFixit opening tool.

    • Be careful not to force anything or use excessive force, as you may damage the components inside the mouse.

  4. Corsair Dark Core RGB PRO SE Mouse Nano-Switches Replacement: 手順 4、 1の画像 1
    • Use an iFixit opening tool to gently pry up the right and left click buttons on the top cover of the mouse until they pop out of place.

    • Be careful not to damage the wiring harnesses that connect the buttons to the PCB.

  5. Corsair Dark Core RGB PRO SE Mouse Nano-Switches Replacement: 手順 5、 1の画像 1
    • Use an iFixit opening tool to gently lift the top cover from the mouse body.

    • Be careful not to damage the wires connecting the cover to the mouse PCB.

  6. Corsair Dark Core RGB PRO SE Mouse Nano-Switches Replacement: 手順 6、 1の画像 1
    • Using a plastic opening tool, gently pry up the side button assemblies until they pop out of place.

    • Be careful not to damage the wiring harnesses that connect the buttons to the PCB.

  7. Corsair Dark Core RGB PRO SE Mouse Nano-Switches Replacement: 手順 7、 1の画像 1
    • Remove the screws that hold the circuit board in place using a Phillips #0 screwdriver.

    • Gently lift the PCB and set it aside.

  8. Corsair Dark Core RGB PRO SE Mouse Nano-Switches Replacement: 手順 8、 1の画像 1
    この手順で使用する道具:
    Tweezers
    $4.99
    購入する
    • With the nano-switches now exposed, use a soldering iron to melt the solder holding the old switches in place.

    • Use tweezers to carefully remove the old switches and desolder any remaining solder.

終わりに

To reassemble your device, follow these instructions in reverse order.

作成者

2人の作成者と共同で作成されました。

Enzo Mello e Silva

メンバー登録日: 02/09/23

145 ポイント

1ガイドが承認済み

チーム

University of North Texas, Team 2-1, Saru Jimmy Spring 2023 University of North Texas, Team 2-1, Saru Jimmy Spring 2023人のメンバー

UNT-SARU JIMMY-S23S2G1

4 メンバー

6のガイドは作成済み

0 件のコメント

コメントを追加

統計データ:

過去 24時間: 0

過去 7 日: 13

過去 30 日: 54

今までの合計 526