必要な工具と部品
-
この手順は未翻訳です。 翻訳を手伝う。
-
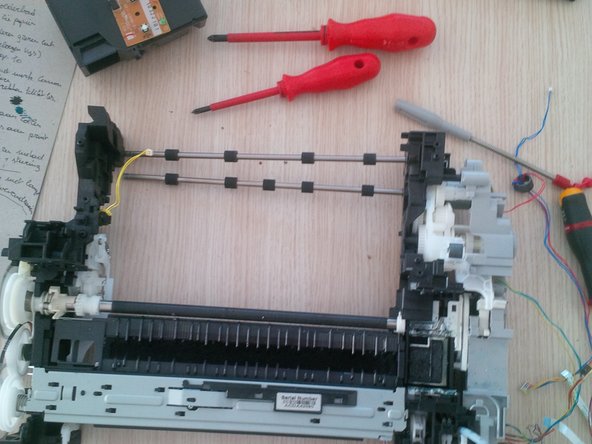
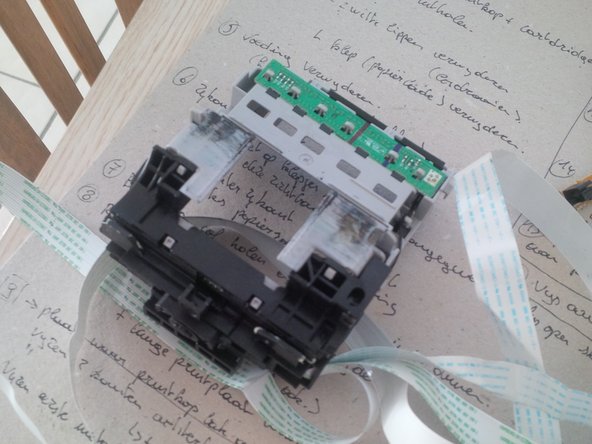
no we will remove the printhead and the cardridges.
-
To remove the printhead you have to plug in the printer again and open up te front panel (like you have to remove the cardridges).
-
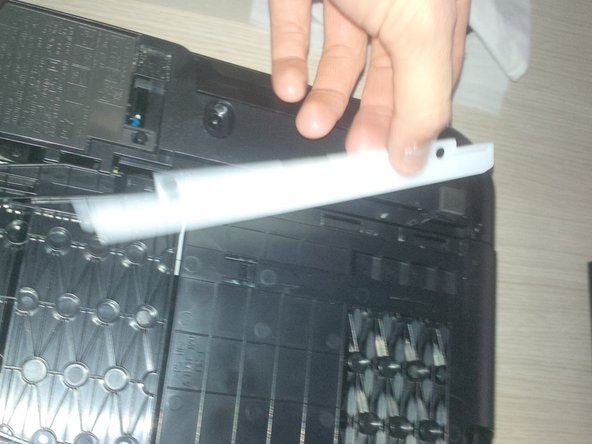
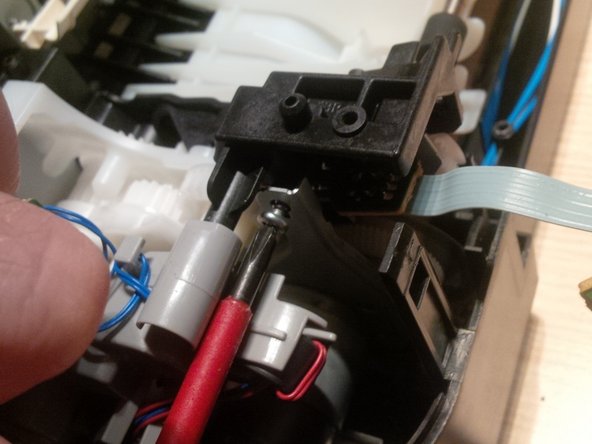
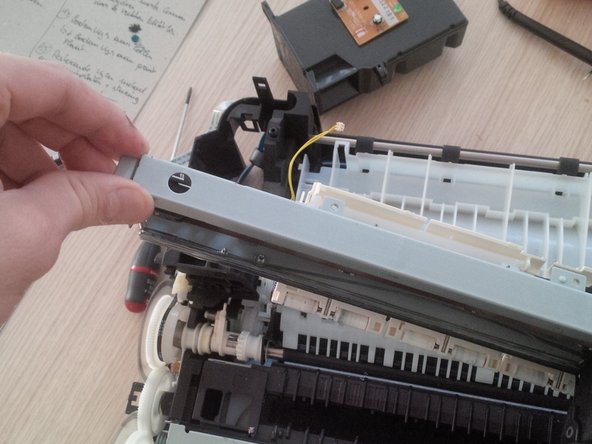
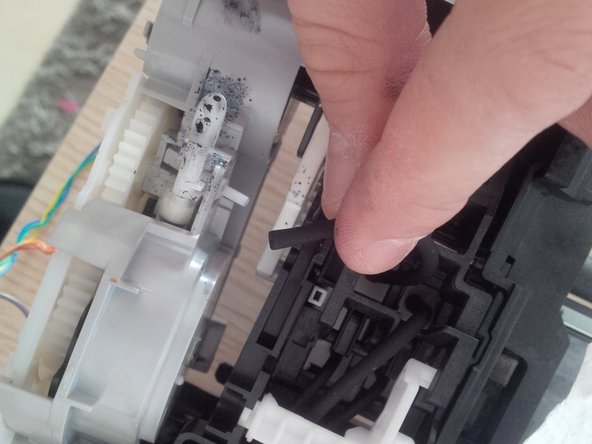
to remove the printhead you have to pull the levar up (grey) , be carefull its very rough to pull it up.
-
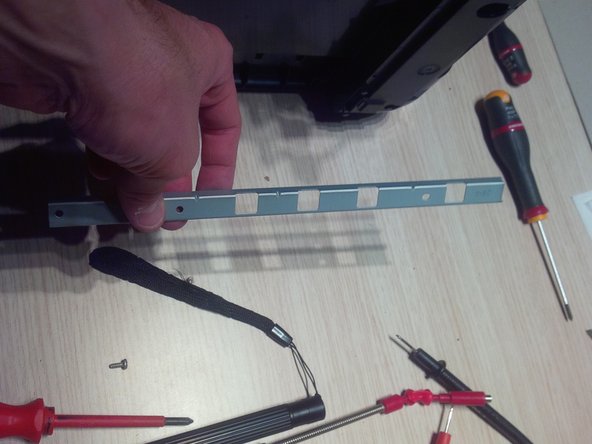
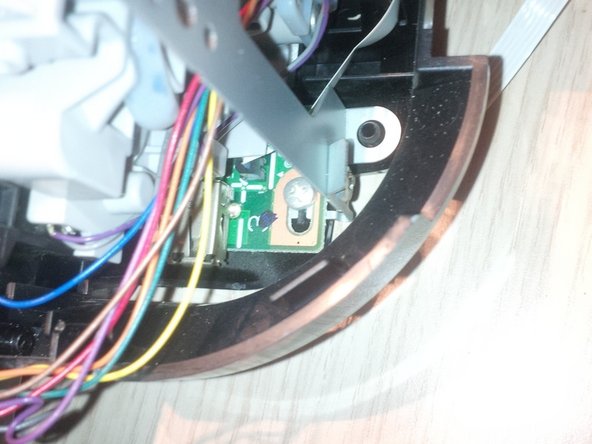
remove the printhead, if you only replace the printhead the guide stops here. be carefull for the pcb board, if you only clean the printhead do it carefully. clean it with destilled water, but do not touch the PCB.
-
-
この手順は未翻訳です。 翻訳を手伝う。
-
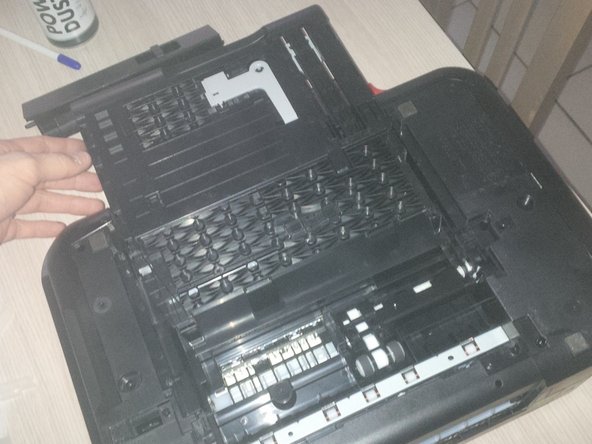
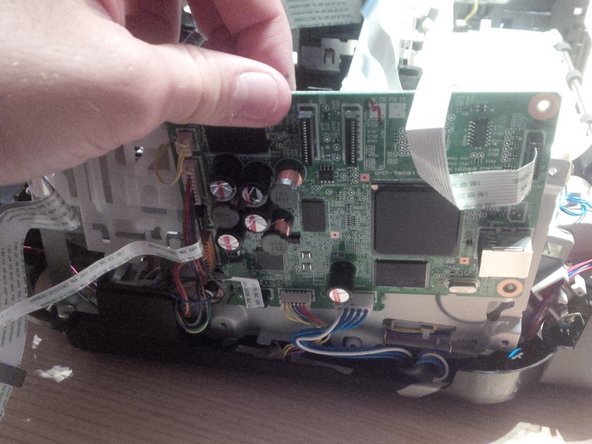
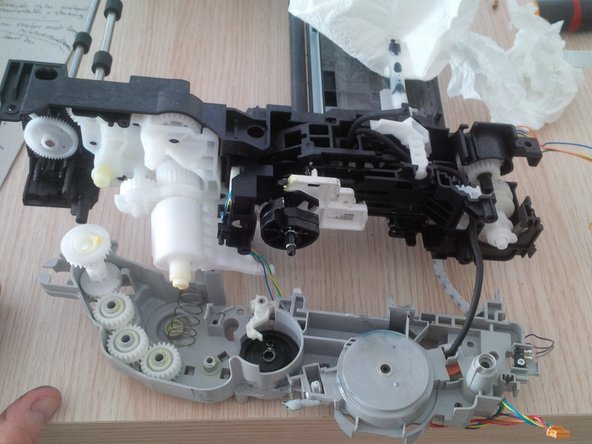
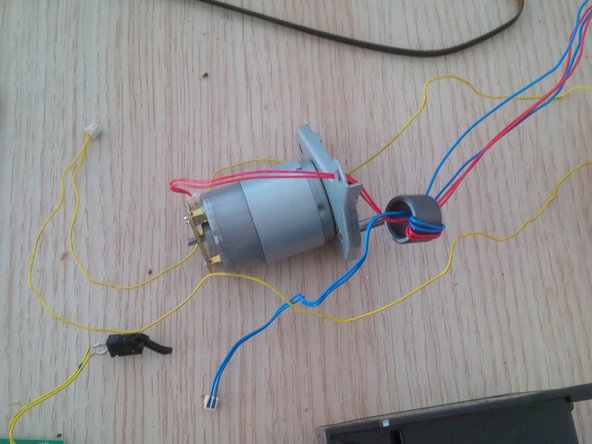
now we will remove the power supply.
-
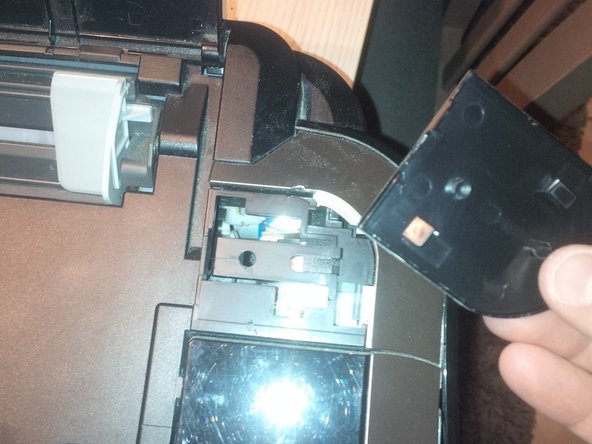
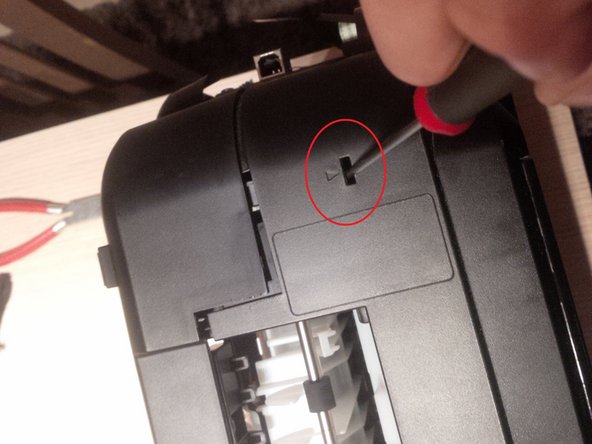
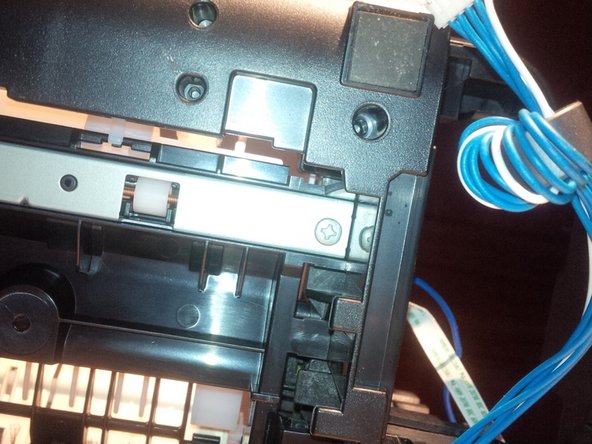
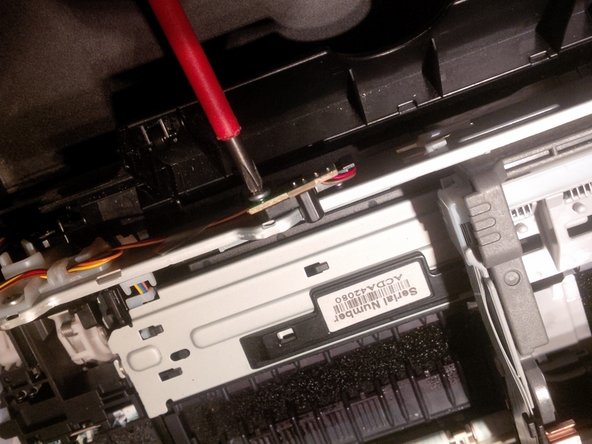
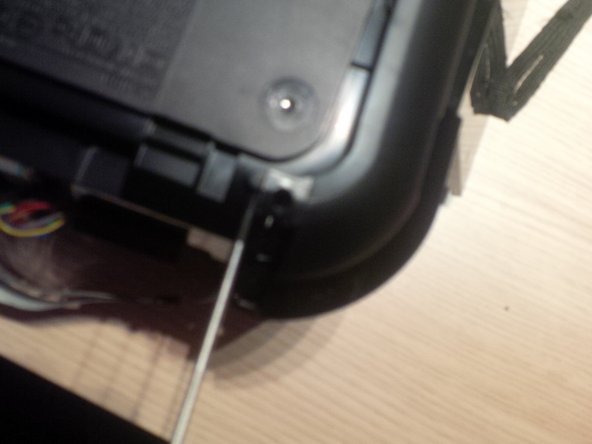
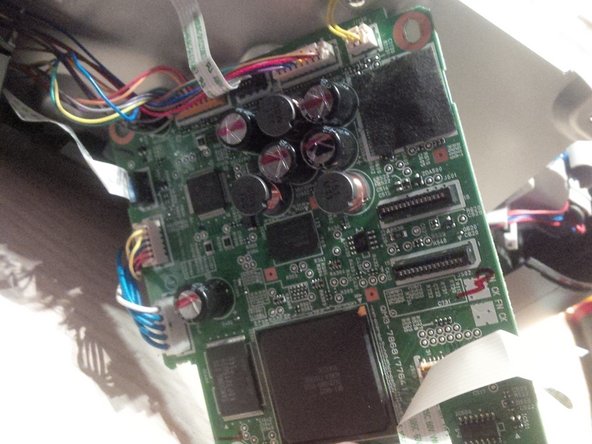
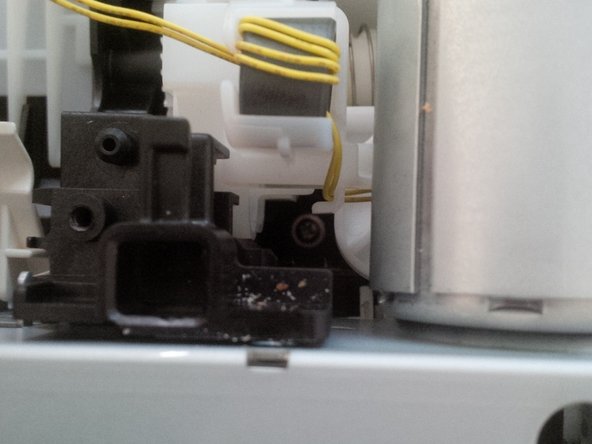
you'll find clips to loose the power suply . On the picture (number 1) you see how you do it. you'll here the clicks.
-
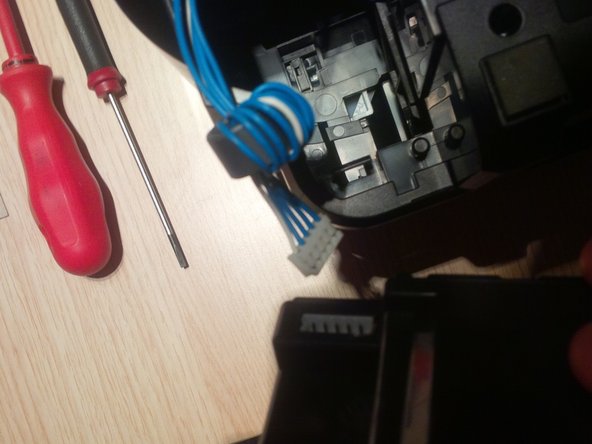
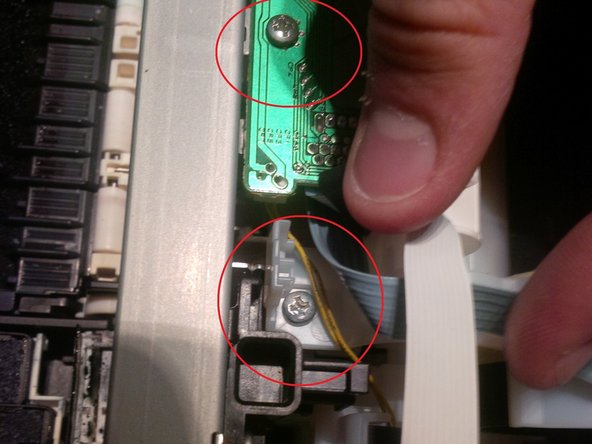
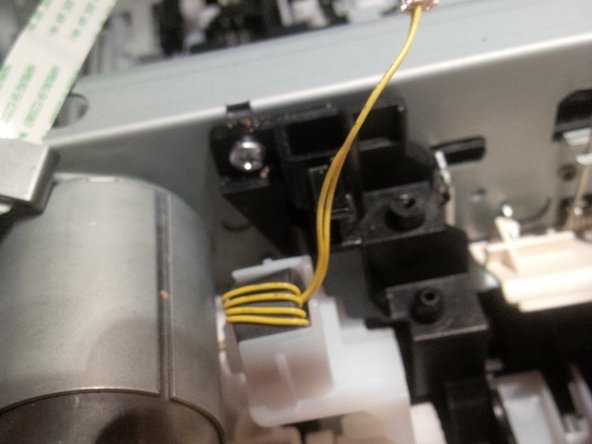
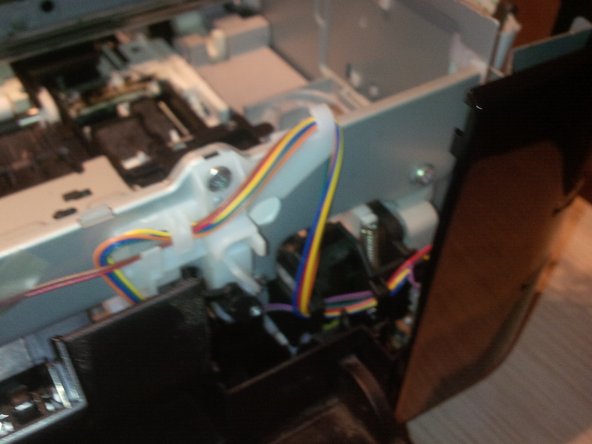
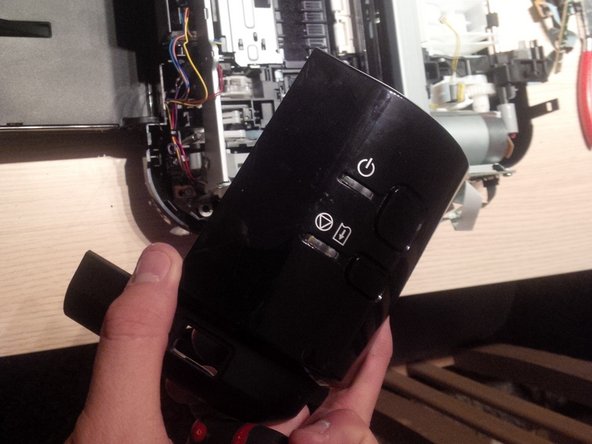
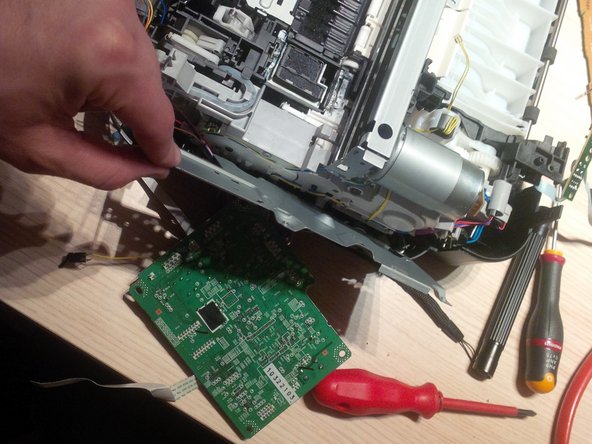
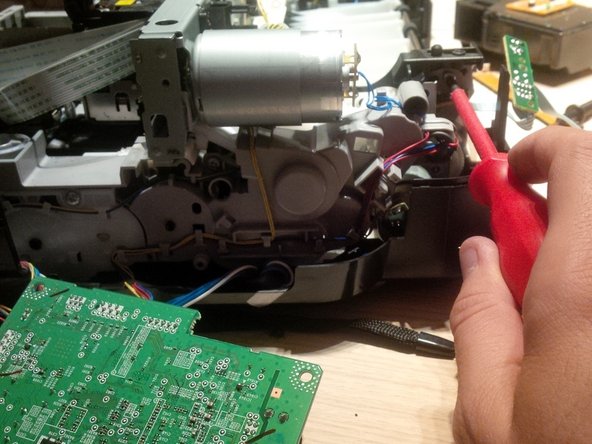
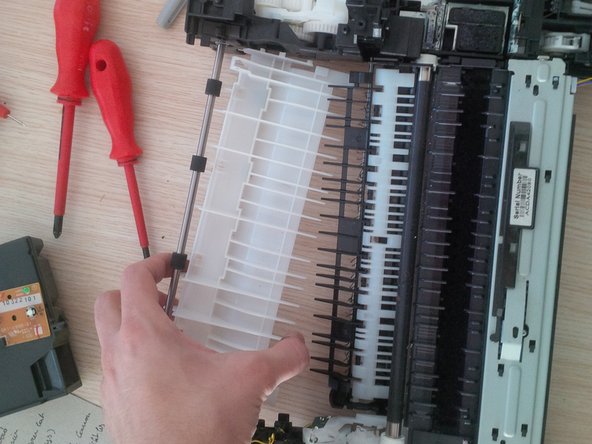
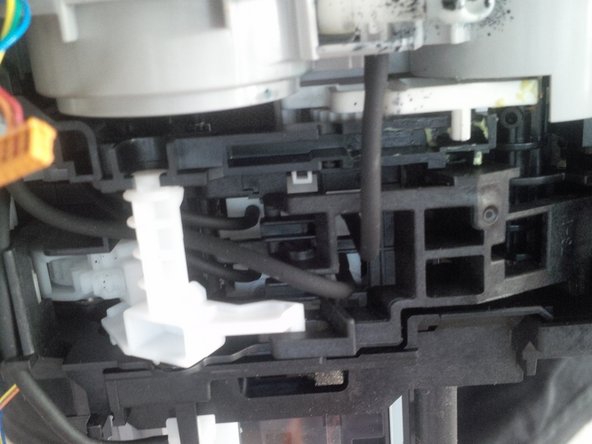
pull the power supply out of the printer, and you will see the white and blue wires. you will see this wires later in the printer again.
-
-


3 件のコメント
Fixing back the printer but the connector wires are damaged in the ends any better way to get the connectors working again?
unfortunately the Pixma MP printers and AIO are one of the most complicated to repair and undocumented in service guides printers in the world :(