はじめに
If your camera is malfunctioning, this guide will show you how to replace the camera lens.
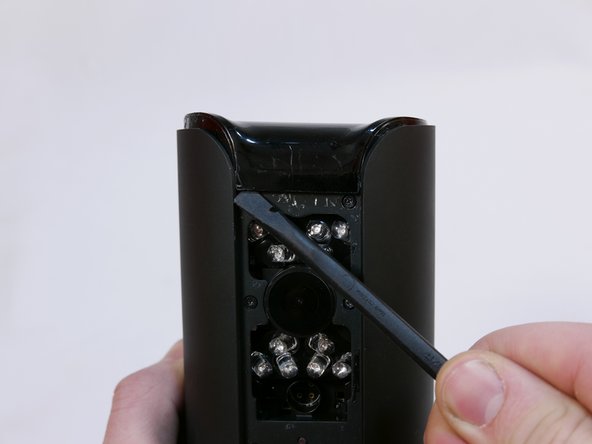
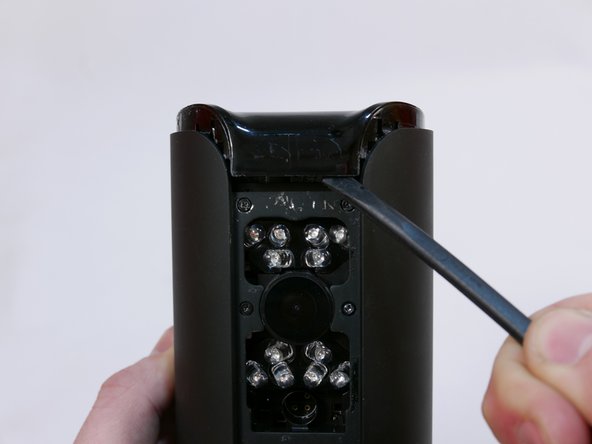
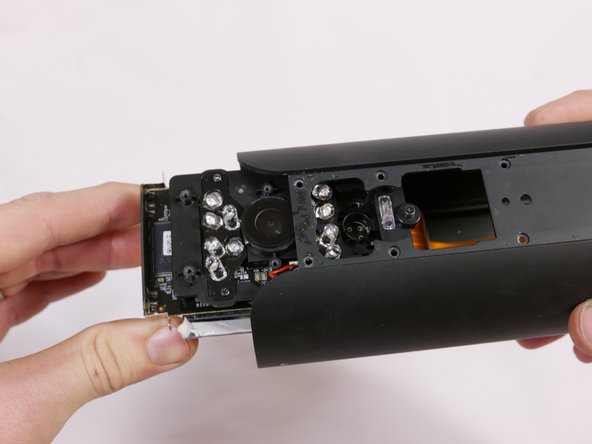
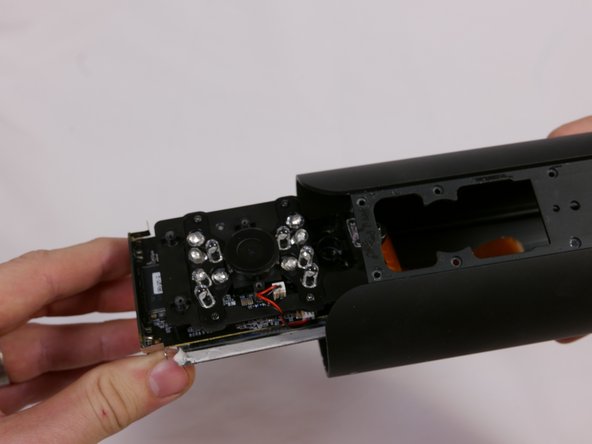
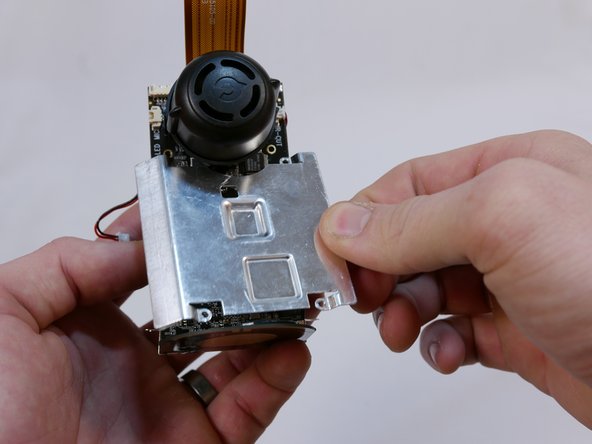
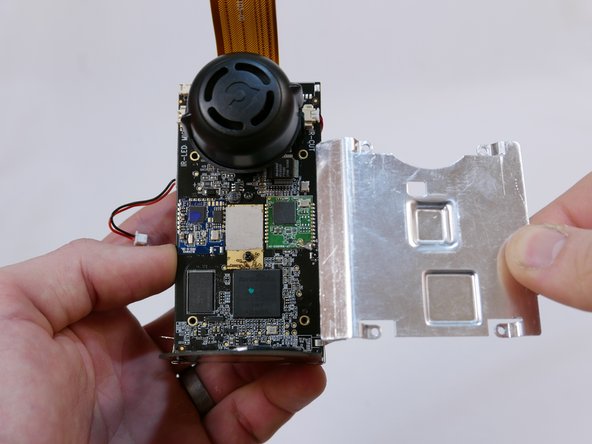
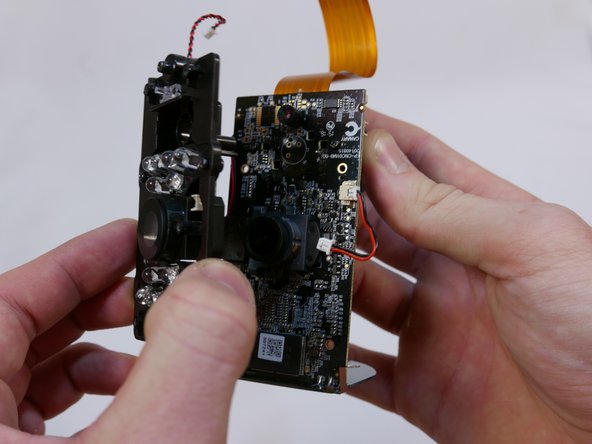
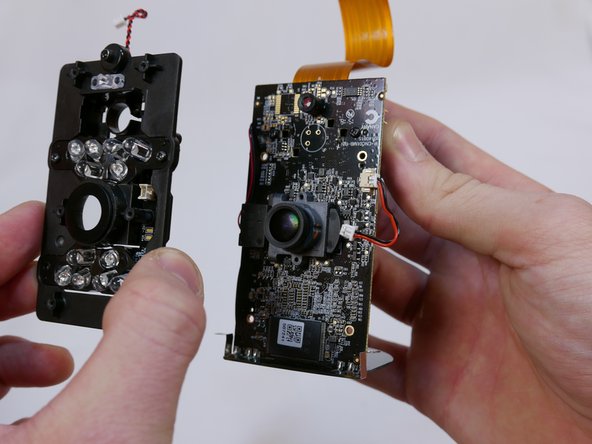
After you have removed the infrared LED board, the only thing keeping the camera lens in is two screws on the opposite side of the motherboard. Remember not to let the lens drop as you remove the two screws.
A Phillips #0 screwdriver can be used for these two screws.
必要な工具と部品
-
-
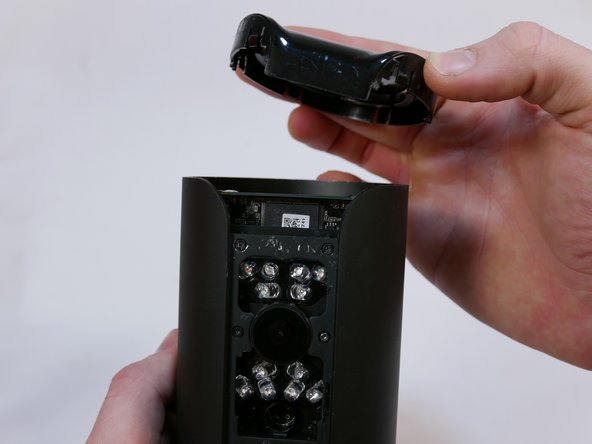
Grip the rubber ring with your fingers and pull up.
-
Rotate the Canary as you pull out one tab at a time.
-
-
-
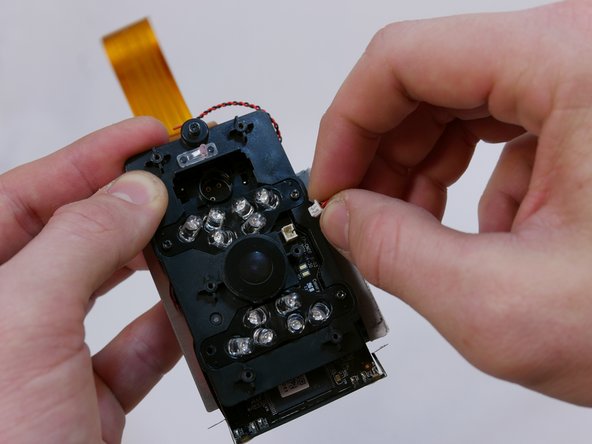
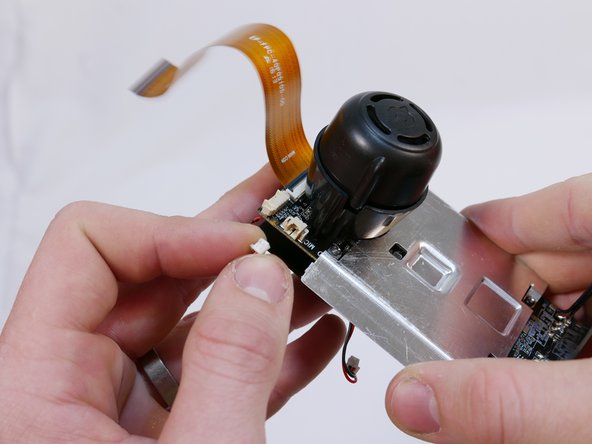
Use the pointed end of the spudger to flip up the small retaining flap on the ZIF (zero insertion force) connector.
-
Pull the ribbon cable out towards the device.
-
-
-
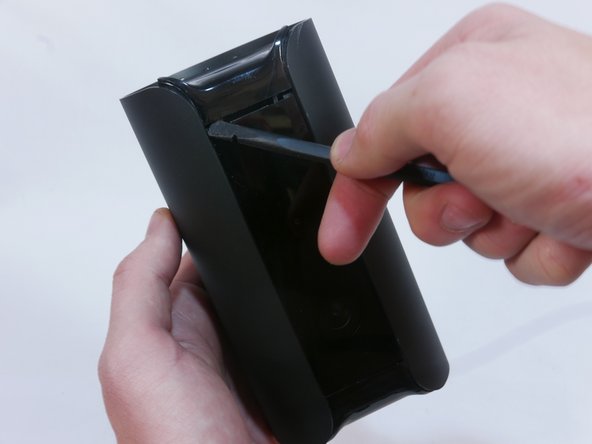
There are two empty nooks underneath the bottom of the panel close to each side of the case.
-
Place the pointed edge of the spudger in one of the nooks under the panel and pry upwards.
-
-
-
-
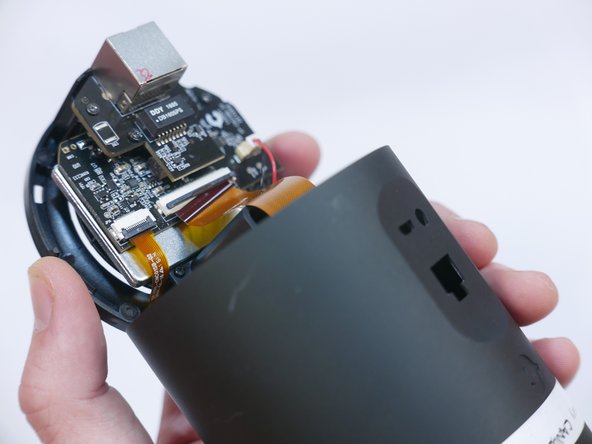
Use the flat end of the spudger to carefully pry off the top casing.
-
Alternate pushing up on the left and right sides until the inner clips are released.
-


To reassemble your device, follow these instructions in reverse order.
To reassemble your device, follow these instructions in reverse order.
3 の人々がこのガイドを完成させました。
チーム

USF Tampa, Team S1-G2, Nance Spring 2017 USF Tampa, Team S1-G2, Nance Spring 2017人のメンバー
USFT-NANCE-S17S1G2
4 メンバー
16のガイドは作成済み