はじめに
Both front and back cameras are connected as a single assembly and must be replaced together.
必要な工具と部品
-
-
Use a plastic opening tool to pry the back panel off by inserting it in between the front and back panel.
 FixBotに聞いてみる
-
-
この手順で使用する道具:Tweezers$4.99
-
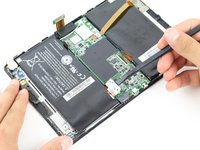
Remove the battery connector using either your fingers or a pair of tweezers.
-
-
-
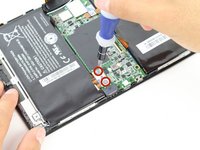
Unscrew two 1.17x2.9mm Phillips screws from the white connector port.
-
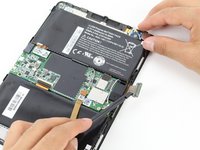
Lift the battery connector away from the motherboard using a spudger.
-
-
-
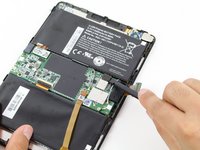
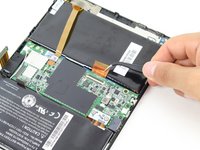
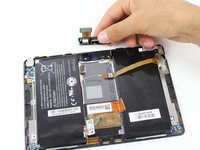
Remove the flat-top connector coming from across the camera assembly with a spudger.
-
-
-
-
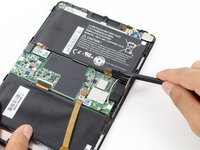
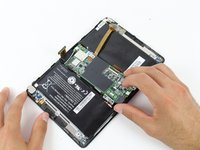
With the spudger, remove the flat-top connector coming from underneath the motherboard.
-
-
-
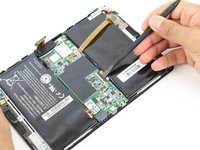
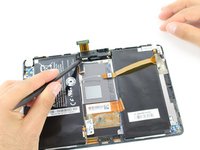
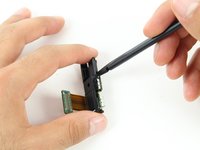
Remove the clipped ZIF data connector coming from underneath the motherboard.
-
Lift up the black plastic clip with a spudger.
-
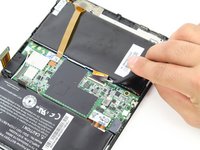
Pull the connector out gently using tweezers.
-
-
-
Remove the following five screws from the motherboard.
-
Three 1.5x2.5mm Phillips screws
-
Two 1.55x2.38mm Phillips screws
-
-
-
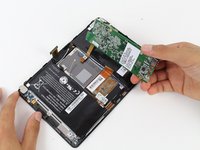
Lift all four antenna connectors from the motherboard again using the spudger.
-
-
-
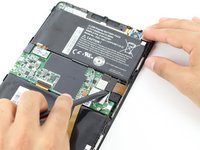
Gently lift the motherboard away from the device. If there is any resistance, check the previous steps to ensure that all connections have been removed.
-
-
-
Use a spudger to detach the flat-top connector from the camera assembly.
-
-
-
Pry the camera assembly away from the device, lifting the left side with a spudger.
-
-
-
Insert spudger between the plastic frame and circuit board.
-
Gently pry the plastic frame away from the rest of the camera assembly.
-


To reassemble your device, follow these instructions in reverse order.
2 の人々がこのガイドを完成させました。
チーム

Cal Poly, Team 14-27, Maness Fall 2014 Cal Poly, Team 14-27, Maness Fall 2014人のメンバー
CPSU-MANESS-F14S14G27
4 メンバー
12のガイドは作成済み