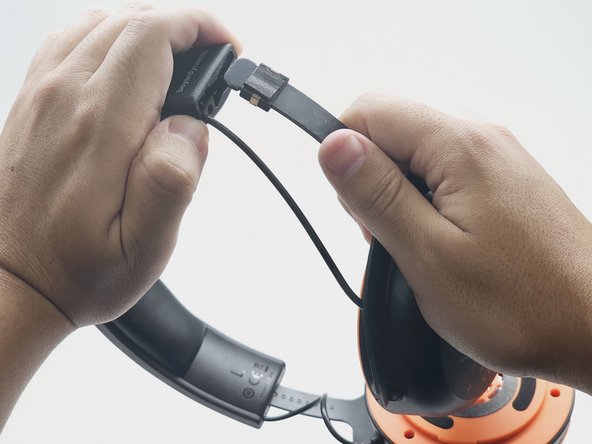
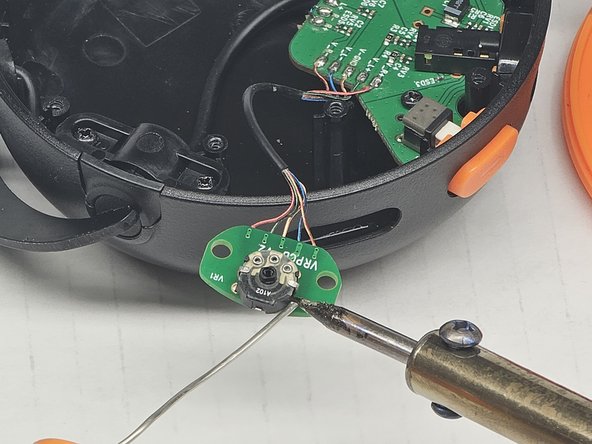
メインコンテンツにスキップ

Beyerdynamic MMX100 Volume Controller Repair

必要な工具と部品

  1. Beyerdynamic MMX100 Volume Controller Repair, Beyerdynamic MMX100 Volume Controller Repair: 手順 1、 3の画像 1 Beyerdynamic MMX100 Volume Controller Repair, Beyerdynamic MMX100 Volume Controller Repair: 手順 1、 3の画像 2 Beyerdynamic MMX100 Volume Controller Repair, Beyerdynamic MMX100 Volume Controller Repair: 手順 1、 3の画像 3
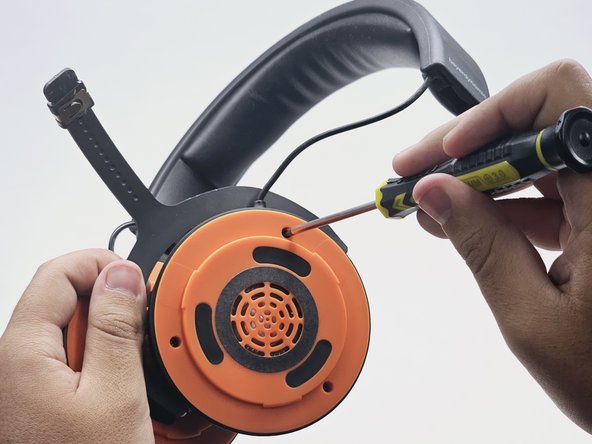
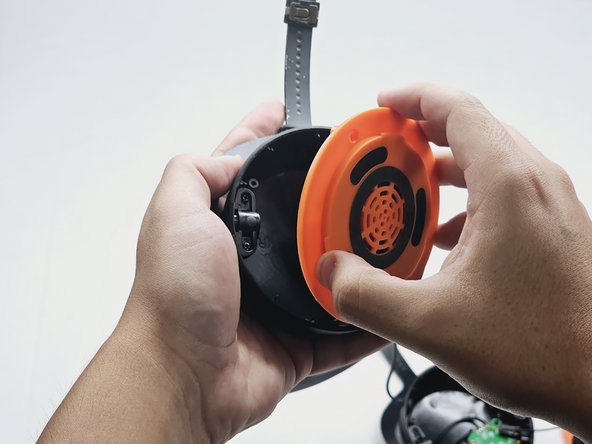
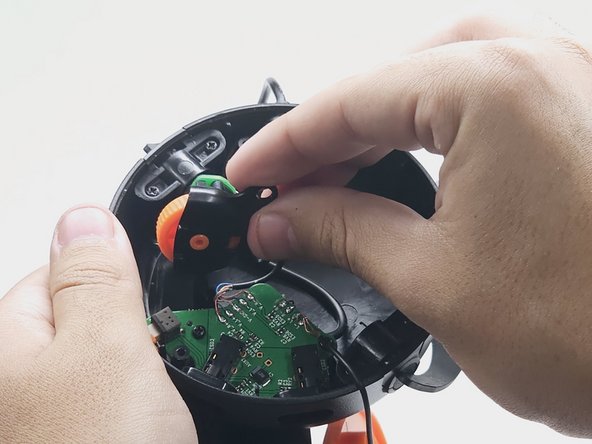
    • Twist the left speaker cushion towards you, and pull off the headset.

  2. Beyerdynamic MMX100 Volume Controller Repair: 手順 2、 3の画像 1 Beyerdynamic MMX100 Volume Controller Repair: 手順 2、 3の画像 2 Beyerdynamic MMX100 Volume Controller Repair: 手順 2、 3の画像 3
    • Using the 2.0mm Phillips-Head screwdriver, unscrew the two 0.6mm screws at the end of the left side headband.

  3. Beyerdynamic MMX100 Volume Controller Repair: 手順 3、 2の画像 1 Beyerdynamic MMX100 Volume Controller Repair: 手順 3、 2の画像 2
    • Hold open the top part of the headband. Slide out the left earphone.

  4. Beyerdynamic MMX100 Volume Controller Repair: 手順 4、 3の画像 1 Beyerdynamic MMX100 Volume Controller Repair: 手順 4、 3の画像 2 Beyerdynamic MMX100 Volume Controller Repair: 手順 4、 3の画像 3
    • Using the 3.0mm Phillips-Head Screwdriver, unscrew the three 0.7 mm screws on the left speaker cover.

  5. Beyerdynamic MMX100 Volume Controller Repair: 手順 5、 2の画像 1 Beyerdynamic MMX100 Volume Controller Repair: 手順 5、 2の画像 2
    • Using the 2.0mm Phillips-Head Screwdriver, unscrew the two 0.5mm screws on the volume control component.

  6. Beyerdynamic MMX100 Volume Controller Repair: 手順 6、 3の画像 1 Beyerdynamic MMX100 Volume Controller Repair: 手順 6、 3の画像 2 Beyerdynamic MMX100 Volume Controller Repair: 手順 6、 3の画像 3
    • Take out, and flip over, the volume control component.

  7. Beyerdynamic MMX100 Volume Controller Repair: 手順 7、 2の画像 1 Beyerdynamic MMX100 Volume Controller Repair: 手順 7、 2の画像 2
    • Using the 2.0mm Phillips-Head Screwdriver, unscrew the two 0.3mm screws on the board. Then, take off the volume wheel.

  8. Beyerdynamic MMX100 Volume Controller Repair: 手順 8、 2の画像 1 Beyerdynamic MMX100 Volume Controller Repair: 手順 8、 2の画像 2
    • Hazardous situation which, if not avoided, could result in minor or moderate injury.

    • Using a soldering iron, desolder the damaged wires and the prongs on either side of the board.

終わりに

To reassemble your device, follow these instructions in reverse order.

作成者

3人の作成者と共同で作成されました。

Anthony Grande

メンバー登録日: 10/23/23

157 ポイント

1ガイドが承認済み

チーム

CSU Los Angeles, Team 5-9, Kershman Fall 2023 CSU Los Angeles, Team 5-9, Kershman Fall 2023人のメンバー

CSULA-KERSHMAN-F23S5G9

1 メンバー

1のガイドは作成済み

0 件のコメント

コメントを追加

統計データ:

過去 24時間: 1

過去 7 日: 10

過去 30 日: 61

今までの合計 170