メインコンテンツにスキップ
リペアコミュニティに参加 - アカウントの作成

Ball Bearing Cone Adjustment and Installation

必要な工具と部品

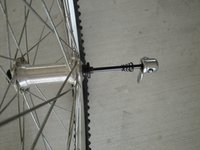
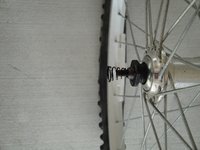
  1. Ball Bearing Cone Adjustment and Installation, Rear Wheel: 手順 1、 2の画像 1 Ball Bearing Cone Adjustment and Installation, Rear Wheel: 手順 1、 2の画像 2
    • Flip the quick release lever on the wheel.

    FixBotに聞いてみる
  2. Ball Bearing Cone Adjustment and Installation: 手順 2、 1の画像 1
    • Squeeze the brake arms together and lift the brake cable from the caliper arms.

    FixBotに聞いてみる
  3. Ball Bearing Cone Adjustment and Installation: 手順 3、 1の画像 1
    • Hold the wheel to the ground, and pull the bike frame up and away to remove the wheel from the bike.

    FixBotに聞いてみる
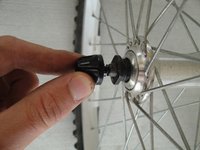
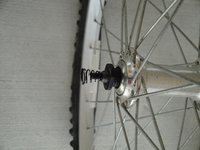
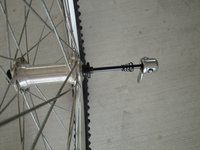
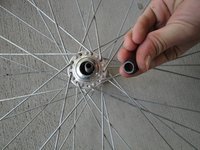
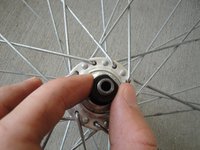
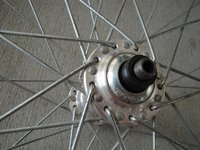
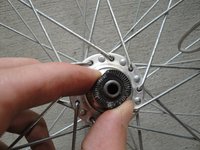
  4. Ball Bearing Cone Adjustment and Installation, Ball Bearing Cone Adjustment and Installation: 手順 4、 3の画像 1 Ball Bearing Cone Adjustment and Installation, Ball Bearing Cone Adjustment and Installation: 手順 4、 3の画像 2 Ball Bearing Cone Adjustment and Installation, Ball Bearing Cone Adjustment and Installation: 手順 4、 3の画像 3
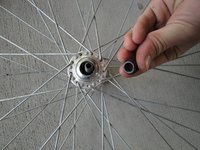
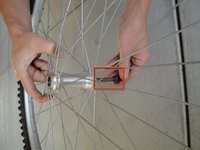
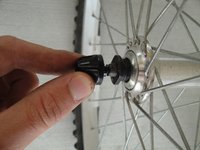
    • Unscrew the quick release nut from the quick release axle. Remove the quick release axle.

    • After removing the axle you should notice that there are two springs on it. Be careful not to lose these.

    FixBotに聞いてみる
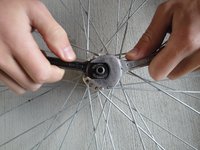
  5. Ball Bearing Cone Adjustment and Installation: 手順 5、 2の画像 1 Ball Bearing Cone Adjustment and Installation: 手順 5、 2の画像 2
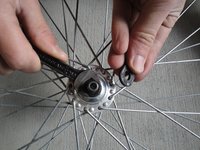
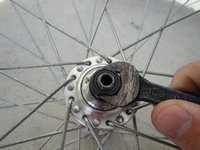
    • Fit the cone wrench to the cone, and fit the open end wrench to the top lock nut. Hold the cone in place with the cone wrench and turn the open end wrench to loosen and remove the top lock nut.

    • Keep track of which side each lock nut goes on. The order is important because the threading for each nut is specific for each side.

    FixBotに聞いてみる
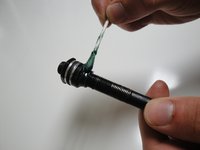
  6. Ball Bearing Cone Adjustment and Installation: 手順 6、 2の画像 1 Ball Bearing Cone Adjustment and Installation: 手順 6、 2の画像 2
    • Unscrew the cone, and set it aside.

    • Keep track of which side each cone goes on. The order is important because the threading for each cone is specific for each side.

    FixBotに聞いてみる
  7. Ball Bearing Cone Adjustment and Installation: 手順 7、 2の画像 1 Ball Bearing Cone Adjustment and Installation: 手順 7、 2の画像 2
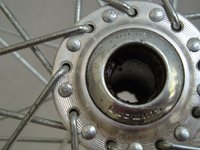
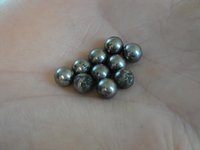
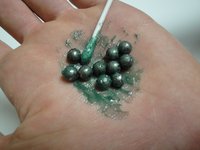
    • Remove the axle and all ball bearings.

    • Caution: There are 10 ball bearings on each side, be careful not to lose any if you plan on putting the old ones back in!

    FixBotに聞いてみる
  8. Ball Bearing Cone Adjustment and Installation: 手順 8、 3の画像 1 Ball Bearing Cone Adjustment and Installation: 手順 8、 3の画像 2 Ball Bearing Cone Adjustment and Installation: 手順 8、 3の画像 3
    • Inspect cone surfaces and all ball bearings for dents, cracks or blemishes.

    • If any are damaged, replace them.

    FixBotに聞いてみる
  9. Ball Bearing Cone Adjustment and Installation: 手順 9、 1の画像 1
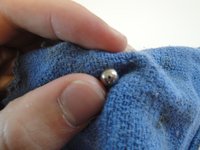
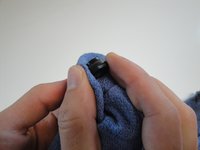
    • Clean bearings, the bearing races, and cones by wiping them off with a rag.

    FixBotに聞いてみる
  10. Ball Bearing Cone Adjustment and Installation: 手順 10、 2の画像 1 Ball Bearing Cone Adjustment and Installation: 手順 10、 2の画像 2
    • Liberally apply grease to the bearings, races, and cones.

    FixBotに聞いてみる
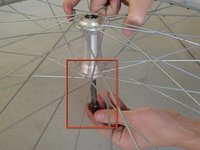
  11. Ball Bearing Cone Adjustment and Installation: 手順 11、 1の画像 1
    • Insert the axle back into the wheel, with the still attached nut and cone on the bottom side of the wheel.

    FixBotに聞いてみる
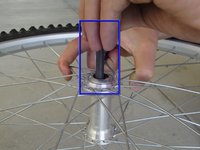
  12. Ball Bearing Cone Adjustment and Installation: 手順 12、 1の画像 1
    • Insert 10 bearings into the topmost bearing races.

    • Make sure that you insert exactly 10. If you insert too many or too few, it can damage the bearings.

    FixBotに聞いてみる
  13. Ball Bearing Cone Adjustment and Installation: 手順 13、 2の画像 1 Ball Bearing Cone Adjustment and Installation: 手順 13、 2の画像 2
    • Carefully drop the axle out from the bottom of the wheel.

    • Re-insert the axle from the top side of the wheel, so that the attached nut and bearing and cone set are now sticking out of the top.

    • Now flip the wheel upside down.

    FixBotに聞いてみる
  14. Ball Bearing Cone Adjustment and Installation: 手順 14、 1の画像 1
    • Insert the remaining 10 bearings into the bearing races on the opposite side.

    • Caution: make sure you insert exactly 10 bearings into each bearing race.

    FixBotに聞いてみる
  15. Ball Bearing Cone Adjustment and Installation: 手順 15、 2の画像 1 Ball Bearing Cone Adjustment and Installation: 手順 15、 2の画像 2
    • Hand tighten bearing cone onto the free end of the axle, so that it touches the bearings without putting any pressure on them.

    • Ideally, there should be no movement or give in the axle when you pull on it or try to wiggle it. Additionally, the axle should be able to spin freely in the wheel, with minimal resistance.

    FixBotに聞いてみる
  16. Ball Bearing Cone Adjustment and Installation: 手順 16、 2の画像 1 Ball Bearing Cone Adjustment and Installation: 手順 16、 2の画像 2
    • Slide the washer onto the axle.

    • Hand tighten the lock nut against the cone and washer.

    FixBotに聞いてみる
  17. Ball Bearing Cone Adjustment and Installation: 手順 17、 1の画像 1
    • Once in proper position, use the cone wrench and open wrench to tighten the lock nut.

    • Tighten the lock nut VERY tightly. Otherwise the wheel can come out of alignment while you are riding.

    FixBotに聞いてみる
  18. Ball Bearing Cone Adjustment and Installation: 手順 18、 1の画像 1
    • Check the way that the axle spins in the wheel. The action should be smooth, with virtually no slop when wiggled. If it is to tight or too sloppy then you need to repeat the previous step.

    FixBotに聞いてみる
  19. Ball Bearing Cone Adjustment and Installation: 手順 19、 3の画像 1 Ball Bearing Cone Adjustment and Installation: 手順 19、 3の画像 2 Ball Bearing Cone Adjustment and Installation: 手順 19、 3の画像 3
    • Reinsert the quick release axle, and put the wheel back on the bike.

    • The springs should have the smaller tapered end closest to the hub

    FixBotに聞いてみる
ゴール

3 の人々がこのガイドを完成させました。

作成者

6人の作成者と共同で作成されました。

Tyler Parra

メンバー登録日: 10/10/10

472 ポイント

1ガイドが承認済み

チーム

Cal Poly, Team 5-13, Maness Fall 2010 Cal Poly, Team 5-13, Maness Fall 2010人のメンバー

CPSU-MANESS-F10S5G13

4 メンバー

21のガイドは作成済み

1件のガイドコメント

Display and text were really helpful. I was wondering what happened to the sprocket assembly. from steps 1 through 3. This worked fine for the front wheel when I did it, but I'm not sure about working on the rear wheel. Does the sprocket assembly stay on the axle when you take off the lock nut and cone from the other side? Thanks Bob

Bob Walsh - 返信 共有

コメントを追加

統計データ:

過去 24時間: 4

過去 7 日: 16

過去 30 日: 84

今までの合計 18,189