メインコンテンツにスキップ

Backbone One Right Mainboard Replacement

必要な工具と部品

  1. Backbone One Right Mainboard Replacement, Remove the screws: 手順 1、 1の画像 1
    • Use a Phillips screwdriver to remove the four 5.9 mm-long screws.

  2. Backbone One Right Mainboard Replacement, Rotate the upper part: 手順 2、 3の画像 1 Backbone One Right Mainboard Replacement, Rotate the upper part: 手順 2、 3の画像 2 Backbone One Right Mainboard Replacement, Rotate the upper part: 手順 2、 3の画像 3
    • Lift up the upper cover of the controller.

    • Swing the upper cover over and place it on the controller case.

    • Make sure that the interconnecting cable has no tension.

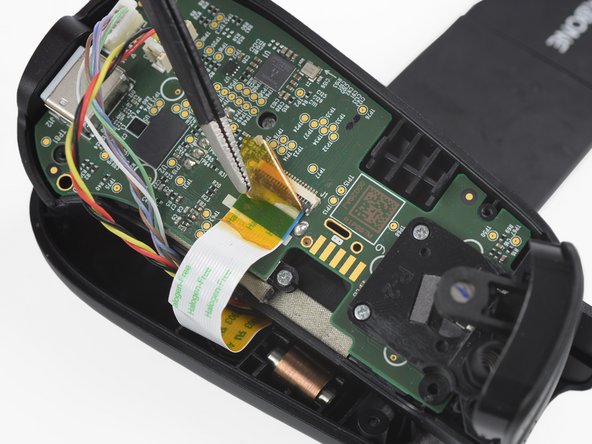
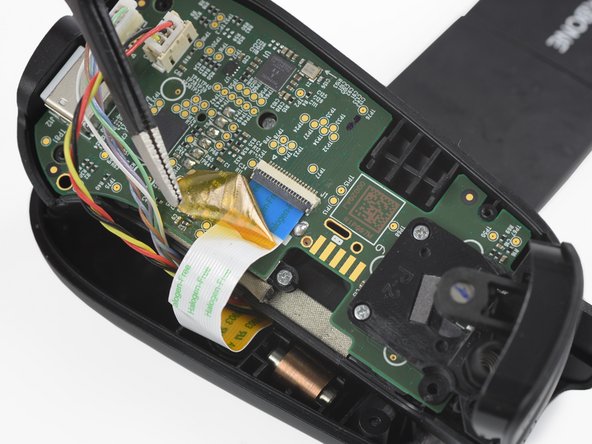
  3. Backbone One Right Mainboard Replacement, Remove the protective tape: 手順 3、 3の画像 1 Backbone One Right Mainboard Replacement, Remove the protective tape: 手順 3、 3の画像 2 Backbone One Right Mainboard Replacement, Remove the protective tape: 手順 3、 3の画像 3
    この手順で使用する道具:
    Tweezers
    $4.99
    購入する
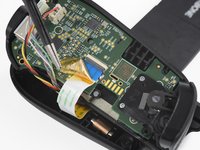
    • Use a pair of tweezers to remove the yellow protective tape which is placed over the interconnect cable and the connector.

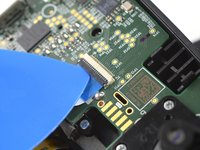
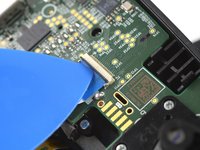
  4. Backbone One Right Mainboard Replacement, Open the interconnect cable ZIF connector: 手順 4、 3の画像 1 Backbone One Right Mainboard Replacement, Open the interconnect cable ZIF connector: 手順 4、 3の画像 2 Backbone One Right Mainboard Replacement, Open the interconnect cable ZIF connector: 手順 4、 3の画像 3
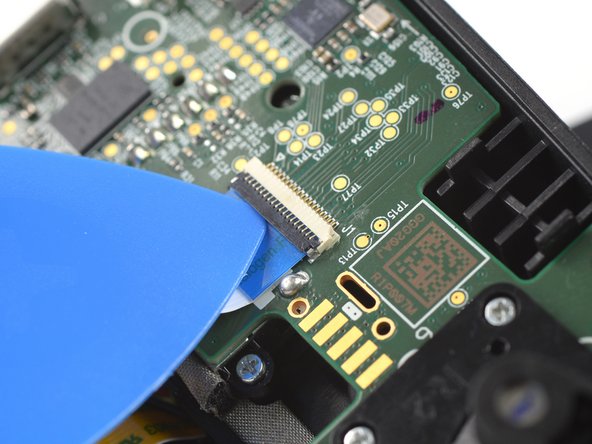
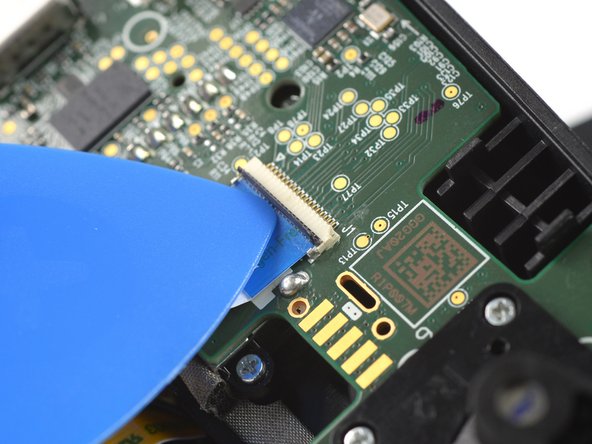
    • Use the tip of an opening pick to open the gray flap of the interconnect cable ZIF connector by pushing it upwards.

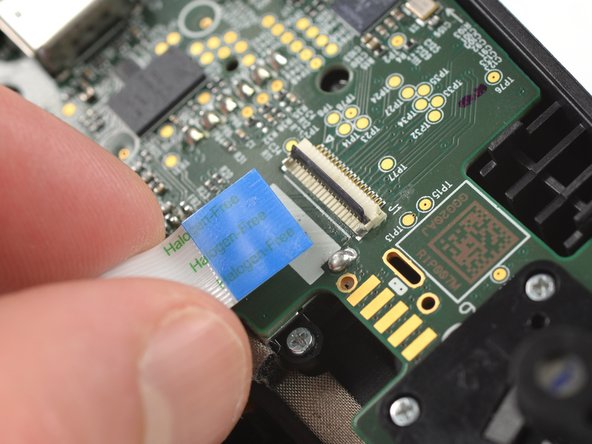
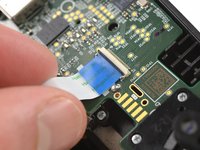
  5. Backbone One Right Mainboard Replacement, Disconnect the interconnect cable: 手順 5、 2の画像 1 Backbone One Right Mainboard Replacement, Disconnect the interconnect cable: 手順 5、 2の画像 2
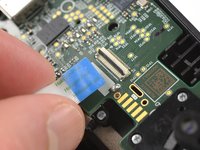
    • Disconnect the cable by pulling it straight out the ZIF connector.

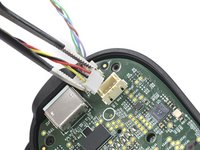
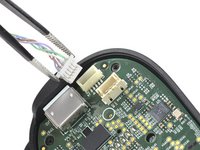
  6. Backbone One Right Mainboard Replacement, Disconnect the phone connector cables: 手順 6、 3の画像 1 Backbone One Right Mainboard Replacement, Disconnect the phone connector cables: 手順 6、 3の画像 2 Backbone One Right Mainboard Replacement, Disconnect the phone connector cables: 手順 6、 3の画像 3
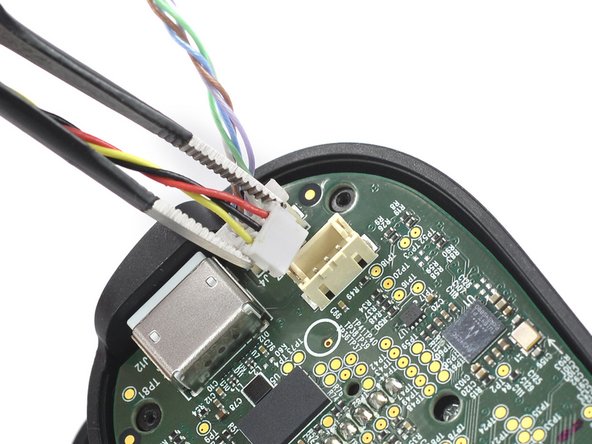
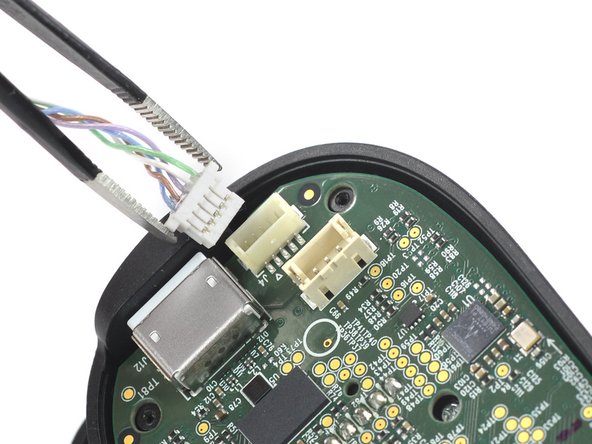
    • Use a pair of tweezers to disconnect the phone connector cables out from their sockets.

  7. Backbone One Right Mainboard Replacement, Separate the upper case: 手順 7、 1の画像 1
    • Separate the the upper case of the left controller handle.

  8. Backbone One Right Mainboard Replacement, Remove the screws: 手順 8、 1の画像 1
    • Use a Phillips screwdriver to remove the three 5.9 mm-long screws.

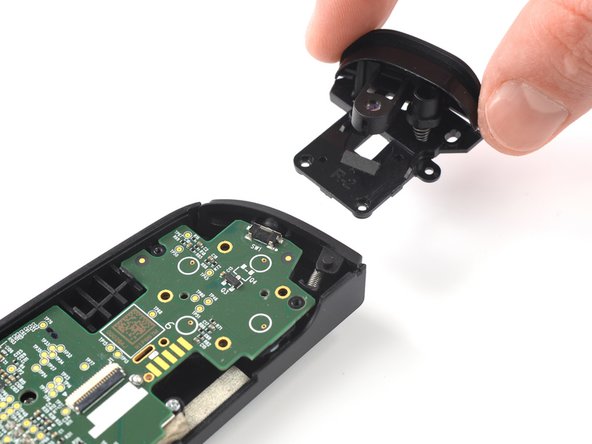
  9. Backbone One Right Mainboard Replacement, Remove the trigger: 手順 9、 2の画像 1 Backbone One Right Mainboard Replacement, Remove the trigger: 手順 9、 2の画像 2
    • Remove the trigger.

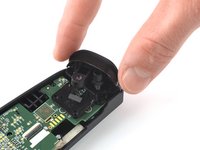
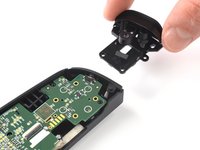
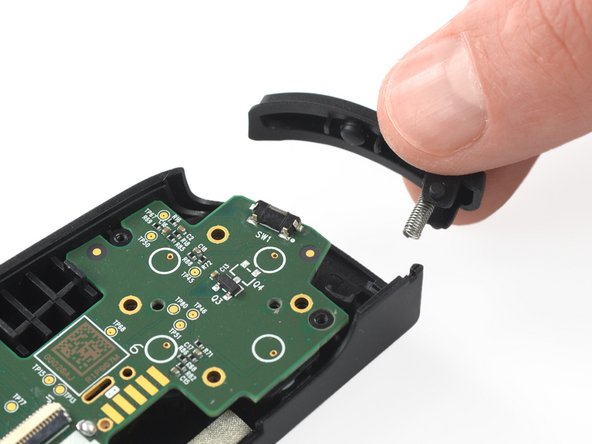
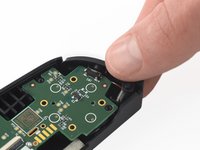
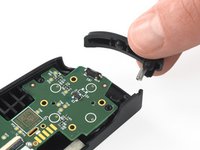
  10. Backbone One Right Mainboard Replacement, Remove the bumper: 手順 10、 2の画像 1 Backbone One Right Mainboard Replacement, Remove the bumper: 手順 10、 2の画像 2
    • Remove the bumper.

  11. Backbone One Right Mainboard Replacement, Remove the screws: 手順 11、 1の画像 1
    • Use a Phillips screwdriver to remove the two 3.9 mm-long screws.

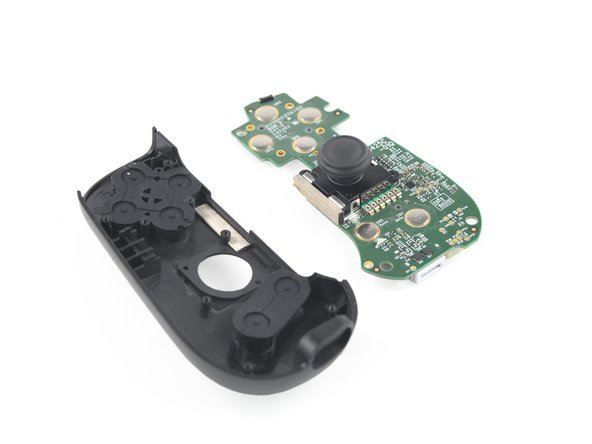
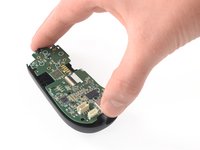
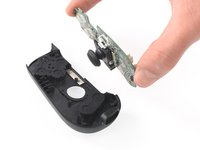
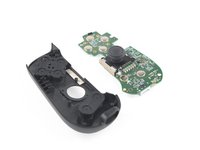
  12. Backbone One Right Mainboard Replacement, Remove the mainboard: 手順 12、 3の画像 1 Backbone One Right Mainboard Replacement, Remove the mainboard: 手順 12、 3の画像 2 Backbone One Right Mainboard Replacement, Remove the mainboard: 手順 12、 3の画像 3
    • Remove the mainboard.

終わりに

To reassemble your device, follow these instructions in reverse order.

Take your e-waste to an R2 or e-Stewards certified recycler.

Repair didn’t go as planned? Ask our Answers community for help.

ある他の人がこのガイドを完成しました。

Adriana Zwink

メンバー登録日: 12/18/19

48,633 ポイント

167のガイドは作成済み

チーム

iFixit iFixit人のメンバー

Staff

136 メンバー

17,298のガイドは作成済み

0 件のコメント

コメントを追加

統計データ:

過去 24時間: 1

過去 7 日: 8

過去 30 日: 52

今までの合計 881