メインコンテンツにスキップ

Backbone One Left Mainboard Replacement

必要な工具と部品

  1. Backbone One Left Mainboard Replacement, Unfasten the screws: 手順 1、 1の画像 1
    • Use a Phillips screwdriver to remove the four 5.9 mm-long screws.

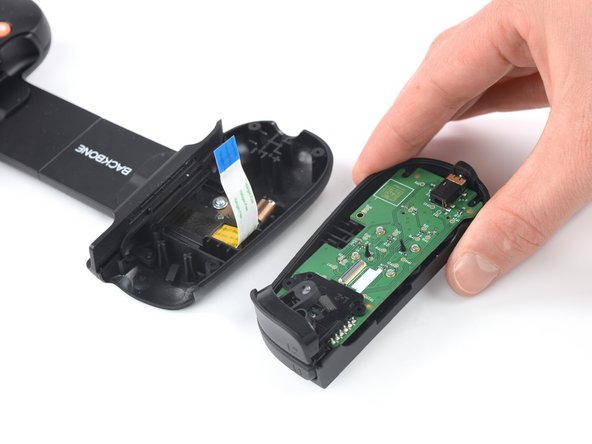
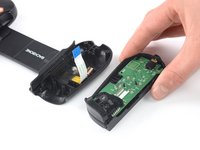
  2. Backbone One Left Mainboard Replacement, Rotate the upper cover: 手順 2、 3の画像 1 Backbone One Left Mainboard Replacement, Rotate the upper cover: 手順 2、 3の画像 2 Backbone One Left Mainboard Replacement, Rotate the upper cover: 手順 2、 3の画像 3
    • Lift up the upper part of the controller.

    • Swing over the upper cover and place it on the controller case.

    • Take care that the interconnecting cable has no tension.

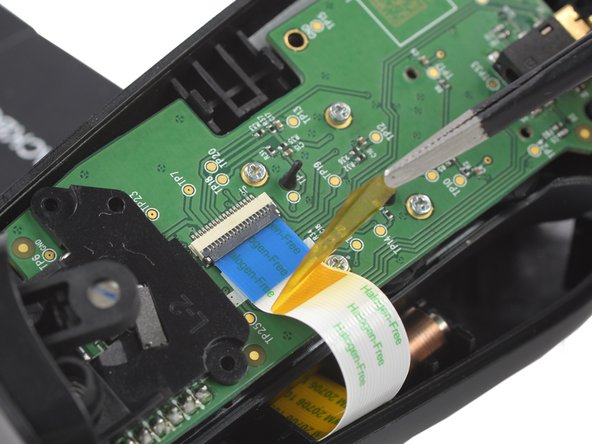
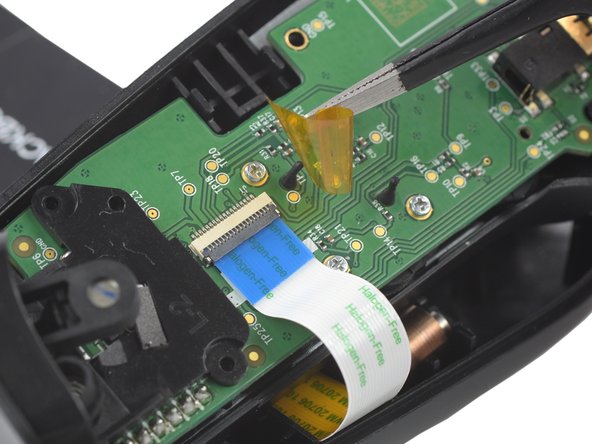
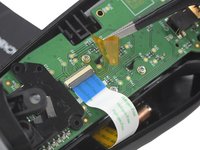
  3. Backbone One Left Mainboard Replacement, Remove the protective tape: 手順 3、 3の画像 1 Backbone One Left Mainboard Replacement, Remove the protective tape: 手順 3、 3の画像 2 Backbone One Left Mainboard Replacement, Remove the protective tape: 手順 3、 3の画像 3
    • Use a pair of tweezers to remove the yellow protective tape which is placed over the interconnect cable connector.

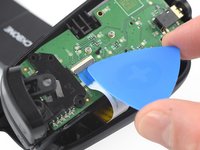
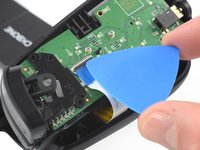
  4. Backbone One Left Mainboard Replacement, Open the ZIF connector: 手順 4、 2の画像 1 Backbone One Left Mainboard Replacement, Open the ZIF connector: 手順 4、 2の画像 2
    • Use the tip of an opening pick to open the gray flap of the ZIF connector by pushing it upwards.

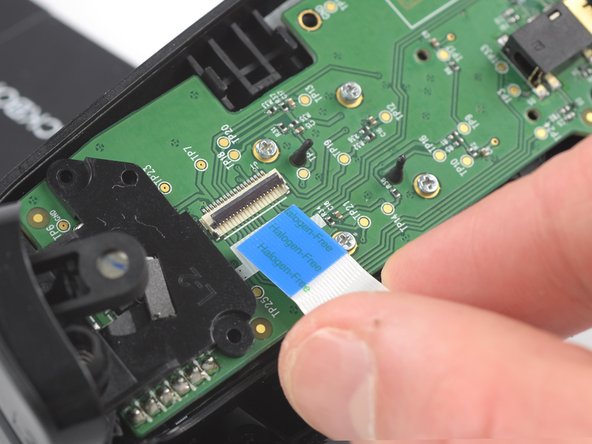
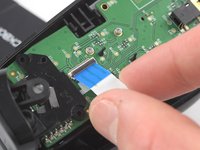
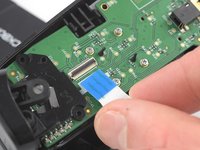
  5. Backbone One Left Mainboard Replacement, Disconnect the interconnect cable: 手順 5、 2の画像 1 Backbone One Left Mainboard Replacement, Disconnect the interconnect cable: 手順 5、 2の画像 2
    • Use your fingers to disconnect the interconnect cable from its connector.

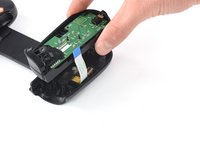
  6. Backbone One Left Mainboard Replacement: 手順 6、 2の画像 1 Backbone One Left Mainboard Replacement: 手順 6、 2の画像 2
    • Remove the upper half of the left controller assembly.

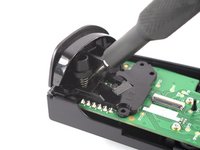
  7. Backbone One Left Mainboard Replacement, Remove the screw: 手順 7、 2の画像 1 Backbone One Left Mainboard Replacement, Remove the screw: 手順 7、 2の画像 2
    • Use a Phillips screwdriver to remove the 5.9 mm-long screw which is securing the trigger.

    • The screw is difficult to reach. Insert the screwdriver at an angle of 45 degrees.

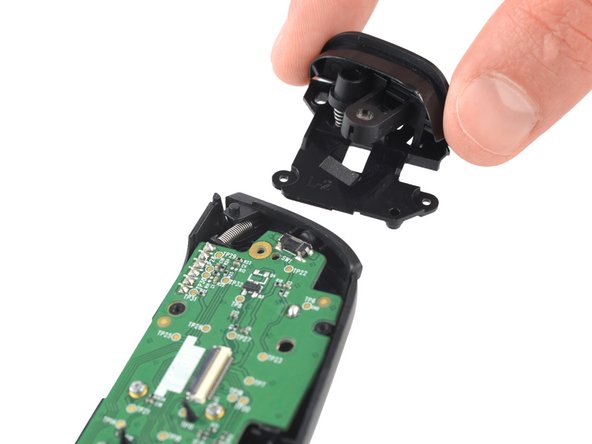
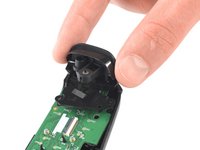
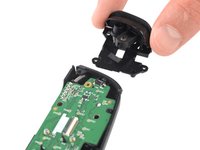
  8. Backbone One Left Mainboard Replacement, Remove the trigger: 手順 8、 2の画像 1 Backbone One Left Mainboard Replacement, Remove the trigger: 手順 8、 2の画像 2
    • Remove the left trigger.

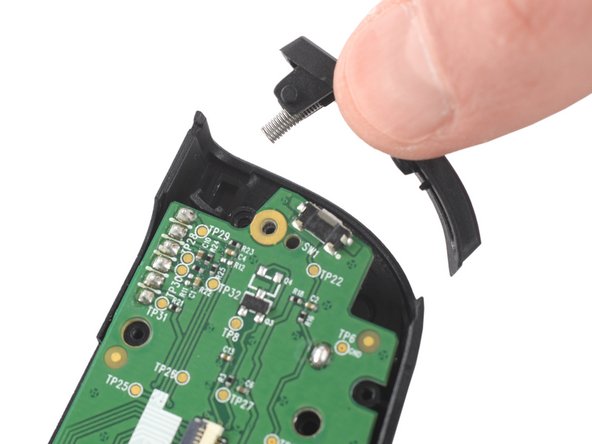
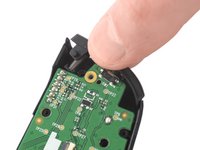
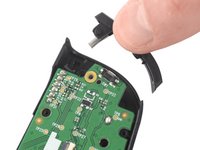
  9. Backbone One Left Mainboard Replacement, Remove the bumper: 手順 9、 2の画像 1 Backbone One Left Mainboard Replacement, Remove the bumper: 手順 9、 2の画像 2
    • Use your fingers to remove the left bumper.

  10. Backbone One Left Mainboard Replacement, Remove the screws: 手順 10、 1の画像 1
    • Use a Phillips screwdriver to remove the four 3.9 mm-long screws.

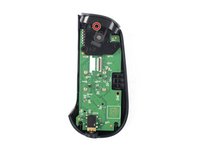
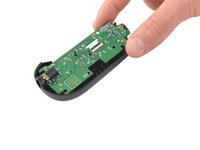
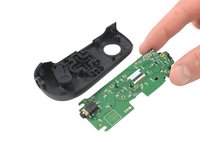
  11. Backbone One Left Mainboard Replacement, Remove the mainboard: 手順 11、 2の画像 1 Backbone One Left Mainboard Replacement, Remove the mainboard: 手順 11、 2の画像 2
    • Remove the mainboard.

終わりに

To reassemble your device, follow these instructions in reverse order.

Take your e-waste to an R2 or e-Stewards certified recycler.

Repair didn’t go as planned? Ask our Answers community for help.

2 の人々がこのガイドを完成させました。

Adriana Zwink

メンバー登録日: 12/18/19

48,052 ポイント

167のガイドは作成済み

チーム

iFixit iFixit人のメンバー

Staff

135 メンバー

16,732のガイドは作成済み

0 件のコメント

コメントを追加

統計データ:

過去 24時間: 1

過去 7 日: 11

過去 30 日: 61

今までの合計 1,425