はじめに
If you can no longer use your Azpen A740 tablet because the battery no longer holds a charge or has malfunctioned, and you cannot use your device as a result, use this guide to replace the battery.
Before beginning this repair, power off your device and unplug from the charger.
必要な工具と部品
-
-
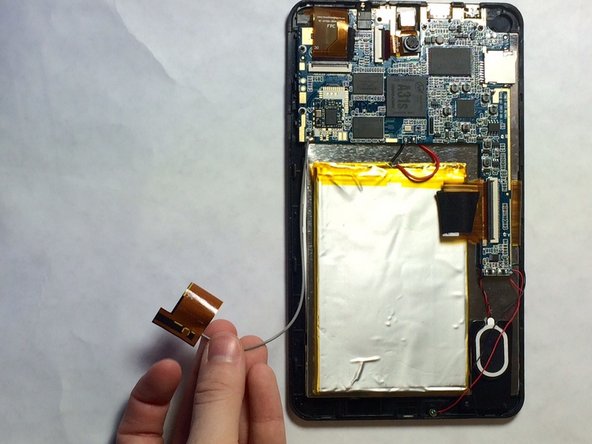
Use the plastic opening tool or black spudger tool to lift the back panel off the tablet.
-
-
-
Use the set of plastic opening tools to separate the inner backing from the electronics.
-
Use the Phillips screwdriver to remove the 3.8 mm screws, holding the inner backing of Azpen A740 Tablet.
-
-


To reassemble your device, follow these instructions in reverse order.
To reassemble your device, follow these instructions in reverse order.
チーム

USF Tampa, Team 4-5, Brown Winter 2015 USF Tampa, Team 4-5, Brown Winter 2015人のメンバー
USFT-BROWN-W15S4G5
3 メンバー
12のガイドは作成済み