メインコンテンツにスキップ

Atari Lynx Battery Wire Replacement

必要な工具と部品

  1. Atari Lynx Battery Wire Replacement, Atari Lynx: 手順 1、 1の画像 1
    • Before disassembling your Atari Lynx, be sure the device is powered off.

    • Remove any game in the console by opening the right latch and sliding the game to the right.

  2. Atari Lynx Battery Wire Replacement: 手順 2、 1の画像 1
    • Remove the four 35 mm Phillips #1 screws at each corner of the backside on the Atari Lynx.

    • Pinch the rear panel with your fingers and lift away from the Atari.

  3. Atari Lynx Battery Wire Replacement: 手順 3、 1の画像 1
    • Remove the battery panel by pinching the sides with your fingers and lifting it away from the Atari.

    • Be sure not to tear any wires attached to battery panel.

  4. Atari Lynx Battery Wire Replacement: 手順 4、 1の画像 1
    • Remove the control panel by pinching the sides with your fingers and lifting it away from the Atari.

    • Be sure not to tear the speaker wire while removing the control panel.

  5. Atari Lynx Battery Wire Replacement, Battery Wires: 手順 5、 1の画像 1
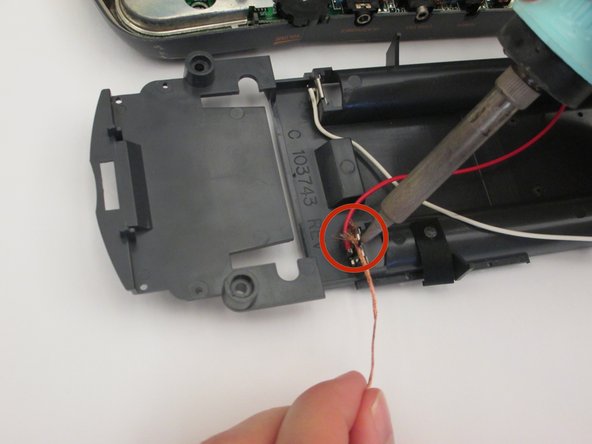
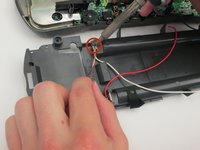
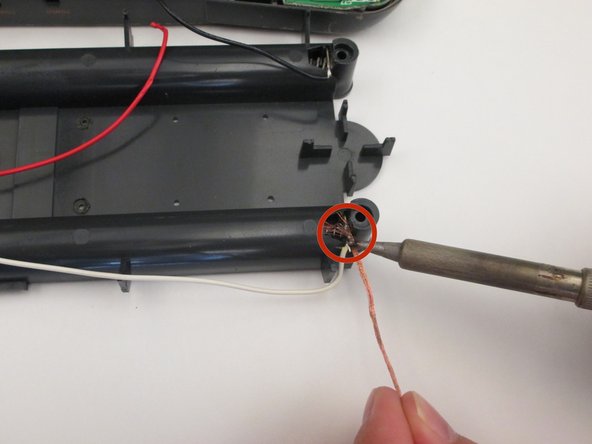
    • Desolder both the black and red wire as shown.

    • If you need help with basic desoldering, click here.

  6. Atari Lynx Battery Wire Replacement: 手順 6、 1の画像 1
    • Desolder the black wire as shown.

  7. Atari Lynx Battery Wire Replacement: 手順 7、 2の画像 1 Atari Lynx Battery Wire Replacement: 手順 7、 2の画像 2
    • Desolder the white wire and then the red wire as shown.

  8. Atari Lynx Battery Wire Replacement: 手順 8、 1の画像 1
    • Desolder the white wire as shown in order for the battery pack to be completely removed from the device.

終わりに

To reassemble your device, follow these instructions in reverse order.

作成者

5人の作成者と共同で作成されました。

John Lopez

メンバー登録日: 01/27/14

443 ポイント

4のガイドは作成済み

チーム

Cal Poly, Team 1-42, Maness Winter 2014 Cal Poly, Team 1-42, Maness Winter 2014人のメンバー

CPSU-MANESS-W14S1G42

5 メンバー

16のガイドは作成済み

0 件のコメント

コメントを追加

統計データ:

過去 24時間: 0

過去 7 日: 4

過去 30 日: 12

今までの合計 1,715