必要な工具と部品
-
-
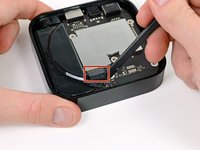
As the device base is firmly clipped, insert two metal spudgers to gently release the first clips.
 FixBotに聞いてみる
-
-
-
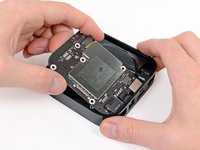
Continue releasing the last plastic clips with your hands taking care not to break any of the plastic elements attached to the base.
-
-
-
-
Use a philips screwdriver to remove the 5 screws securing the metal heat sink. On Rev A (A1469) you need a T7 srewdriver
-
-
-
Before you remove completely the power supply, unscrew the T6 screws on each side of the socket.
-
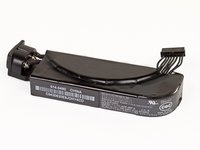
You may now be able to remove the power supply with a spudger.
-
Do not pull the wires to remove the power supply. The connector is fragile.
-
The rating of the power supply is 3.4V at 1.75A, which is identical to the 2nd Gen Apple TV's 5.95 watts.
-
-
-
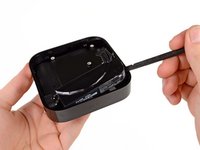
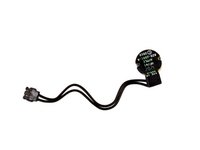
The last remaining part in the Apple TV is the status LED. You can remove this part with your plastic spudger.
-


To reassemble your device, follow these instructions in reverse order.
4 の人々がこのガイドを完成させました。
