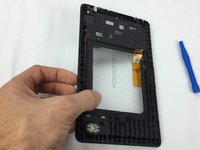
はじめに
通常、スクリーンはタブレットで最初に破損するもので、LCDパネルはユーザーのタッチを感知し、スクリーン上に画像を表示します。
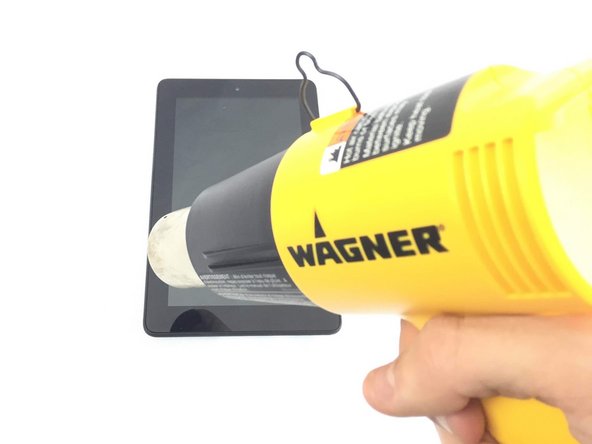
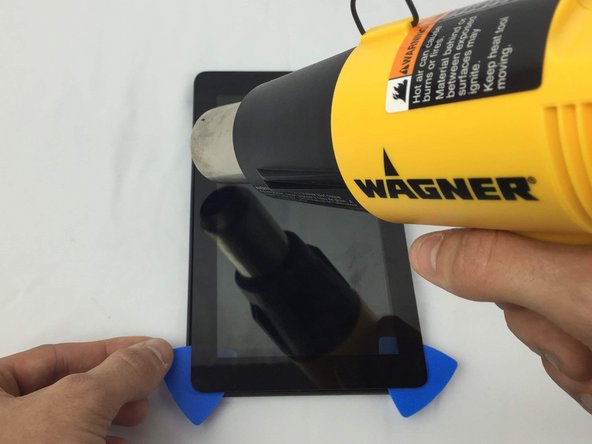
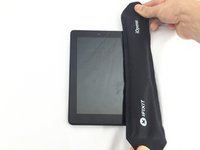
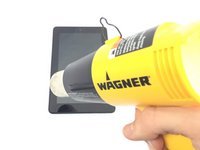
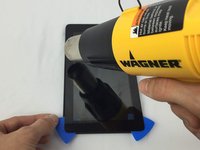
この交換を行うには、iOpenerやヒートガンなどのヒート用ツールが必要です。これらのツールを安全に使用して、けがやデバイスの損傷を防ぐよう、注意してください。
必要な工具と部品
-
-
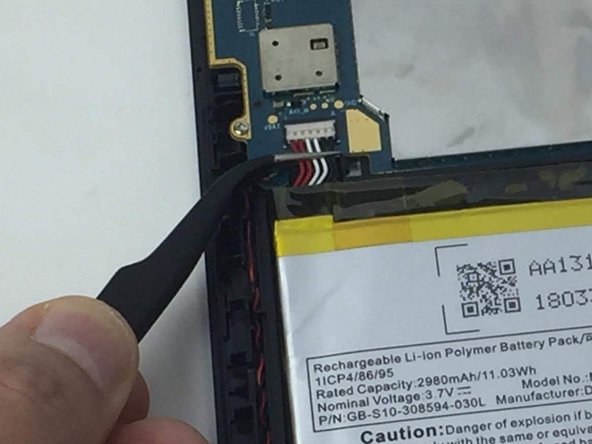
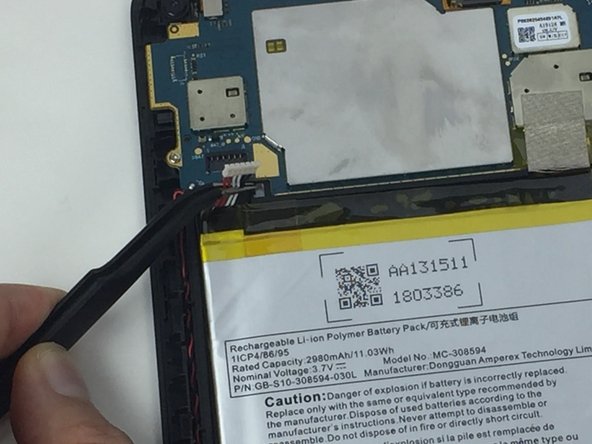
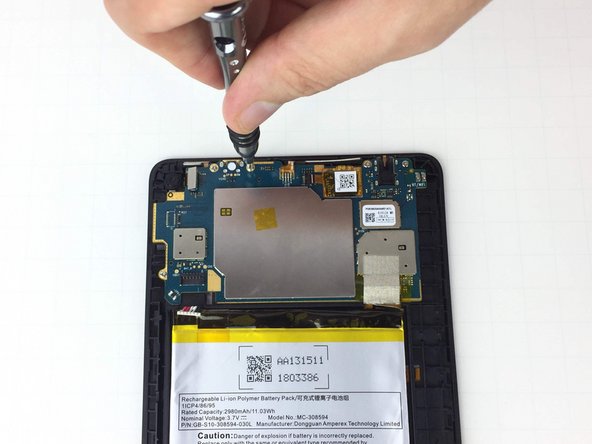
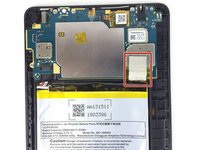
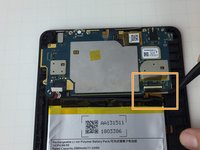
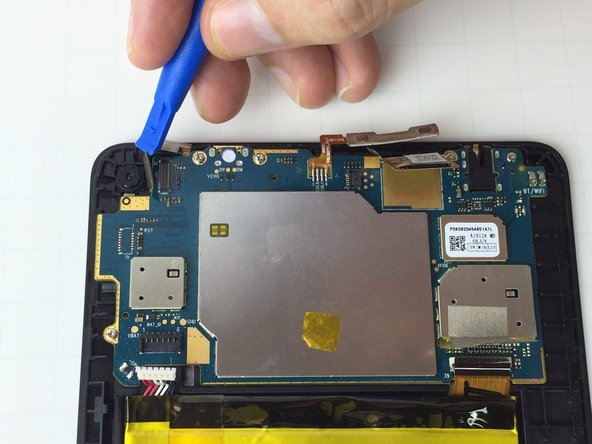
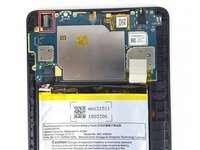
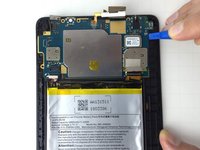
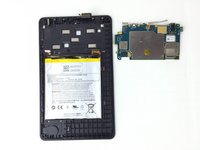
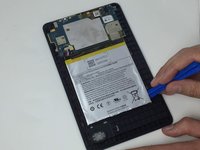
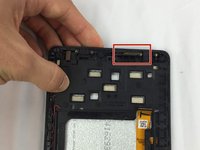
バッテリーコネクタはAmazon Fire バッテリーパックの左上コーナーに搭載されています。
-
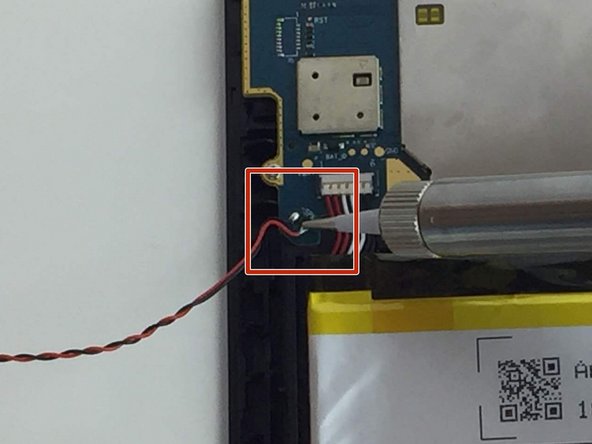
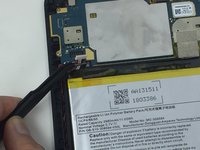
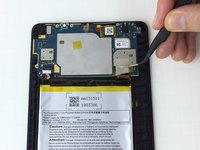
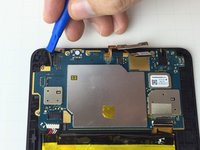
バッテリーコネクタの接続を外すには、アングル付きのESD精密ピンセットを使って、ケーブルを持ち上げて、ソケットから外してください。
-
-
-
-
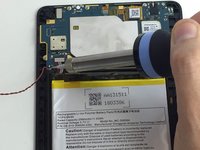
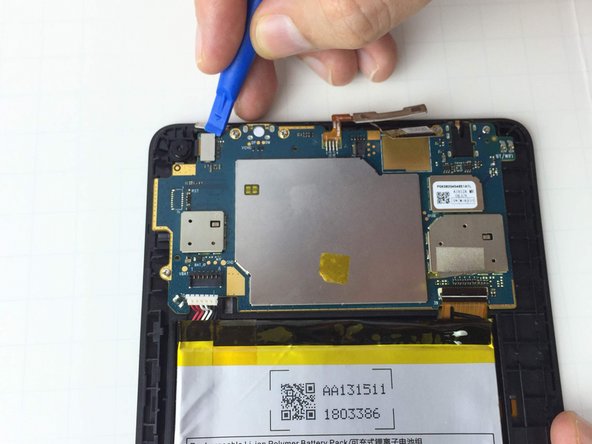
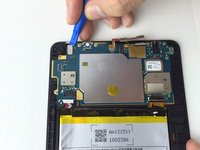
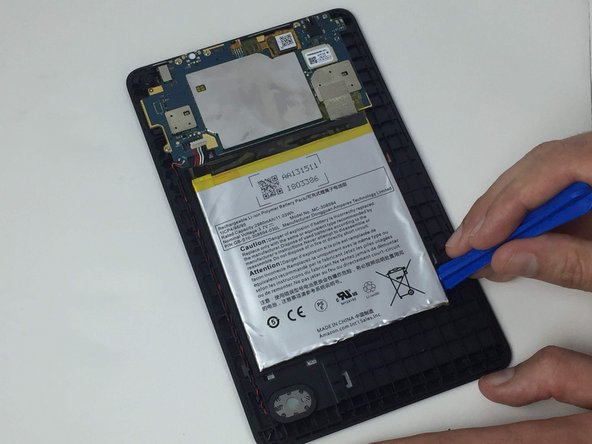
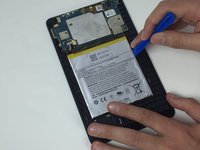
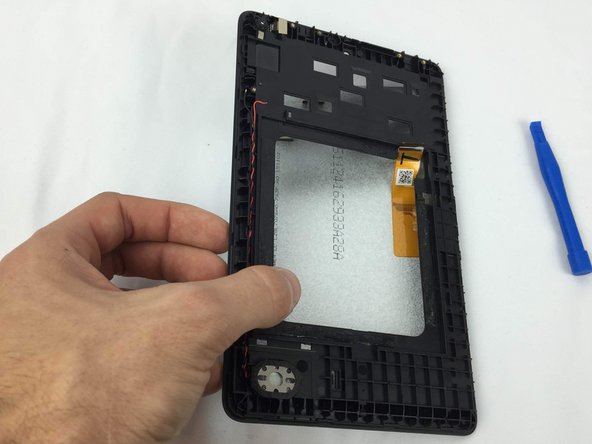
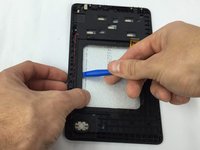
開口ツールをバッテリーパックの端の下にゆっくりと差し込みます。ツールを斜めに傾けて、下からこじ開けます。
-
バッテリーパック片側または角を上に持ち上げたら、開口ツールをパックの下に約1cm程度慎重に押し込み、残りの側面をこじ開けます。
-
デバイスを再組立する際は、これらのインストラクションを逆の順番に従って作業を進めてください。
デバイスを再組立する際は、これらのインストラクションを逆の順番に従って作業を進めてください。
38 の人々がこのガイドを完成させました。
以下の翻訳者の皆さんにお礼を申し上げます:
100%
Midori Doiさんは世界中で修理する私たちを助けてくれています! あなたも貢献してみませんか?
翻訳を始める ›
46 件のコメント
So....... what's that Glass panel part number?
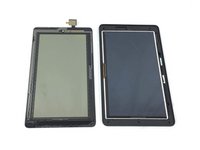
Where can I get the Digitizer? It appears to me (from your guide) the screens (Digitizer and LCD) DO in fact, separate. It does seem odd to me, from being in the industry for so long, that the digitizer has a polarizer attached to it. That polarizer is usually adhered to the LCD screen and that usually suggests that the repair part would call for a screen assembly.. Not just a digitizer. Can you attach some more pictures of the digitizer and the connector itself to clarify? Also, If you know where to order the part domestically and can you post a link? Thank you! Great guide BTW.
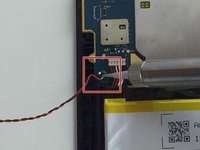
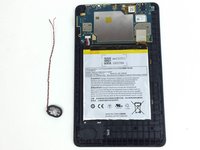
If the speaker and wire (twisted red&white) are removed from the case (step 2 above), then you won't need to desolder the connection to the motherboard (step 3 above). Just leave it soldered and remove with motherboard (step 10 above).
....or desolder connection and leave the speaker & wire in the case, if you like to "play with powertools?" ;-)
Why remove the battery? It was by far the most tricky operation and exposed the battery to damage prying it out with a flat tool. Any puncture of the plastic jacket qoulds mean instant death to the battery and if any metal tool in contact, a fire hazard. BTW where do you get a replacement digitized for the 7inch 5th generation Kindle?


