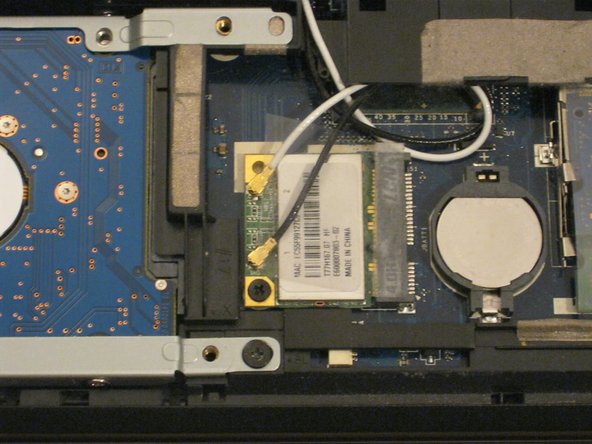
Unscrew the Phillips #00 screw which retains the hard drive in place.
Gently slide the hard drive to the left in order to disengage the SATA connectors.
It may be quite stiff, in which case you can ease the hard drive out of the SATA connectors by inserting a spudger between the hard drive and the connector block.
Remove the 3 Phillips #0 screws from the fan bracket.
Lift the fan up and place it back down above the heatsink.
Do not fully remove the motherboard. As there is hidden cable on the underside that could be damaged.
The heatsink has a strip of adhesive on the underside securing it to the plastic body.
The motherboard can be lifted from the side and and then to the right to free the I/O port from the enclosure. Some force may be required to release the heatsink.
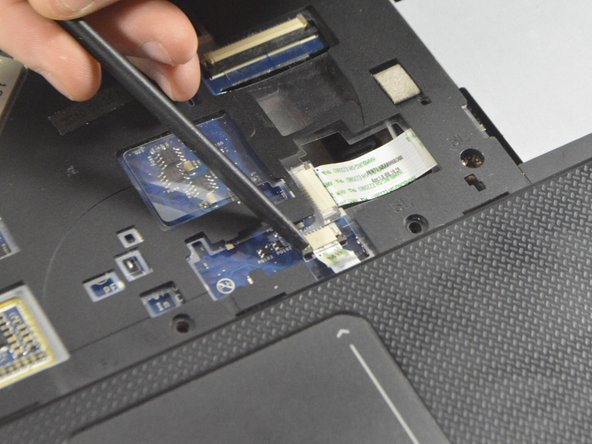
Rotate the motherboard to the right and lay it down so that the copper heatsink is facing up and parallel with the bottom of the monitor.
In this position the last cable to the motherboard can be disconnected using the spudger to push each end out until loose enough to pull the cable completely out.
The motherboard can now be completely removed from the laptop enclosure.
Note how the cables leading into each of the hinges are routed, then release them from their guides.
Whilst supporting the lid, remove 2 screws from each hinge. You will now be able to lift the lid assemble away from the body.
The hinge screws screw into brass bushes set in plastic pillars attached to the base of the laptop case. A common fault is that these pillars break away from the base leaving the hinge largely unsupported. Take care not to strain the other hinge whilst its screws are still in place.
Repair is difficult but a possible method might be to glue the pillars back in place with 2-part rapid epoxy glue with the hinge still attached, before removing the screws. Ensure it's supported and correctly positioned while the glue sets. Only then, remove the screws and build up more epoxy as reinforcement around the base of the pilars.