この翻訳は、ソースガイドの最新の更新を反映していない可能性があります。 翻訳の更新に協力してください。 または ソースガイドを参照してください。
はじめに
このガイドではナノ・パフ®・ジャケットの縫い目のほつれを直す方法をご紹介します。単に糸のループが緩んでしまった場合は、「パタゴニア・ナノ・パフ®ジャケットのステッチのループを修理する」をご覧ください。このガイドでは、衣服を解体せずにバッフルにパッチを当てる方法をご紹介します。つまり、ジャケットの裏地に補修用のステッチが透けて見えることになります。縫い目を見せたくない場合は、ジャケットを開くガイドをご覧ください。ジャケットを開くと、この修理の難易度は上がり、時間もかかります。おそろいの糸を選べば、裏地の修理糸はほとんど目立たないはずですが、選択はあなた次第です。裁縫は初めてですか? ソーイングの用語集をご覧ください。
交換部品やその他のサポートについては、パタゴニア・カスタマー・サービスまでお問い合わせください。
必要な工具と部品
-
-
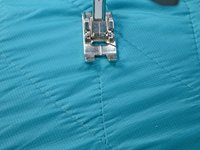
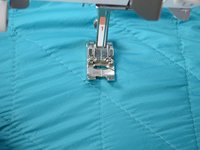
ジャケットの傷ついた箇所を確認します。ここではいくつかの縫い目がなくなっています。
-
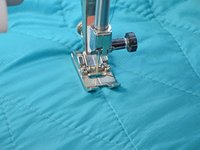
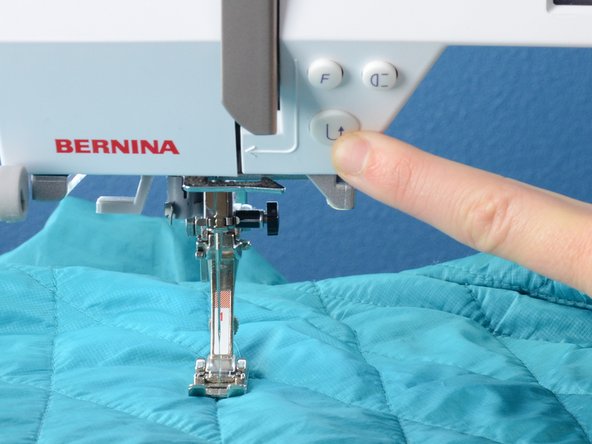
ジャケットの表地に合う糸を選んで ミシンにセットします。
-
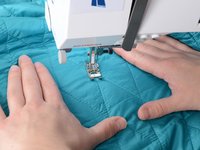
ジャケットの裏地に合う糸を選んで ミシンのボビンにセット します。
-
-


4 の人々がこのガイドを完成させました。
以下の翻訳者の皆さんにお礼を申し上げます:
71%

これらの翻訳者の方々は世界を修理する私たちのサポートをしてくれています。 あなたも貢献してみませんか?
翻訳を始める ›


2 件のコメント
Do you think you could demonstrate adding an elastic cuff to the nano-puff? I have one but the sleeves are just a hair too short.
I got a new jacket recently and soon discovered loose stitching on the sleeve underarm.
On my precious jacket I didn’t want to use a sewing machine -sewing the two layers together- so I used a needle and the loose thread to secure the loose threads to the fabric.
This time I tried my grandmothers #12 crochet needle to crochet (knot) the threads to the secure stitches and pull the ends under.