はじめに
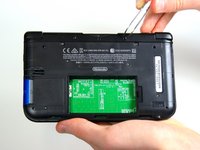
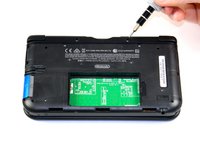
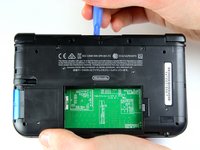
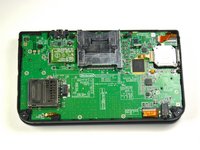
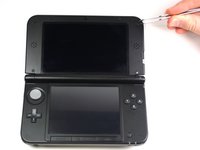
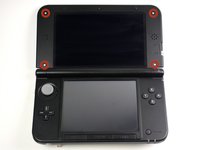
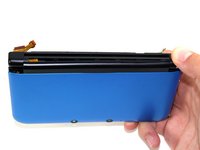
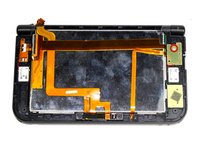
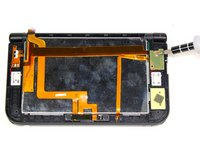
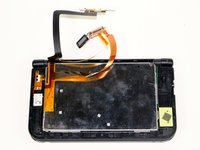
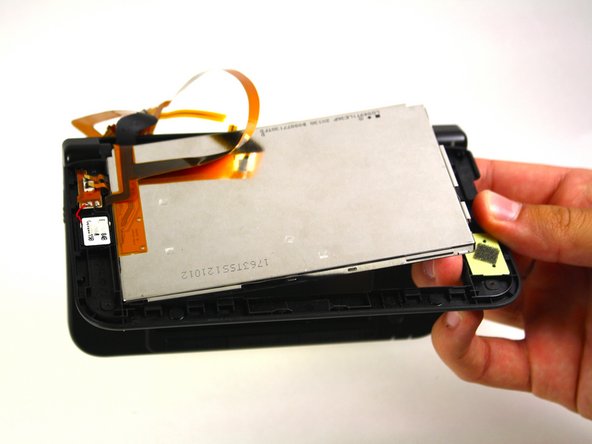
最初にニンテンドー3DS LLの下側ケースを分離して、それから上側ケースを開き、上側LCDスクリーンを本体と接続しているリボンケーブルに対して作業を行います。
必要な工具と部品
-
この手順で使用する道具:Tweezers$4.99
-
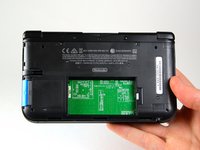
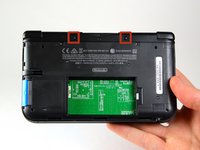
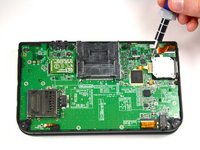
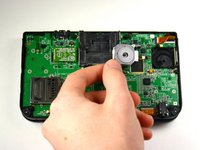
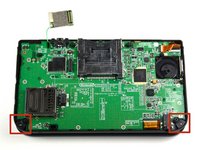
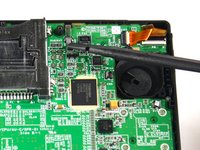
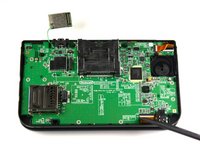
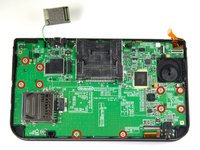
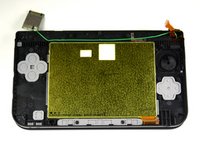
ピンセットを使ってゴム足を外して下さい。これらは本体の上の方のゲームカードスロットの左右にあります。
-
-
-
-
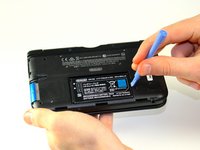
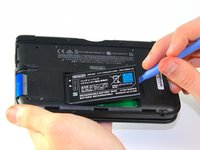
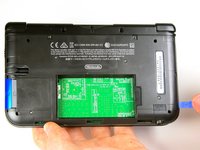
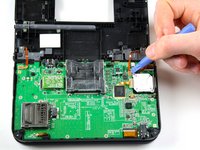
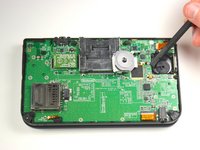
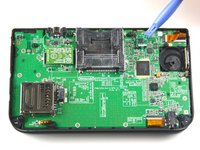
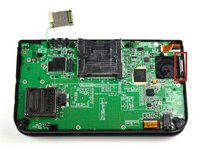
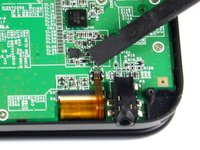
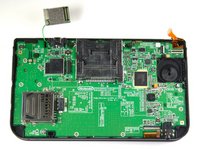
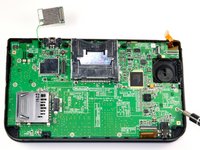
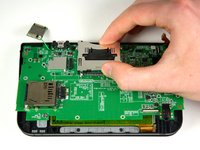
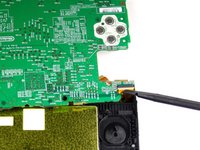
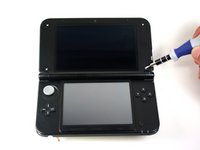
プラスチック製のオープニングツールを使って、Wi-Fi基板をこじって外します。
-
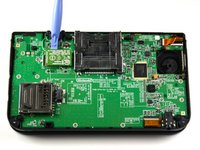
Wi-Fi基板はまだ電線で繋がっていますが、本手順では完全に取り外す必要はありません。この時点では単に邪魔にならない場所に避けておいて下さい。
-


組み立て直す際は、上記の手順と逆の順番で作業を行なって下さい。
156 の人々がこのガイドを完成させました。
チーム

Cal Poly, Team 9-13, Regan Spring 2014 Cal Poly, Team 9-13, Regan Spring 2014人のメンバー
CPSU-REGAN-S14S9G13
5 メンバー
55のガイドは作成済み
66件のガイドコメント
Any good ways to get the ribbon cable back through the hole?
did u find a solution?? i need help.
Carefully just have a pre-twist to it....good luck
Note: If your top or bottom screen was working before disassembly and doesn't work after reassembly, then it's likely that the connector is loose or dirty or damaged or not clipped or PLACED UPSIDE-DOWN. I had this issue with my Super3DS XL(2015) and it turns out that the reason why my top screen wasn't working after put together, was because I had the top LCD connector upside-down. After I correctly put the connector in, It worked again! :)
Try a Bobby hair pin.