このバージョンは誤った内容を含んでいる可能性があります。最新の承認済みスナップショットに切り替えてください。
必要な工具と部品
-
-
この手順は未翻訳です。 翻訳を手伝う。
-
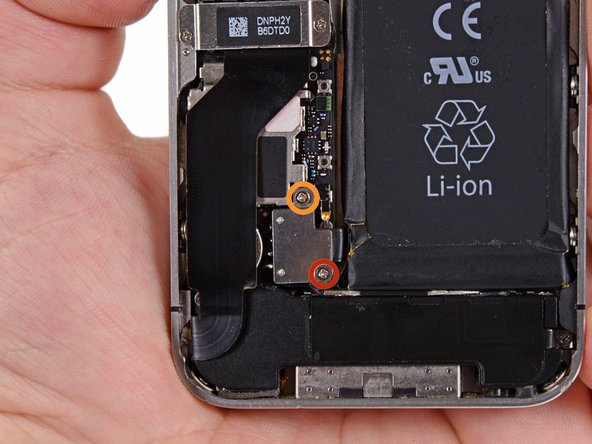
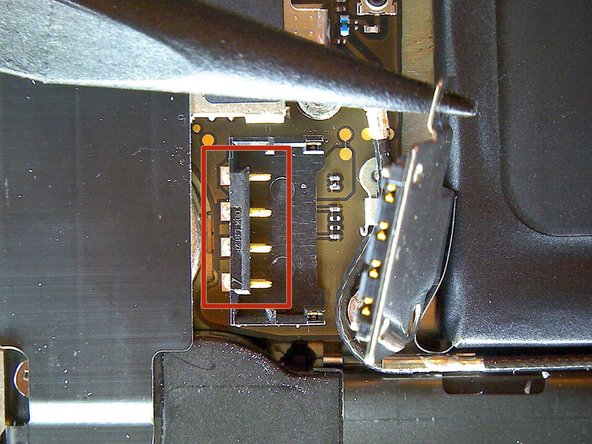
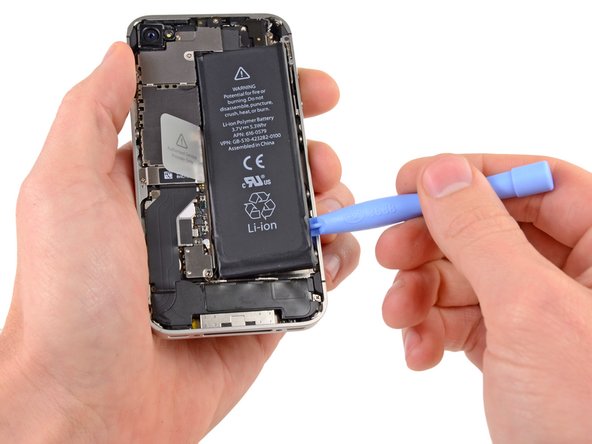
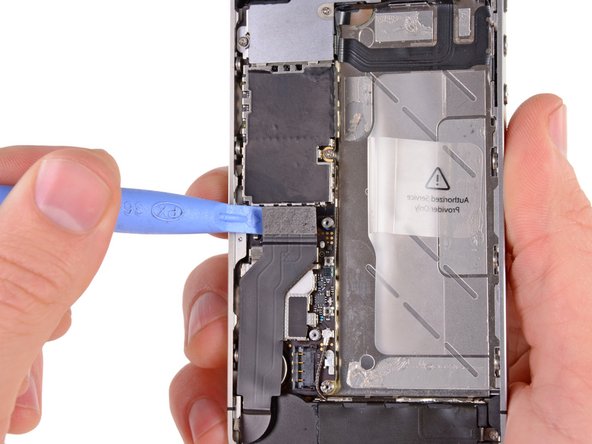
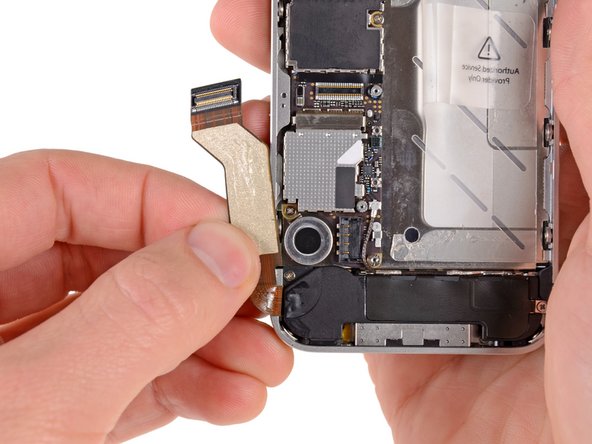
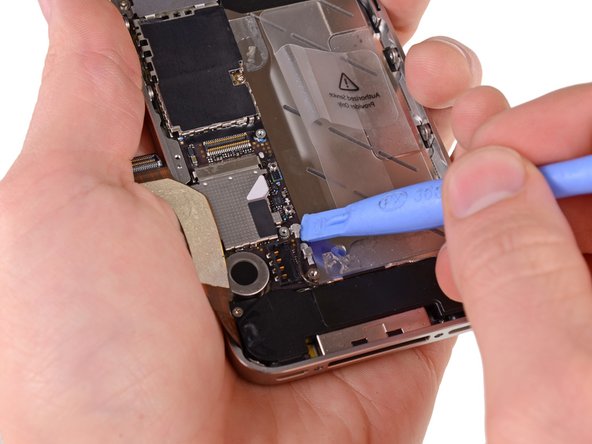
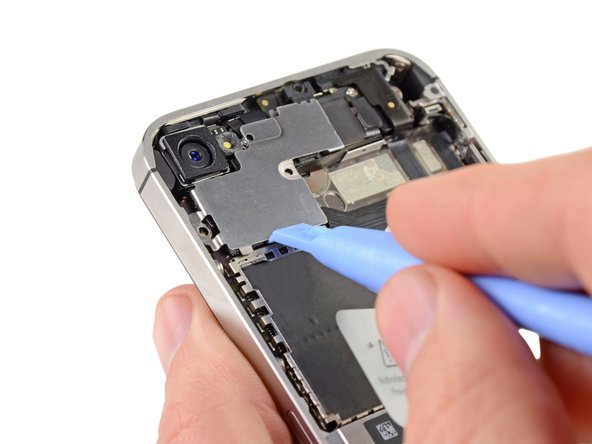
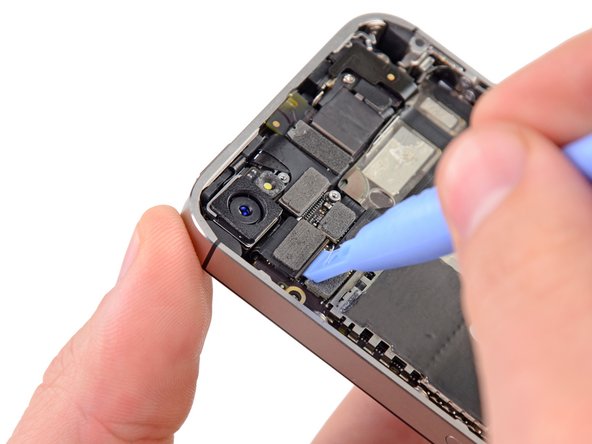
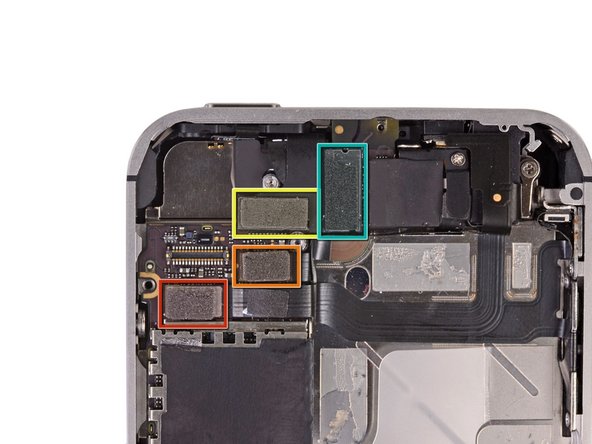
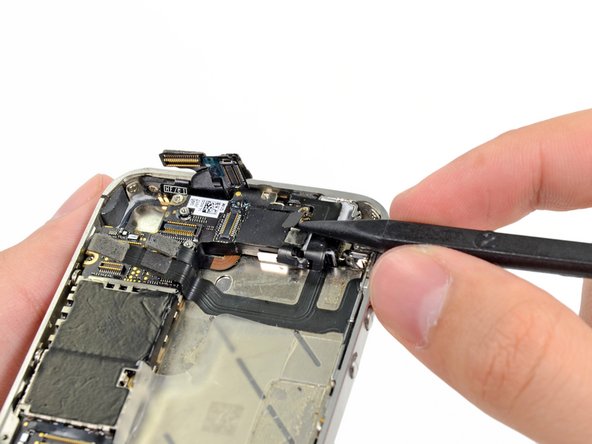
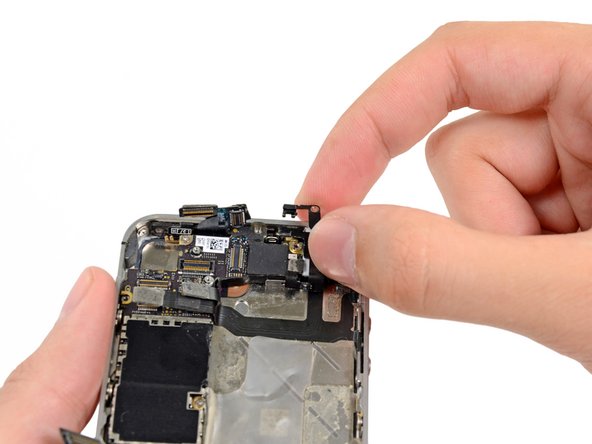
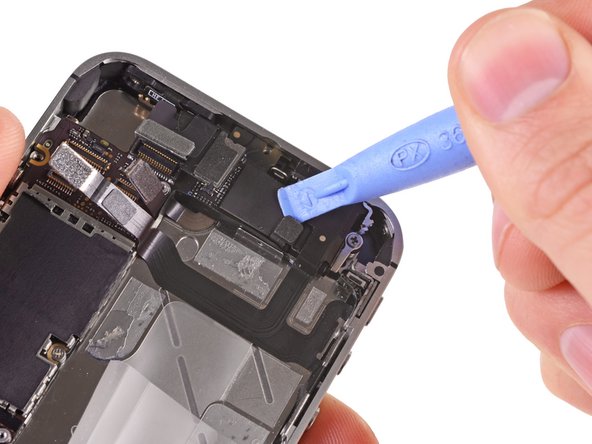
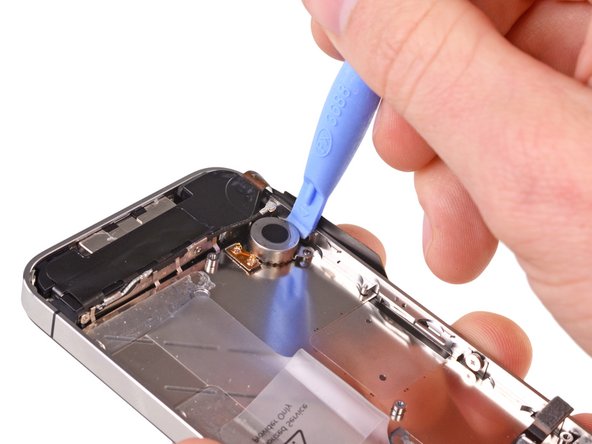
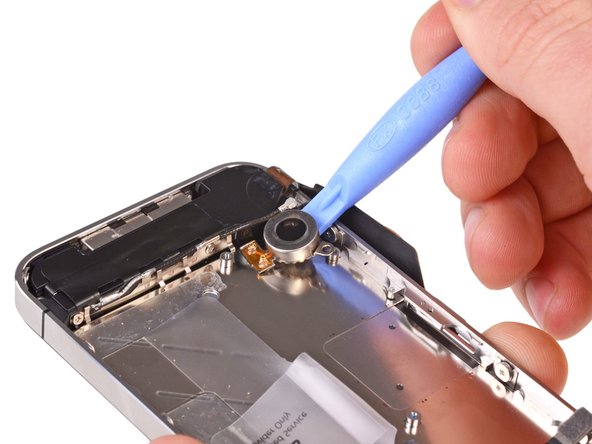
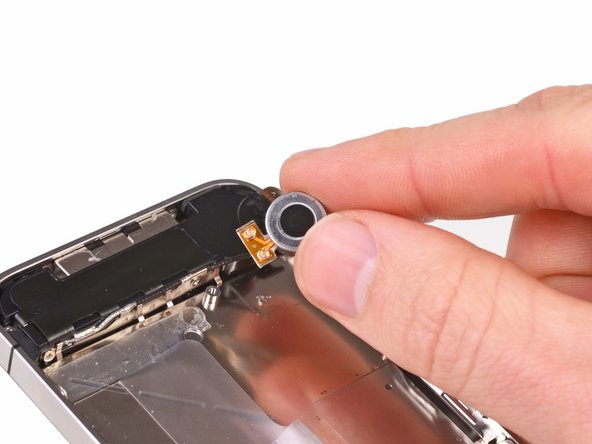
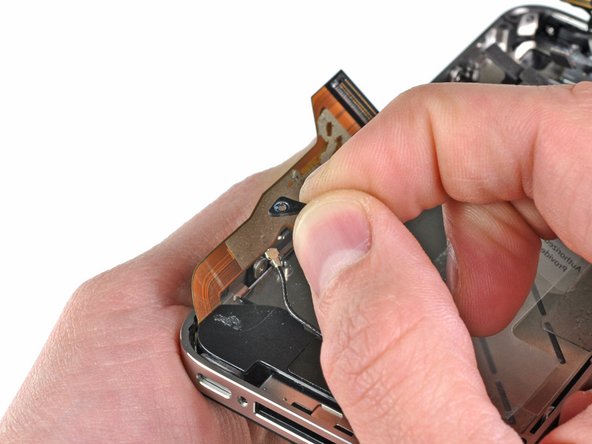
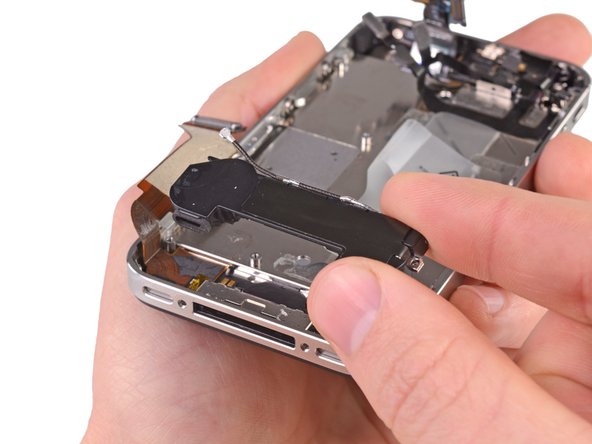
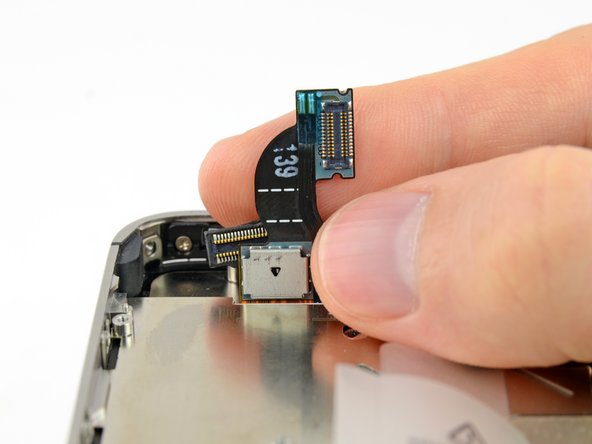
Отключите 5 шлейфов в верхней части материнской платы в следующем порядке:
-
Шлейф наушников и кнопок громкости
-
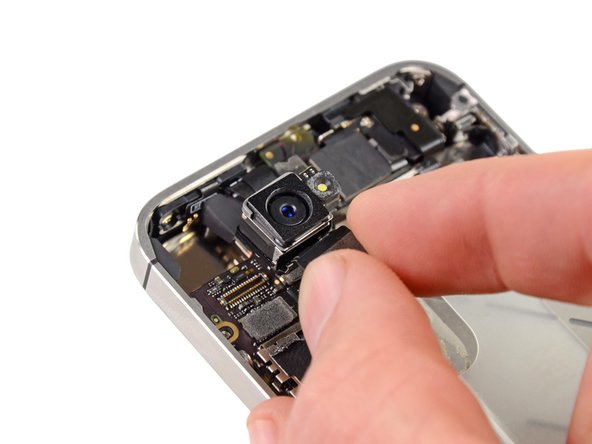
Шлейф фронтальной камеры
-
Шлейф сенсора
-
Шлейф дисплея
-
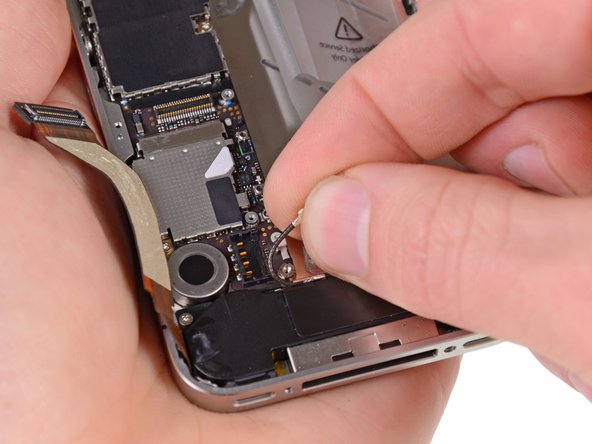
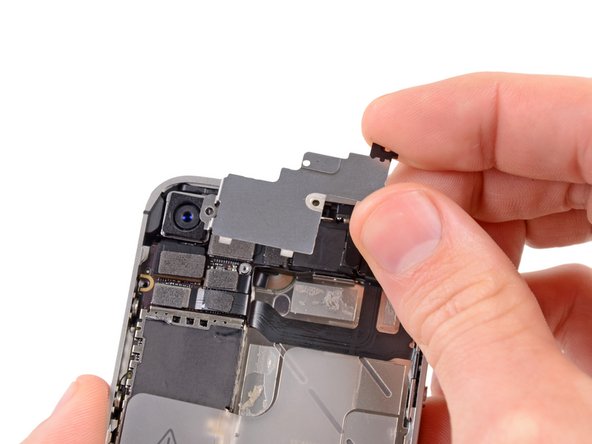
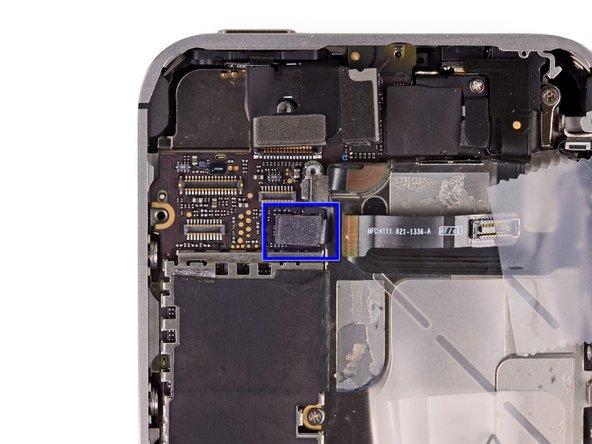
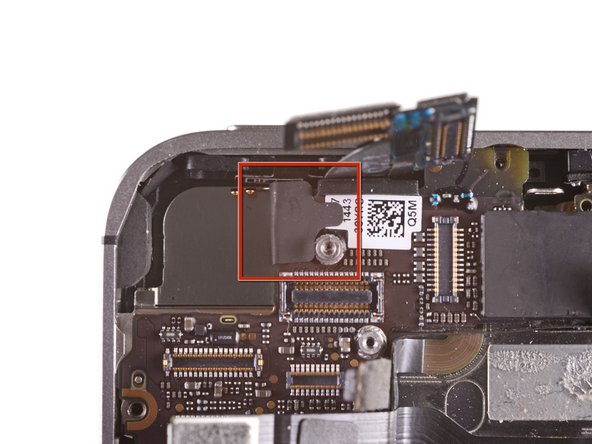
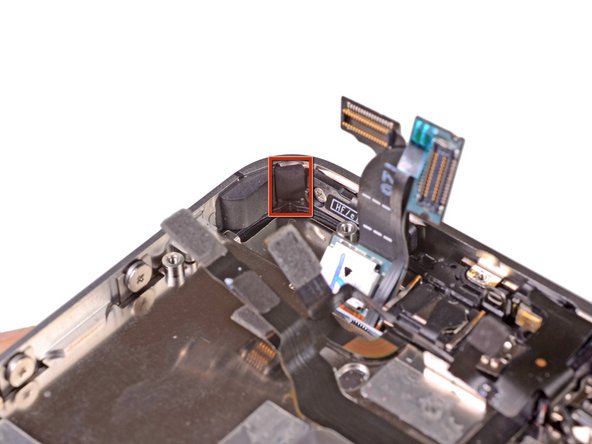
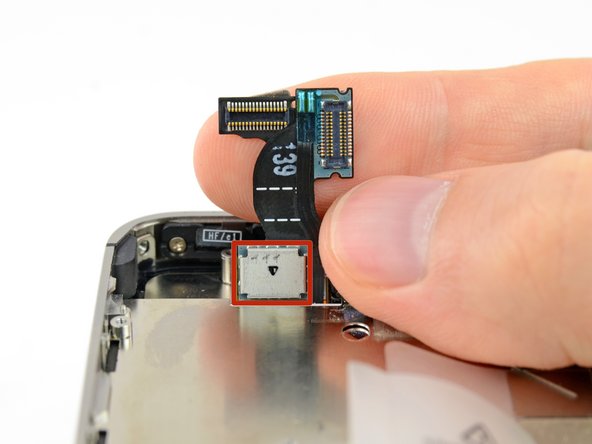
Шлейф кнопки питания(расположен под шлейвом наушников и кнопок громкости, как показано на втором изображении).
-
-
この手順は未翻訳です。 翻訳を手伝う。
-
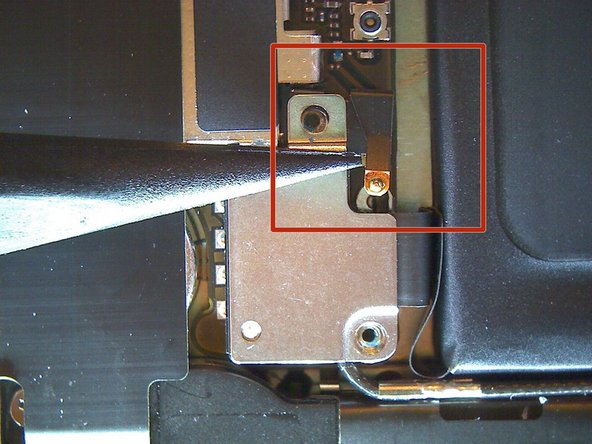
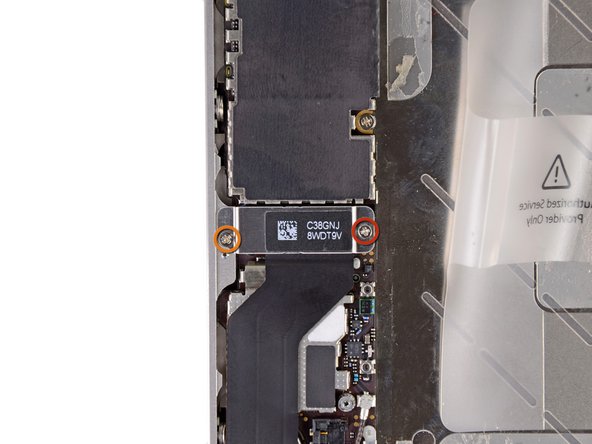
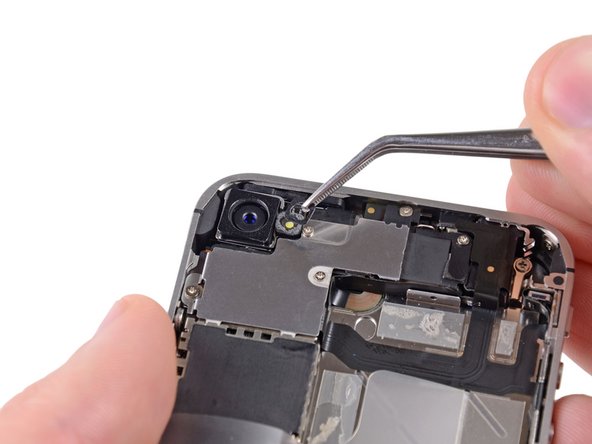
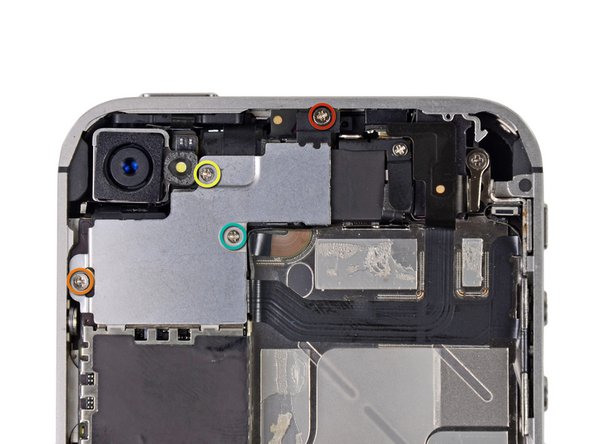
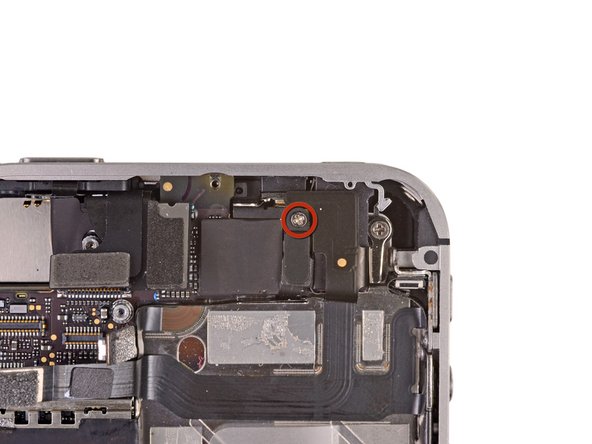
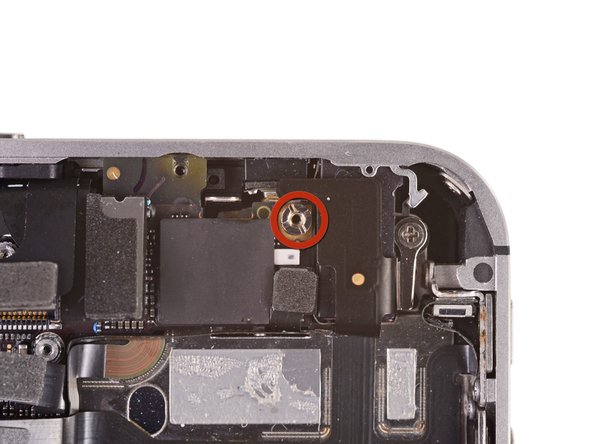
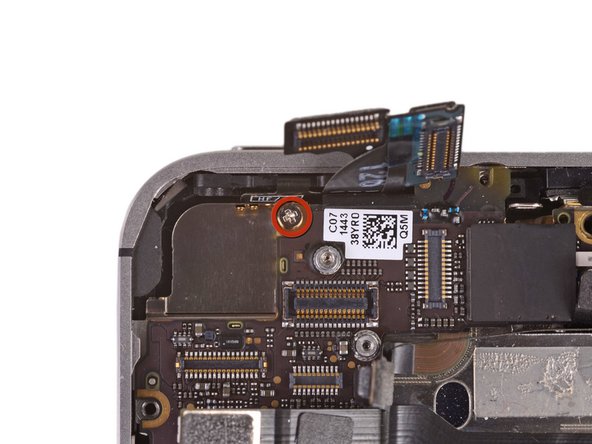
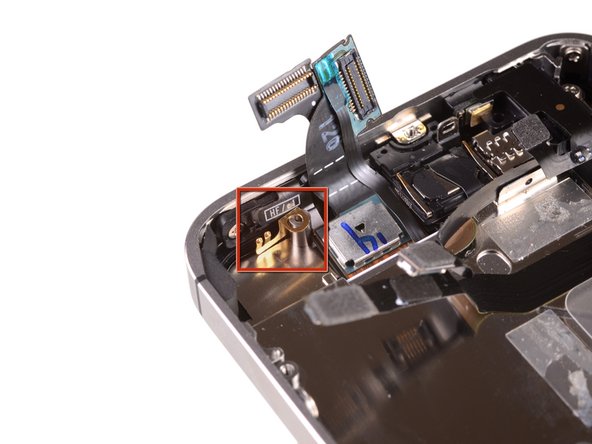
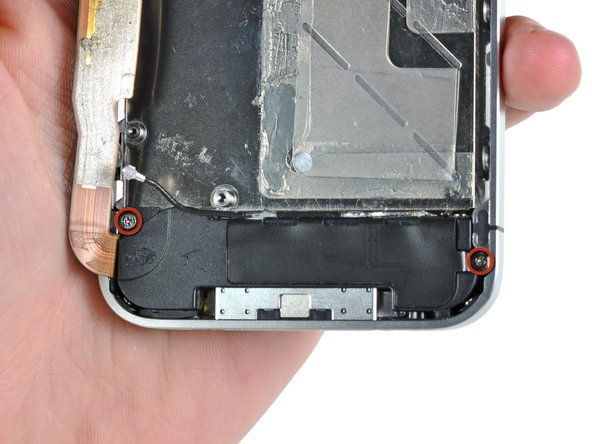
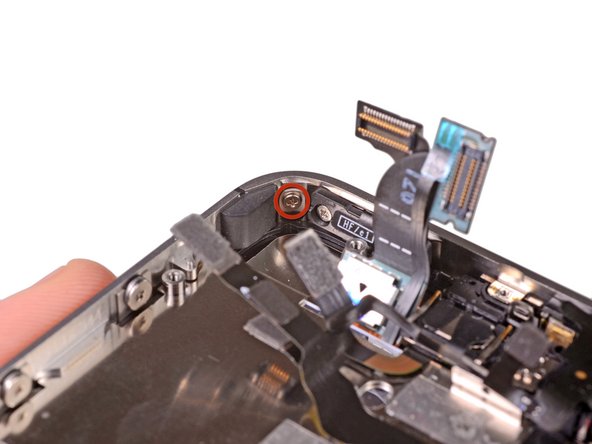
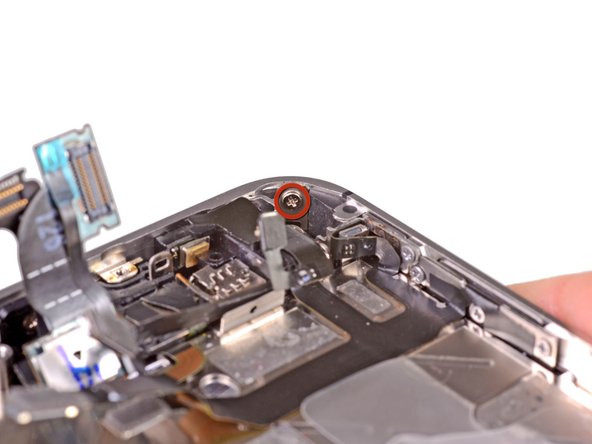
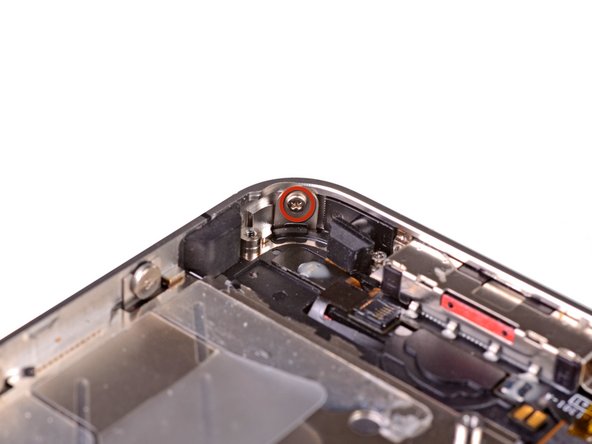
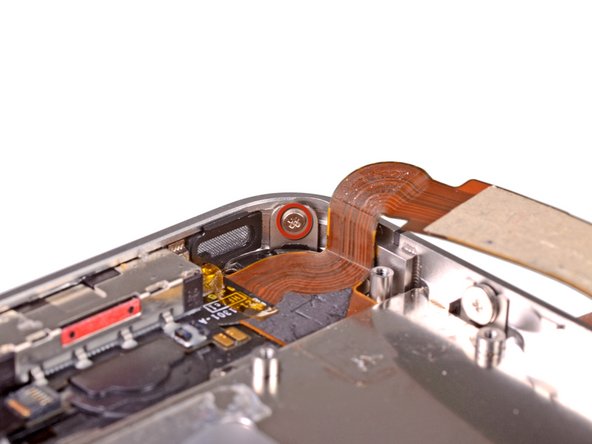
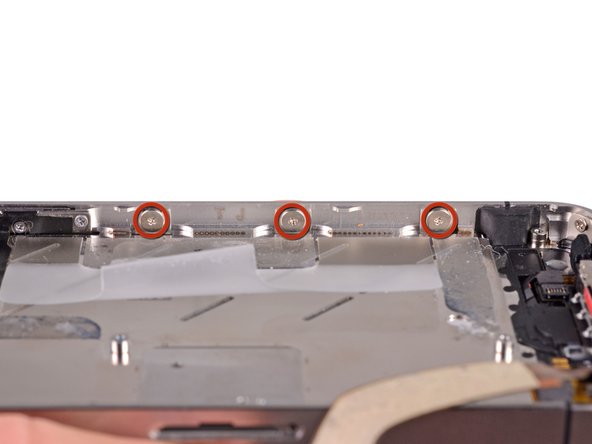
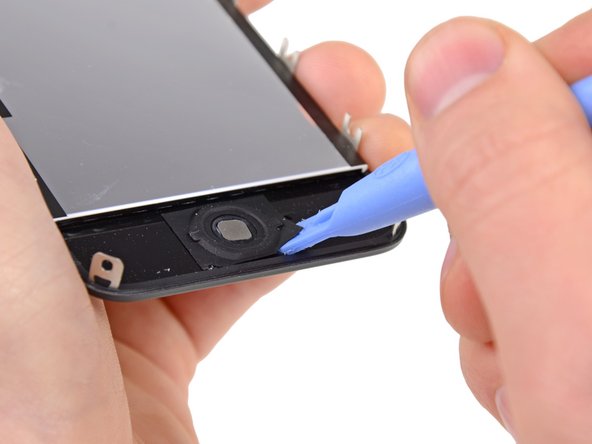
Открутите 1.5 мм Phillips(крестовой) винт рядом с разъёмом наушников.
-
Removing the headphone jack makes it easier to access this screw, particularly during reassembly. If you're having trouble, refer to this section of the iPhone 4S Headphone Jack Cable guide to remove the headphone jack.
-
-
この手順は未翻訳です。 翻訳を手伝う。
-
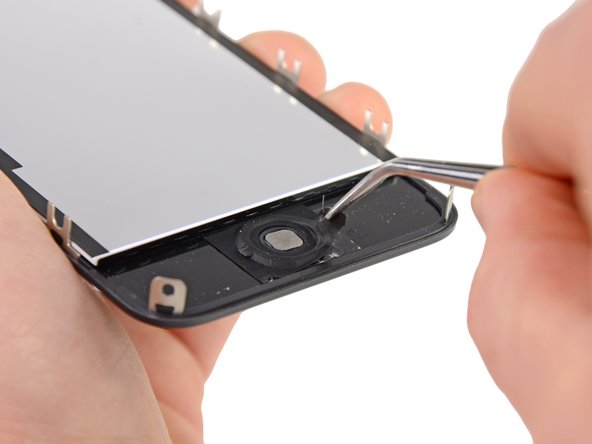
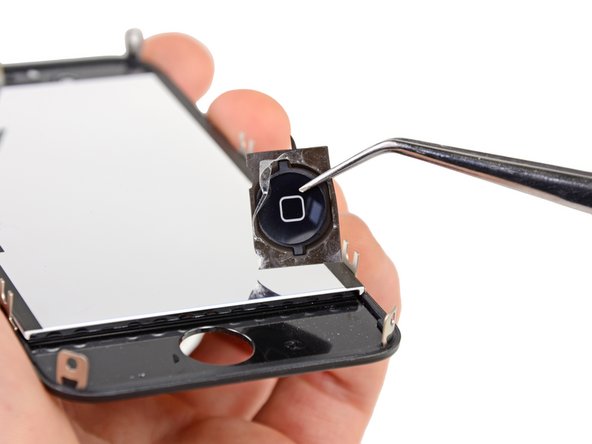
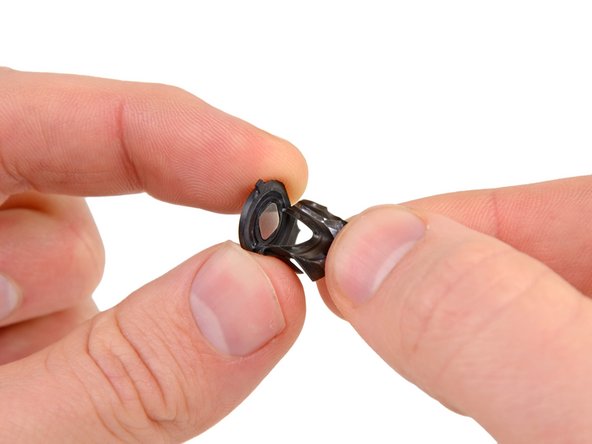
Remember to switch the home button from your old display to the new display (in most cases, this is not provided). The home button gasket is thin rubber, so care must be taken not to tear it. Also, check that the mesh for the speaker hole is present in the replacement; if not, move it over from the old display.
-
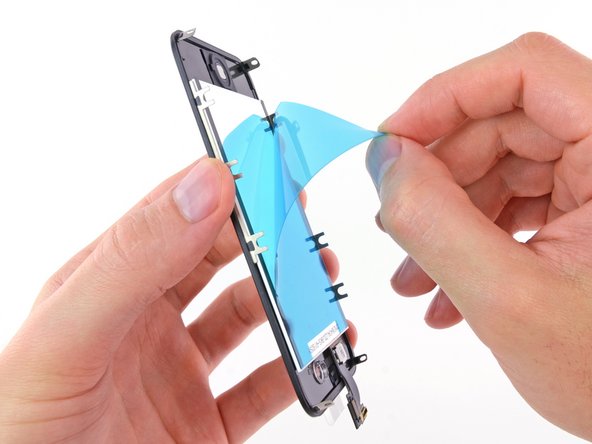
Be sure to peel off the protective backing (usually blue or pink) from the new panel before installing it.
-
If your replacement display does not come with a 7 mm clear plastic ring surrounding the front-facing camera, be sure to transfer it between the old and new display.
-
-
この手順は未翻訳です。 翻訳を手伝う。
-
Carefully straighten the digitizer and LCD data cables, and feed them through the slot cut in the outer case. This photo shows the display assembly being installed incorrectly, with a fold in the digitizer cable.
-
-
この手順は未翻訳です。 翻訳を手伝う。
-
During reassembly, do not touch the metallic area at the base of the LCD data cable, as this can cause problems with the LCD. If you do touch it accidentally, clean it gently with an alcohol wipe before continuing.
-
After reassembly, protect your new display from any scratches by installing a new screen protector.
-


チーム
