はじめに
ロジックボードを交換するにはこの手順を参照してください。
必要な工具と部品
-
-
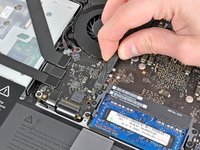
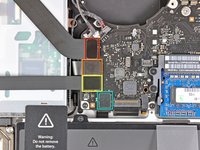
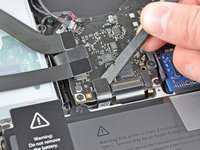
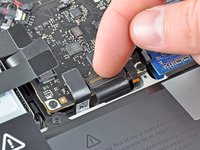
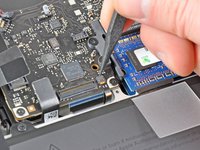
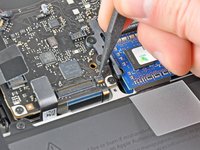
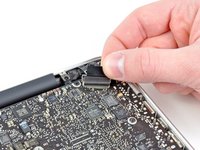
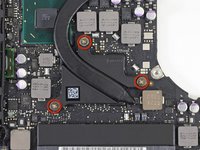
スパッジャーの先端を使って、右側スピーカー/サブウーファーケーブルを上部ケースに装着された固定フィンガーの下から持ち上げます。
-
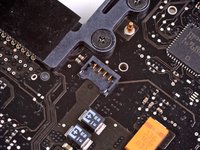
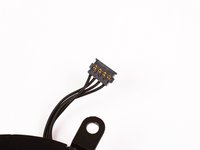
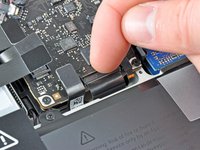
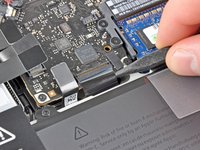
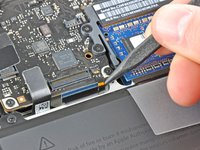
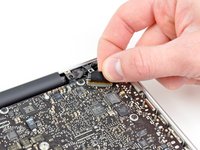
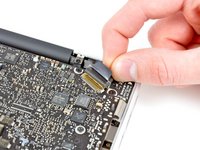
右側のスピーカー/サブウーファーケーブルをロジックボード上のソケットからコネクターを持ち上げるため、上向きに引っ張ります。
-
-


デバイスを再組み立てする際は、これらのインストラクションを逆の順番に従って作業を進めてください。
デバイスを再組み立てする際は、これらのインストラクションを逆の順番に従って作業を進めてください。
241 の人々がこのガイドを完成させました。
以下の翻訳者の皆さんにお礼を申し上げます:
100%

Midori Doiさんは世界中で修理する私たちを助けてくれています! あなたも貢献してみませんか?
翻訳を始める ›

17 件のコメント
I decided to take out the logic board because I had a water problem. As you can problably guess all the componentes from both sides of the board, near the ventilation, were dirty with some green and white stuff so I cleand it all up with isopropilic alcohol. I assembeled it buck up and it turns on but it doesnt run the osx, screen doesnt turn on, you cant hear the welcome sound every time you turn on a mac and the only thing you can hear is the fan spinning faster and faster until it reaches its top speed and it stays like that. what can I do to fix it??
Three years later, the answer is that you need to reset your SMC.
ROBOLOBO -
Old comment that im replying to but what in the world is isopropilic alcohol XD this is crazy how wrong that is
0DanDan0 -
is it possible to assemble the laptop completely without the unibody enclosure?
Yes you can, but it would be unsafe for the macbook
Ryan -