メインコンテンツにスキップ

ジョイコンは、ニンテンドーSwitchゲームコンソール用のコントローラーです。

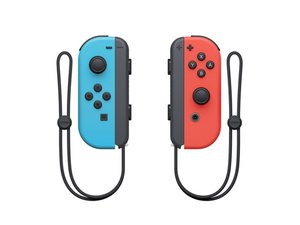
What to do if I drop my left joycon in water

I was standing by the sink there was a full sink of water because I was about to bathe my snake when I walked over my elbow hit my joy con and knocked it in the water and it is glitching really bad I put it in rice and I’m waiting at the moment but I have no clue what to do

この質問に回答する 同じ問題があります

この質問は役に立ちましたか?

スコア 0
コメントを追加

1 件の回答

@kaitlyntrout you will have to treat it like you would treat any other liquid immersed device.

Rice does not work. It does absolutely nothing to help you with this repair. All it does is waste time and waste food. Check here https://www.ifixit.com/News/30047/rice-i... for more on this.

The very first step I would take, is to disassemble your Joy-Con. Use these guides 左側 Joy-Con 充電レールの交換 to help you disassemble it. Take a careful and close look at all components and connectors. Truly assess the damage. Look for major corrosion, evaluate the pins in the connectors etc,. Take a look at all connectors as well as cable ends. Once you got the gross contamination cleaned, use 90%+(the higher the % the better) isopropyl alcohol and clean your parts some more. For a proper cleaning, use this guide. It was written for an Apple iPhone 3G but it is still pertinent to your device as well. I can not stress the importance of a good cleaning enough, so do it over and over while replacing the alcohol after each cleaning. Do not use compressed air for the cleaning since that can drive liquid as well as corrosion particles into areas that will cause trouble later on. To remove any gross contamination, do not use drinking water. If you need to use water, use sterile water. Also, you do not need to leave the cleaned parts to dry. Isopropyl alcohol in the higher concentration will evaporate quickly and dissipate the water. The importance here is the cleaning. It would of course be best to get it professionally cleaned with an ultrasonic cleaner. Do not forget to replace the battery. This is a must and not an option. It will fail if you do not take care of it now. After that, reassemble your Joy-Con and re-evaluate.

iPhoneの画像

ガイド

iPhoneの水濡れ・水没ダメージからの復旧方法

難易度:

難しい

1 - 2 hours

Joy-Con 充電レールの画像

ガイド

左側 Joy-Con 充電レールの交換

難易度:

中レベル

30 minutes - 1 hour

このアンサーは役に立ちましたか?

スコア 0
コメントを追加

回答を追加する

Kaitlyn Trout さん、ありがとうございました!
統計データ:

過去 24時間: 3

過去 7 日: 10

過去 30 日: 48

今までの合計 1,497