必要な工具と部品
-
-
This is the ZTE Z432 I'll be tearing down. Make sure the device is powered off before continuing.
-
-
-
The back panel is held on with plastic clips, which you can use an opening pick or your finger to unclip to remove the back panel from your phone. Now you will need to remove the battery, SIM card, and microSD card if you have one.
-
-
-
-
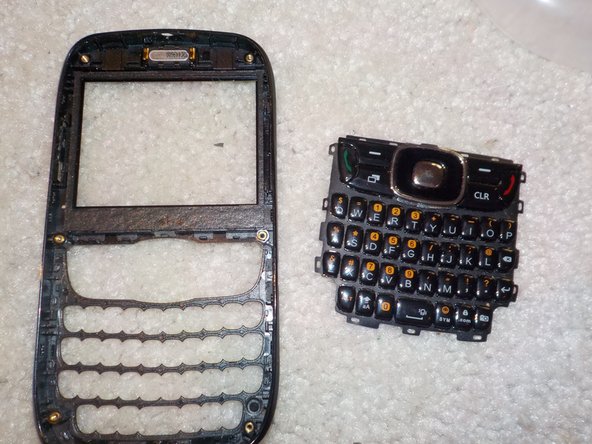
Remove the 7 P0 phillips screws under the rear cover. Then, some careful prying is required to seperate the back and front panels. This can be achieved with a large plastic opening tool. The front panel contains the keypad and power/volume buttons, which can be removed.
-
-
-
Just carefully pry the logic board and back panel apart. That's all there is to it.
-
The board is pretty much one unit, including the screen.
-
-
-
Here is all of the parts laid out. To re-assemble, follow the guide in reverse order.
-


