はじめに
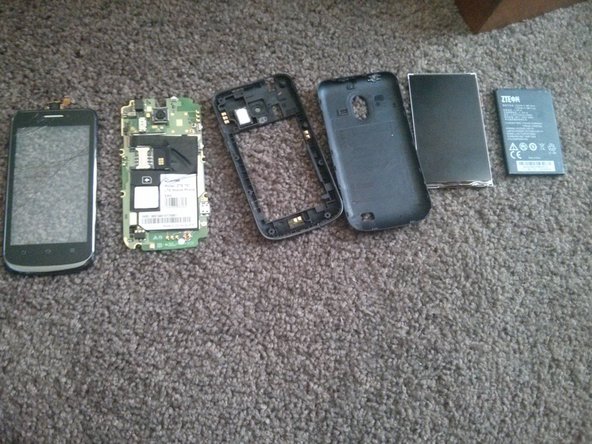
This guide will show you the steps to take the back off the ZTE T81 and remove the mainboard and the screen.
必要な工具と部品
-
-
Remove the back cover, SIM card, battery and SD card.
-
-
-
Remove the 9 screws under the back cover. The top left screw is covered by a white "warranty void" sticker.
-
-
-
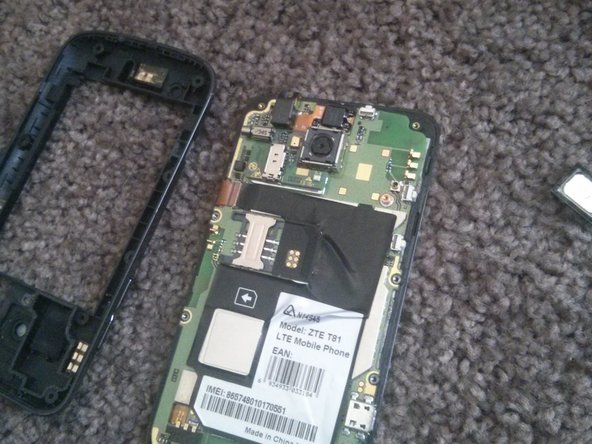
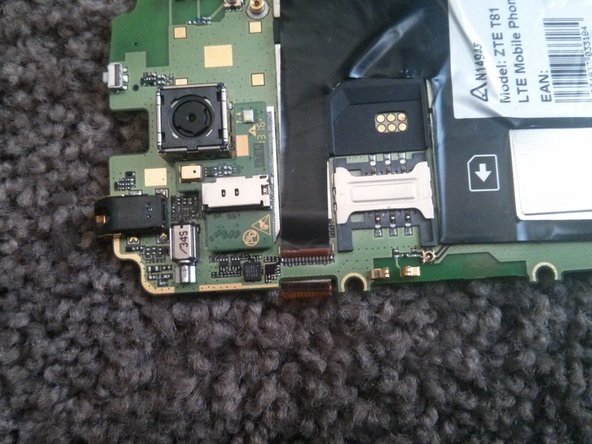
Separate the frame from the mainboard
-
Pry apart the frame with the battery holder and camera housing from the mainboard of the phone.
-
-
-
-
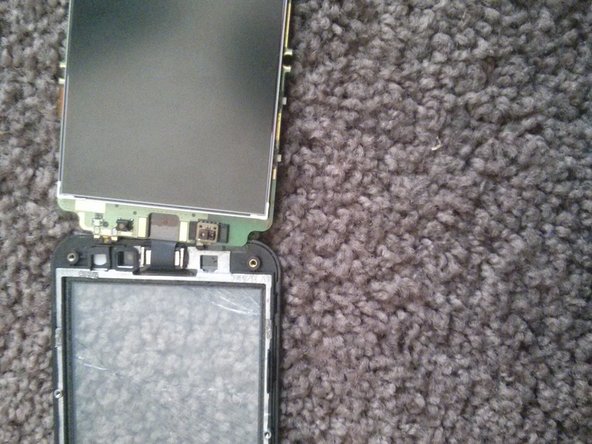
Remove the digitizer cable and separate the digitizer/front glass from the rest of the phone.
-
-
-
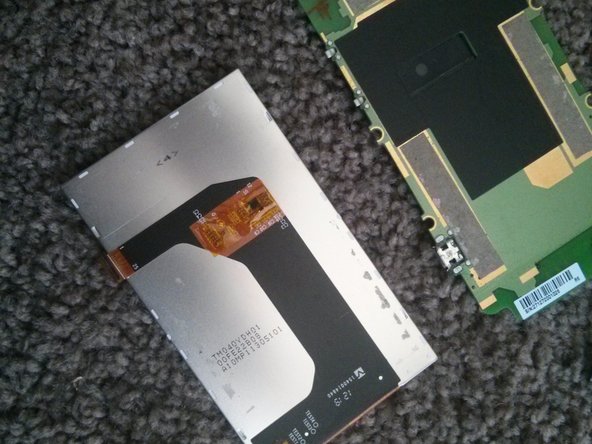
Unplug the LCD screen from the mainboard and carefully peel the display off the mainboard. It is only stuck on.
-