必要な工具と部品
-
-
For the teardown I'll be using the iFixIt Protech Toolkit. It has everything I need and all tools required to do the teardown
-
-
-
The first step doesn't require any tools.
-
On the back you can take off the back in the left-bottom corner
-
-
-
Something we haven't seen since iPhone got invented. Removable and Replacable battery
-
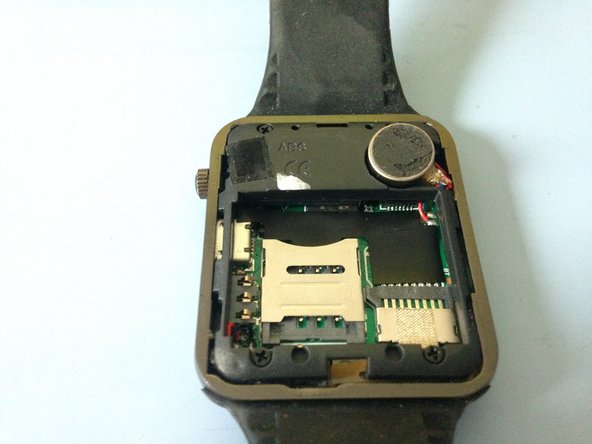
Under the battery you'll find a slot for a Micro SD card (Not included, added it myself) and a SIM card slot
-
-
-
-
Now we have to remove the vibration motor, don't be fooled (Like I was), this is NOT a battery! (Thanks for correcting me Pawel)
-
For this I used a simple tweezers
-
-
-
Next we need to remove the 4 screws in the corners, These can be removed with a 00 head
-
-
-
With the 4 screws removed, we can remove the top layer.
-
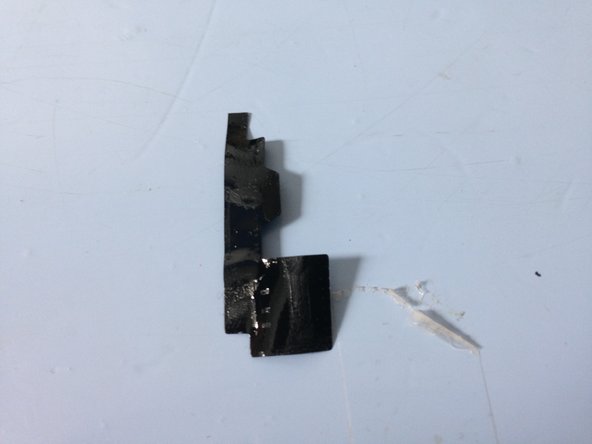
On the bottom and on the left top there's the speaker
-
Is this what they mean with integrated audio?
-
-
-
We can now also remove the band from the watch.
-
If we look closer, inside the band, there's the GSM Antenna (Thanks for the tip Pawel!)
-
-
-
If there's anything that can't stop us at iFixIt, it's gotta be this. Simply use the Tweezers from your iFixIt Protech Toolkit and your good to go
-
-
-
Before taking off the board, there's 2 cables you need to unplug first!
-
Note the 2 cables are locked so you'll need to simply push up the lock so you can take out the cables, do this with accuracy and precision, using Tweezers!
-
Now we can take out the board!
-
-
-
And now we've come to the end.
-
In such a small device, so much functions. We've learned a lot today.
-
We also learned that a iPhone 5C Camera is no good at taking pictures at close distance!
-


チーム
