メインコンテンツにスキップ

必要な工具と部品

この分解は修理ガイドでは ありません。 お持ちのUniden EXP 371を修理する際は、iFixitの修理ガイドをご利用ください。

  1. Uniden EXP 371 Teardown, Uniden EXP 371 Teardown: 手順 1、 1の画像 1
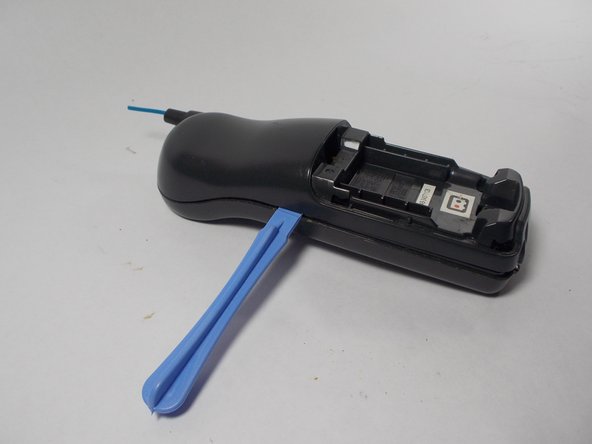
    • Uniden EXP371 900 MHz Cordless Phone.

    • 900 MHz Extended Range with One Touch RocketDial/Find Handset Locator and is Desk or Wall Mountable.

  2. Uniden EXP 371 Teardown: 手順 2、 2の画像 1 Uniden EXP 371 Teardown: 手順 2、 2の画像 2
    • Remove the battery by first pressing down on the rear of the cover and pushing the cover towards the bottom of the phone.

    • Next remove the battery by pulling on the connector.

  3. Uniden EXP 371 Teardown: 手順 3、 2の画像 1 Uniden EXP 371 Teardown: 手順 3、 2の画像 2
    • Next remove the two screws at the bottom of the phone with a PH1 philips screwdriver.

    • Now remove the top portion of the case from the bottom. This may be difficult to do with your bare hands. The use of a plastic opening tool may come in handy.

  4. Uniden EXP 371 Teardown: 手順 4、 3の画像 1 Uniden EXP 371 Teardown: 手順 4、 3の画像 2 Uniden EXP 371 Teardown: 手順 4、 3の画像 3
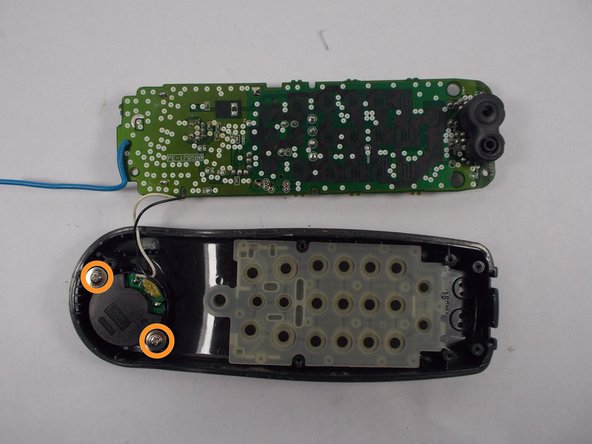
    • Your next step is to remove the five screws holding down the motherboard. Use the PH1 philips screwdriver.

    • Once you have removed the five screws you may lift the motherboard off of the front case.

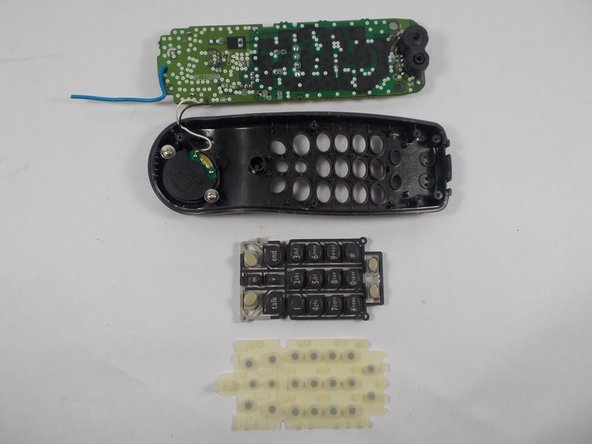
    • At this point you may also remove the dial pad. It simply lifts off.

    • You may also remove the speaker if needed by unscrewing the two screws using the PH1 philips screwdriver.

    • The whole phone is now disassembled at this point.

作成者

5人の作成者と共同で作成されました。

Tim Reimer

メンバー登録日: 06/19/10

165 ポイント

3のガイドは作成済み

コメント 1 件

this guide is poorly written, please delete or improve it.

Walker Quine - 返信

コメントを追加

統計データ:

過去 24時間: 1

過去 7 日: 1

過去 30 日: 2

今までの合計 4,566