メインコンテンツにスキップ

必要な工具と部品

この分解は修理ガイドでは ありません。 お持ちのToasterを修理する際は、iFixitの修理ガイドをご利用ください。

  1. Toaster Made by Design model KT-3215 Teardown, Toaster Made by Design model KT-3215 Teardown: 手順 1、 1の画像 1
    • This is what a Toaster Made by Design model KT-3215 should look like before the teardown has started.

  2. Toaster Made by Design model KT-3215 Teardown: 手順 2、 3の画像 1 Toaster Made by Design model KT-3215 Teardown: 手順 2、 3の画像 2 Toaster Made by Design model KT-3215 Teardown: 手順 2、 3の画像 3
    • Make sure the toaster is unplugged and not near an electrical outlet.

    • Remove the crumb tray, which is located on the back of the toaster. Slide the crumb tray directly out. No lifting or twisting is required.

  3. Toaster Made by Design model KT-3215 Teardown: 手順 3、 3の画像 1 Toaster Made by Design model KT-3215 Teardown: 手順 3、 3の画像 2 Toaster Made by Design model KT-3215 Teardown: 手順 3、 3の画像 3
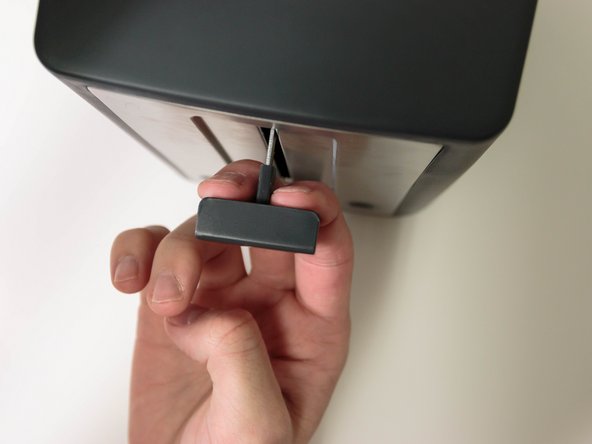
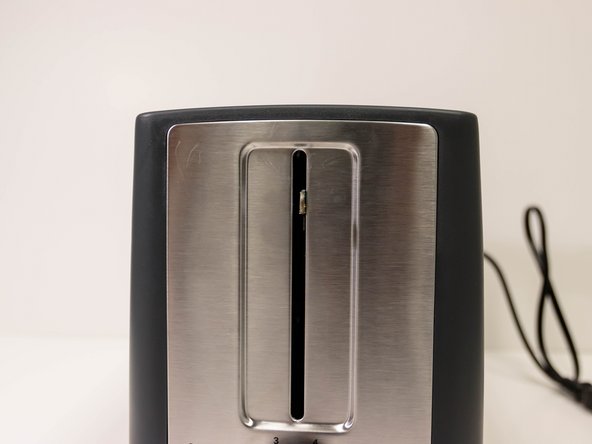
    • Use your index finger and middle finger to grip the loading lever, then pull towards your body to remove the lever. A fair amount of force may be required.

  4. Toaster Made by Design model KT-3215 Teardown: 手順 4、 1の画像 1
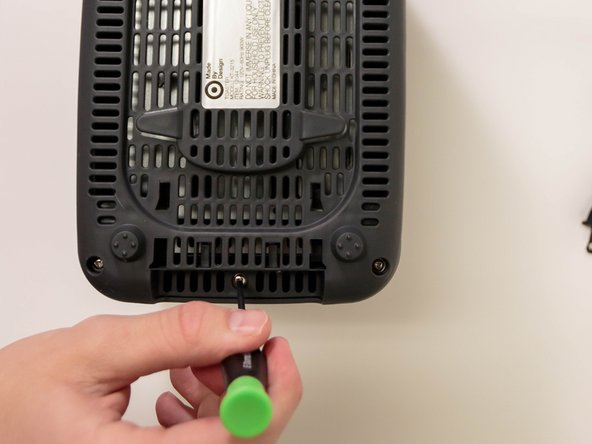
    • Flip the toaster upside down.

    • Use a spudger to remove the two rubber feet.

  5. Toaster Made by Design model KT-3215 Teardown: 手順 5、 2の画像 1 Toaster Made by Design model KT-3215 Teardown: 手順 5、 2の画像 2
    • Use a TA 2.3 screwdriver to unscrew the five triangular screws on the bottom of the toaster.

  6. Toaster Made by Design model KT-3215 Teardown: 手順 6、 3の画像 1 Toaster Made by Design model KT-3215 Teardown: 手順 6、 3の画像 2 Toaster Made by Design model KT-3215 Teardown: 手順 6、 3の画像 3
    • Lift the toaster casing. This will expose the power splitter cable (white cable).

    • Use a spudger and your thumb, to remove the power splitter cable.

  7. Toaster Made by Design model KT-3215 Teardown: 手順 7、 2の画像 1 Toaster Made by Design model KT-3215 Teardown: 手順 7、 2の画像 2
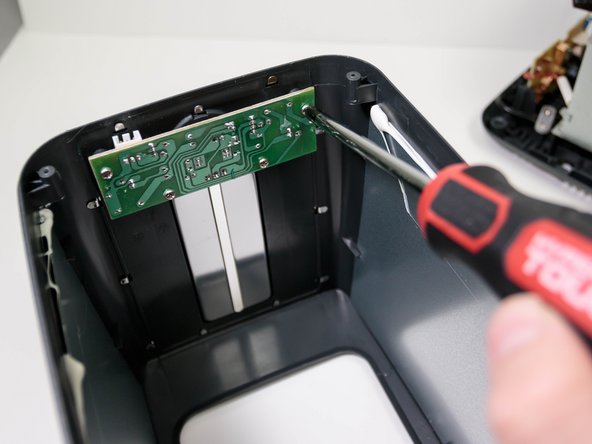
    • Place the toaster casing upside down.

    • Use a Phillips #2 x 4in. screwdriver to remove the four 0.25 in. Phillips head screws. These screws are securing the control board for the buttons and timer knob.

  8. Toaster Made by Design model KT-3215 Teardown: 手順 8、 2の画像 1 Toaster Made by Design model KT-3215 Teardown: 手順 8、 2の画像 2
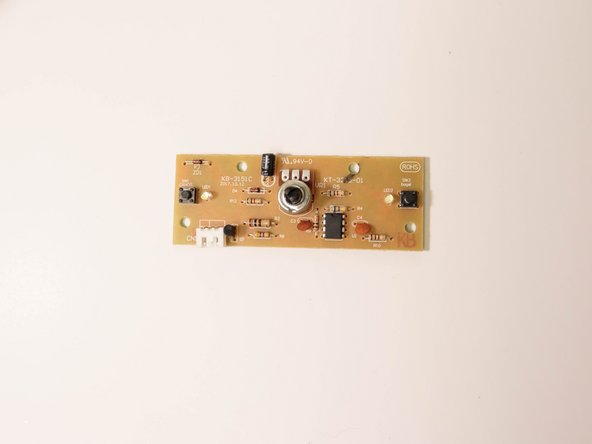
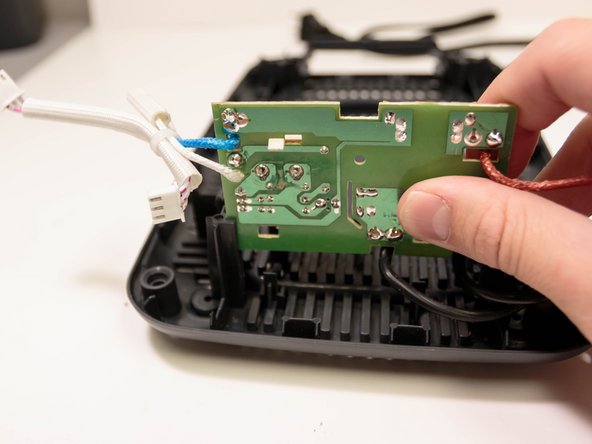
    • Remove the control board from the toaster casing.

  9. Toaster Made by Design model KT-3215 Teardown: 手順 9、 3の画像 1 Toaster Made by Design model KT-3215 Teardown: 手順 9、 3の画像 2 Toaster Made by Design model KT-3215 Teardown: 手順 9、 3の画像 3
    • Pull the bagel button and cancel button off of the toaster casing. These buttons require little force to remove.

    • Detach the timer knob by pinching the sides of the timer knob and pushing towards the exterior of the toaster casing.

  10. Toaster Made by Design model KT-3215 Teardown: 手順 10、 3の画像 1 Toaster Made by Design model KT-3215 Teardown: 手順 10、 3の画像 2 Toaster Made by Design model KT-3215 Teardown: 手順 10、 3の画像 3
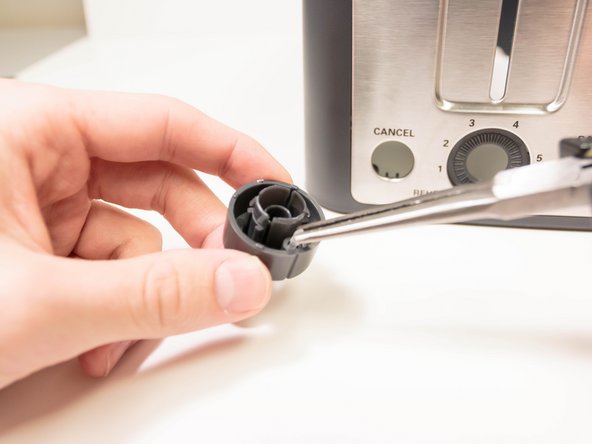
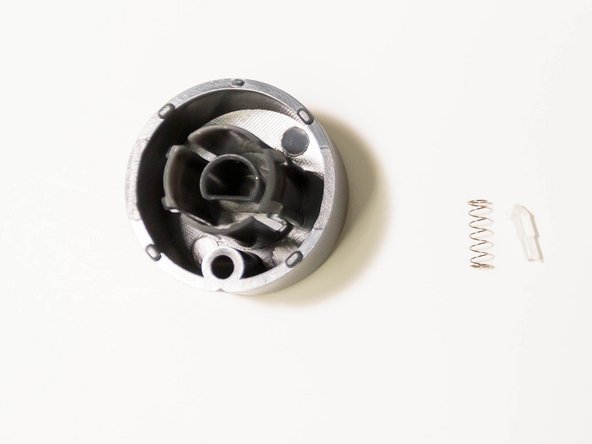
    • Use a pair of mini long-nose pliers to remove the spring components from the timer knob.

  11. Toaster Made by Design model KT-3215 Teardown: 手順 11、 2の画像 1 Toaster Made by Design model KT-3215 Teardown: 手順 11、 2の画像 2
    • Use a pair of mini long-nose pliers to bend the metal lips located on the back of the toaster. The metal lips should be facing towards you after you have bent them.

    • Remove the waveguide cover (rectangular tan cover) on the back of the toaster.

  12. Toaster Made by Design model KT-3215 Teardown: 手順 12、 2の画像 1 Toaster Made by Design model KT-3215 Teardown: 手順 12、 2の画像 2
    • Use a Phillips 2 x 4in. screwdriver to remove the two 0.25 in. Phillips head screws. This will allow you to remove the metal bracket.

  13. Toaster Made by Design model KT-3215 Teardown: 手順 13、 2の画像 1 Toaster Made by Design model KT-3215 Teardown: 手順 13、 2の画像 2
    • Use a Phillips 2 x 4in. screwdriver to remove the two 0.25 in. Phillips head screws. These screws secure the back of the internal housing of the toaster.

  14. Toaster Made by Design model KT-3215 Teardown: 手順 14、 2の画像 1 Toaster Made by Design model KT-3215 Teardown: 手順 14、 2の画像 2
    • Use a Phillips 2 x 4in. screwdriver to remove the two 0.25 in. Phillips head screws. These screws secure the front of the internal housing of the toaster.

  15. Toaster Made by Design model KT-3215 Teardown: 手順 15、 3の画像 1 Toaster Made by Design model KT-3215 Teardown: 手順 15、 3の画像 2 Toaster Made by Design model KT-3215 Teardown: 手順 15、 3の画像 3
    • Lift the internal housing.

    • Use a pair of mini needle pliers to remove the other end of the power splitter cable.

  16. Toaster Made by Design model KT-3215 Teardown: 手順 16、 2の画像 1 Toaster Made by Design model KT-3215 Teardown: 手順 16、 2の画像 2
    • Place the internal housing flat on the base of the toaster.

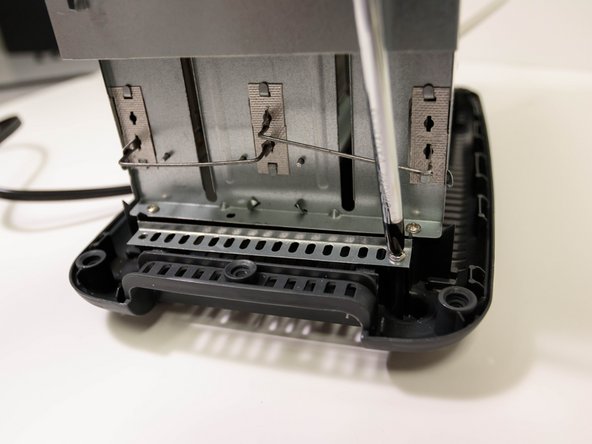
    • Use a pair of mini long-nose pliers to detach the wires that are welded to the internal housing. This may require some force.

  17. Toaster Made by Design model KT-3215 Teardown: 手順 17、 1の画像 1
    • Remove the internal housing from the base of the toaster.

  18. Toaster Made by Design model KT-3215 Teardown: 手順 18、 3の画像 1 Toaster Made by Design model KT-3215 Teardown: 手順 18、 3の画像 2 Toaster Made by Design model KT-3215 Teardown: 手順 18、 3の画像 3
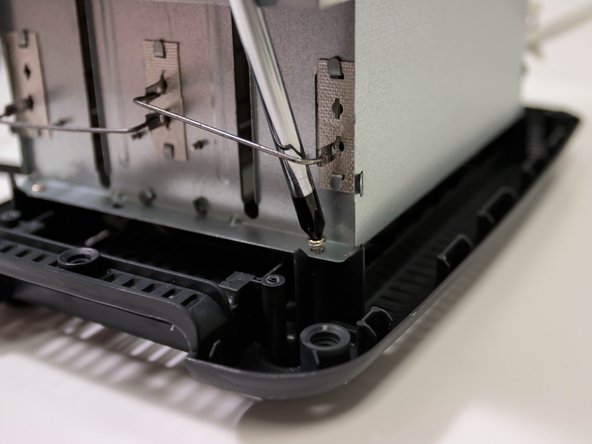
    • Use a Phillips #2 x 4in. screwdriver to remove the two 0.25 in. Phillips head screws from the plastic fastener.

    • Remove the plastic fastener.

  19. Toaster Made by Design model KT-3215 Teardown: 手順 19、 2の画像 1 Toaster Made by Design model KT-3215 Teardown: 手順 19、 2の画像 2
    • Remove the main electric controller by gently pushing forward on it then raising it up.

  20. Toaster Made by Design model KT-3215 Teardown: 手順 20、 1の画像 1
    • Pull the power cord through the base of the toaster. This will allow separation between the base of the toaster and the main electric controller.

  21. Toaster Made by Design model KT-3215 Teardown, Completed Teardown: 手順 21、 1の画像 1
    • The teardown of a Toaster Made by Design Model model KT-3215 is now complete.

作成者

5人の作成者と共同で作成されました。

Mallory

メンバー登録日: 11/15/21

313 ポイント

1ガイドが承認済み

0 件のコメント

コメントを追加

統計データ:

過去 24時間: 2

過去 7 日: 4

過去 30 日: 17

今までの合計 1,476