はじめに
This is a Tandberg remote for use with a video conference system. It is very simple to teardown with many individual parts.
必要な工具と部品
-
-
Pop off the front cap with the metal spudger.
-
There is no adhesive; the remote and cap are just snapped together.
-
-
-
-
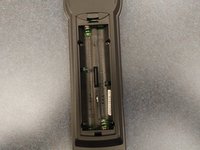
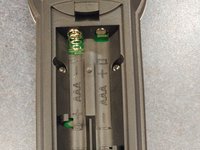
There are four screws underneath where the batteries were. Unscrew all four screws.
-
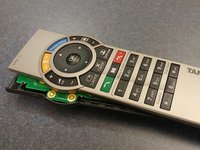
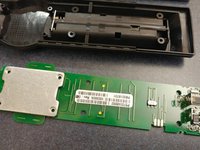
After unscrewing these four screws, proceed to pull the top apart from the bottom of the remote. This should be relatively easy, and the motherboard will now be clearly visible,
-
-
-
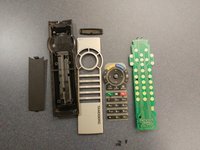
Finally, after the top cover is removed from the remote, pop the buttons out from the plastic top shell. These buttons can be a great source of stress relief.
-
Finally, remove the motherboard. The motherboard is a single unit without daughter boards or connecting wires. However, do be careful when removing the battery terminals from the back cover.
-
Congratulations! You completed the teardown!
-