メインコンテンツにスキップ

必要な工具と部品

ビデオの概要

この分解は修理ガイドでは ありません。 お持ちのSony Xperia Z4を修理する際は、iFixitの修理ガイドをご利用ください。

  1. Sony Xperia Z4 Teardown, Sony Xperia Z4 Teardown: 手順 1、 2の画像 1 Sony Xperia Z4 Teardown, Sony Xperia Z4 Teardown: 手順 1、 2の画像 2
    • Remove back cover.

    How much heat needed to melting down the back cover adhesive…

    Aspar Riansyah - 返信

    it is no need to heat too much.

    Snowflake -

  2. Sony Xperia Z4 Teardown: 手順 2、 3の画像 1 Sony Xperia Z4 Teardown: 手順 2、 3の画像 2 Sony Xperia Z4 Teardown: 手順 2、 3の画像 3
    • Remove battery.

  3. Sony Xperia Z4 Teardown: 手順 3、 2の画像 1 Sony Xperia Z4 Teardown: 手順 3、 2の画像 2
    • Release all the connectors on board and remove the screws there.

  4. Sony Xperia Z4 Teardown: 手順 4、 2の画像 1 Sony Xperia Z4 Teardown: 手順 4、 2の画像 2
    • Remove that small securing bracket.

  5. Sony Xperia Z4 Teardown: 手順 5、 3の画像 1 Sony Xperia Z4 Teardown: 手順 5、 3の画像 2 Sony Xperia Z4 Teardown: 手順 5、 3の画像 3
    • Remove rear camera and front camera.

  6. Sony Xperia Z4 Teardown: 手順 6、 2の画像 1 Sony Xperia Z4 Teardown: 手順 6、 2の画像 2
    • Remove motherboard.

  7. Sony Xperia Z4 Teardown: 手順 7、 3の画像 1 Sony Xperia Z4 Teardown: 手順 7、 3の画像 2 Sony Xperia Z4 Teardown: 手順 7、 3の画像 3
    • Remove sensor flex.

  8. Sony Xperia Z4 Teardown: 手順 8、 3の画像 1 Sony Xperia Z4 Teardown: 手順 8、 3の画像 2 Sony Xperia Z4 Teardown: 手順 8、 3の画像 3
    • Remove two pieces of cover brackets on the audio jack.

  9. Sony Xperia Z4 Teardown: 手順 9、 2の画像 1 Sony Xperia Z4 Teardown: 手順 9、 2の画像 2
    • Cut the adhesive on the top of the audio jack and remove the audio jack assembly.

  10. Sony Xperia Z4 Teardown: 手順 10、 1の画像 1
    • Remove signal cable.

  11. Sony Xperia Z4 Teardown: 手順 11、 3の画像 1 Sony Xperia Z4 Teardown: 手順 11、 3の画像 2 Sony Xperia Z4 Teardown: 手順 11、 3の画像 3
    • Release connectors connecting on the antenna logic board and finally remove it.

  12. Sony Xperia Z4 Teardown: 手順 12、 2の画像 1 Sony Xperia Z4 Teardown: 手順 12、 2の画像 2
    • Release LCD connector there and loosen the bottom of the whole flex.

  13. Sony Xperia Z4 Teardown: 手順 13、 3の画像 1 Sony Xperia Z4 Teardown: 手順 13、 3の画像 2 Sony Xperia Z4 Teardown: 手順 13、 3の画像 3
    • Remove main flex.

  14. Sony Xperia Z4 Teardown: 手順 14、 2の画像 1 Sony Xperia Z4 Teardown: 手順 14、 2の画像 2
    • Remove loudspeaker securing bracket.

  15. Sony Xperia Z4 Teardown: 手順 15、 2の画像 1 Sony Xperia Z4 Teardown: 手順 15、 2の画像 2
    • Remove loudspeaker hidden under the flex.

  16. Sony Xperia Z4 Teardown: 手順 16、 2の画像 1 Sony Xperia Z4 Teardown: 手順 16、 2の画像 2
    • Push the USB port out of the slot.

  17. Sony Xperia Z4 Teardown: 手順 17、 2の画像 1 Sony Xperia Z4 Teardown: 手順 17、 2の画像 2
    • Remove USB charging flex assembly.

  18. Sony Xperia Z4 Teardown: 手順 18、 2の画像 1 Sony Xperia Z4 Teardown: 手順 18、 2の画像 2
    • Remove earpiece speaker.

  19. Sony Xperia Z4 Teardown: 手順 19、 2の画像 1 Sony Xperia Z4 Teardown: 手順 19、 2の画像 2
    • Remove the metal bracket covering on the screen flex.

  20. Sony Xperia Z4 Teardown: 手順 20、 3の画像 1 Sony Xperia Z4 Teardown: 手順 20、 3の画像 2 Sony Xperia Z4 Teardown: 手順 20、 3の画像 3
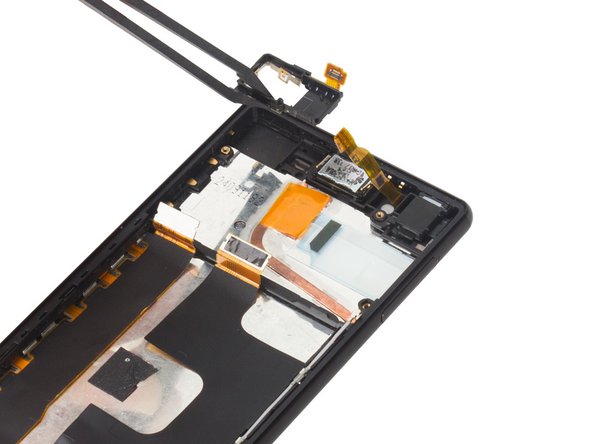
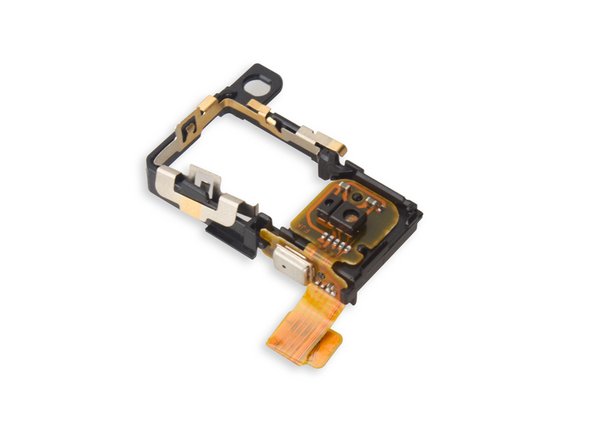
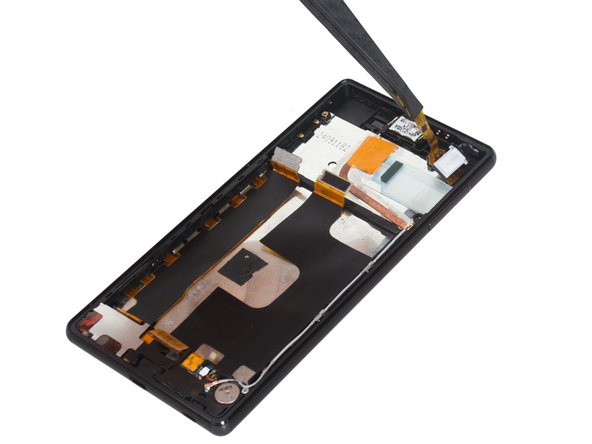
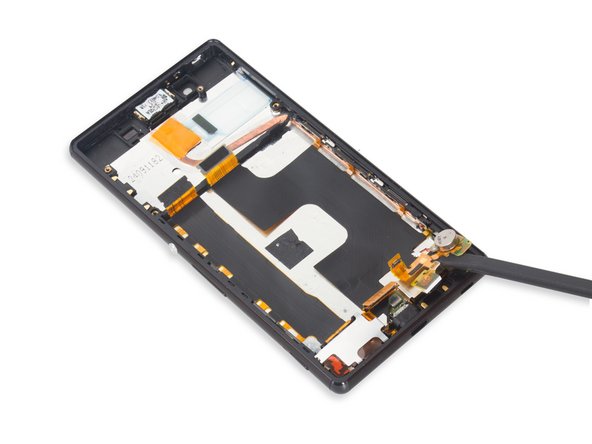
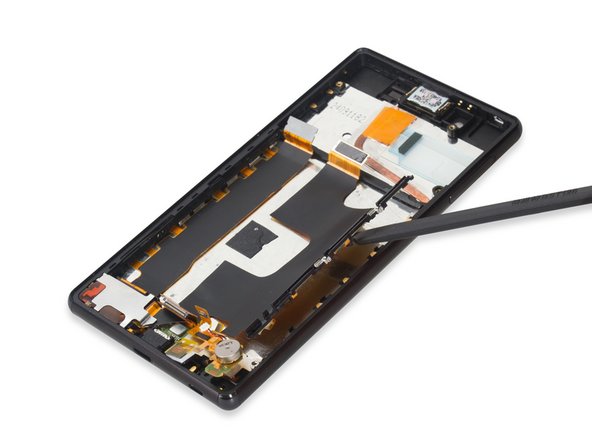
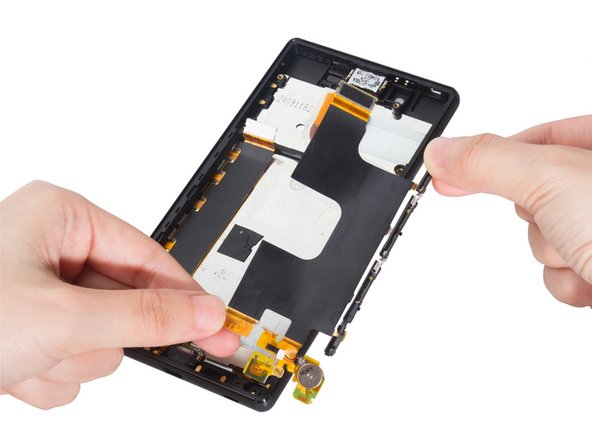
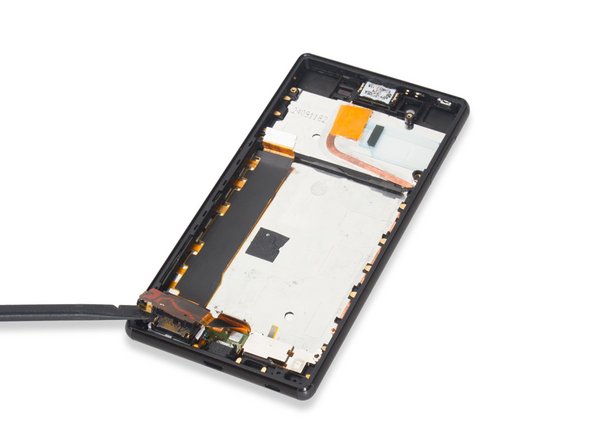
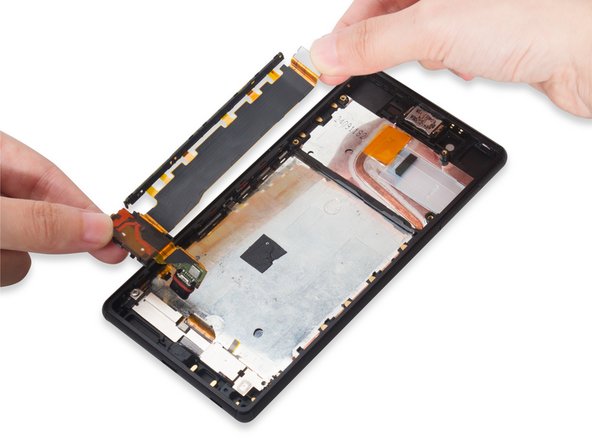
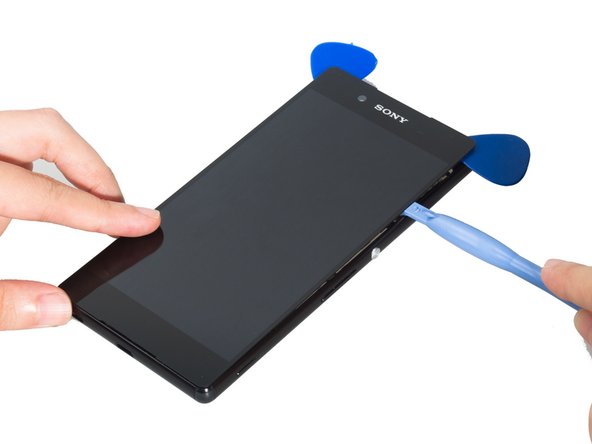
    • Remove LCD screen carefully.

    Gerade so ein schwieriger Schritt, wie das Entfernen des Displays, bei dem auch echt viel schief gehen kann, sollte ruhig etwas detaillierter beschrieben werden. Die Mühe ist man der Community echt schuldig.

    Davon mal abgesehen ist das Bildmaterial echt gut gelungen!

    Gerdi - 返信

  21. Sony Xperia Z4 Teardown: 手順 21、 1の画像 1
    • Done.

作成者

1人の作成者と共同作成されました。

Sophia

メンバー登録日: 03/25/14

43,810 ポイント

62のガイドは作成済み

2 件のコメント

Is it possible to replace the nylon corners? I've heard it was possible in the previous xperia z devices like z2 and z3. Unfortunately I couldn't find the replacement corners for z3+ or z4 anywhere. Anyone has any idea about it?

Sanket - 返信

Late answer, but it seems like there’s replacement parts for the corners now. I don’t know how to replace them, though.

Farie Indriawan -

コメントを追加

統計データ:

過去 24時間: 1

過去 7 日: 7

過去 30 日: 51

今までの合計 35,786