メインコンテンツにスキップ

必要な工具と部品

ビデオの概要

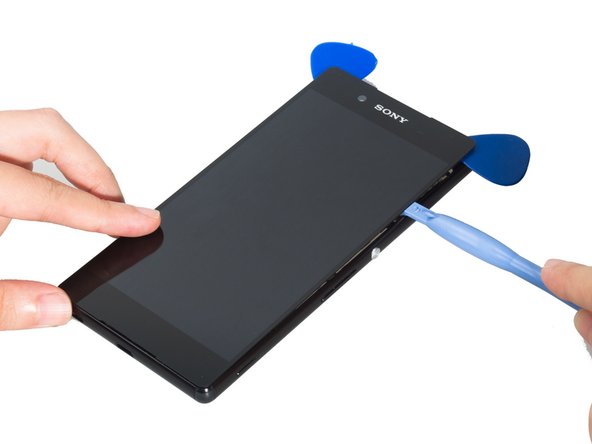
この分解は修理ガイドでは ありません。 お持ちのSony Xperia Z4を修理する際は、iFixitの修理ガイドをご利用ください。

  1. Sony Xperia Z4 Teardown, Sony Xperia Z4 Teardown: 手順 1、 2の画像 1 Sony Xperia Z4 Teardown, Sony Xperia Z4 Teardown: 手順 1、 2の画像 2
    • Remove back cover.

  2. Sony Xperia Z4 Teardown: 手順 2、 3の画像 1 Sony Xperia Z4 Teardown: 手順 2、 3の画像 2 Sony Xperia Z4 Teardown: 手順 2、 3の画像 3
    • Remove battery.

  3. Sony Xperia Z4 Teardown: 手順 3、 2の画像 1 Sony Xperia Z4 Teardown: 手順 3、 2の画像 2
    • Release all the connectors on board and remove the screws there.

  4. Sony Xperia Z4 Teardown: 手順 4、 2の画像 1 Sony Xperia Z4 Teardown: 手順 4、 2の画像 2
    • Remove that small securing bracket.

  5. Sony Xperia Z4 Teardown: 手順 5、 3の画像 1 Sony Xperia Z4 Teardown: 手順 5、 3の画像 2 Sony Xperia Z4 Teardown: 手順 5、 3の画像 3
    • Remove rear camera and front camera.

  6. Sony Xperia Z4 Teardown: 手順 6、 2の画像 1 Sony Xperia Z4 Teardown: 手順 6、 2の画像 2
    • Remove motherboard.

  7. Sony Xperia Z4 Teardown: 手順 7、 3の画像 1 Sony Xperia Z4 Teardown: 手順 7、 3の画像 2 Sony Xperia Z4 Teardown: 手順 7、 3の画像 3
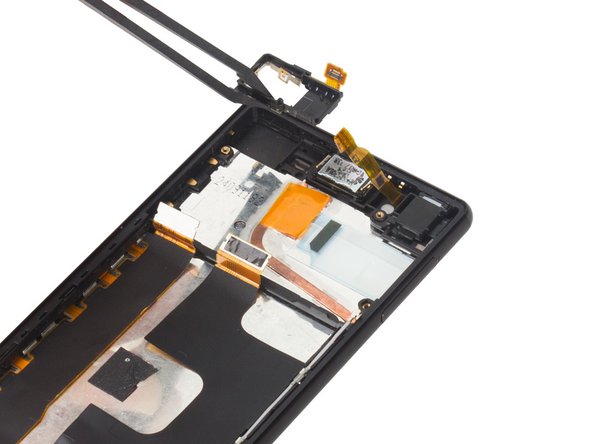
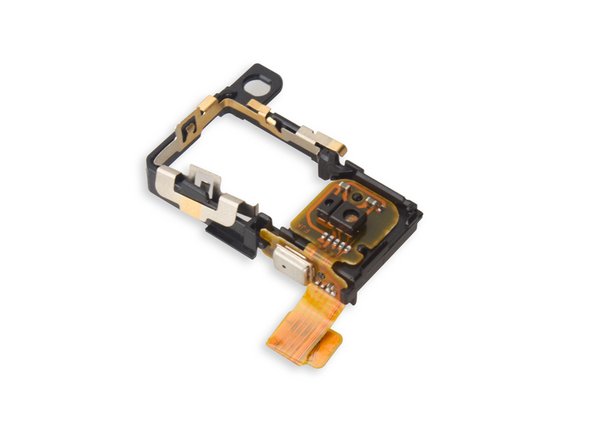
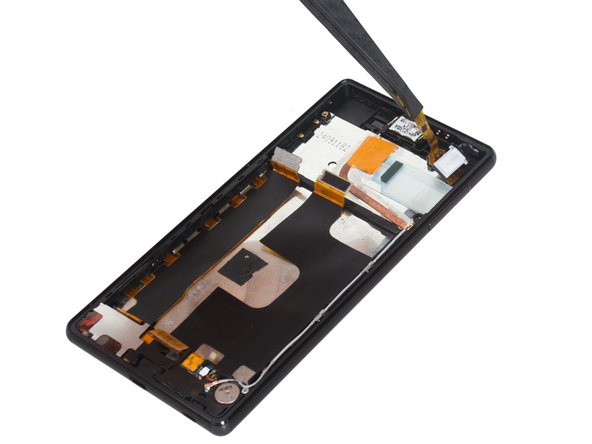
    • Remove sensor flex.

  8. Sony Xperia Z4 Teardown: 手順 8、 3の画像 1 Sony Xperia Z4 Teardown: 手順 8、 3の画像 2 Sony Xperia Z4 Teardown: 手順 8、 3の画像 3
    • Remove two pieces of cover brackets on the audio jack.

  9. Sony Xperia Z4 Teardown: 手順 9、 2の画像 1 Sony Xperia Z4 Teardown: 手順 9、 2の画像 2
    • Cut the adhesive on the top of the audio jack and remove the audio jack assembly.

  10. Sony Xperia Z4 Teardown: 手順 10、 1の画像 1
    • Remove signal cable.

  11. Sony Xperia Z4 Teardown: 手順 11、 3の画像 1 Sony Xperia Z4 Teardown: 手順 11、 3の画像 2 Sony Xperia Z4 Teardown: 手順 11、 3の画像 3
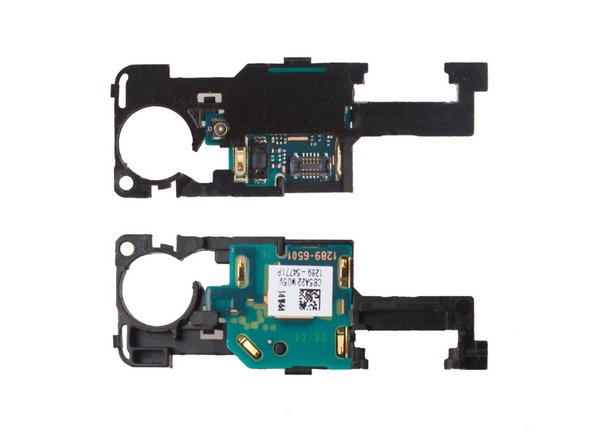
    • Release connectors connecting on the antenna logic board and finally remove it.

  12. Sony Xperia Z4 Teardown: 手順 12、 2の画像 1 Sony Xperia Z4 Teardown: 手順 12、 2の画像 2
    • Release LCD connector there and loosen the bottom of the whole flex.

  13. Sony Xperia Z4 Teardown: 手順 13、 3の画像 1 Sony Xperia Z4 Teardown: 手順 13、 3の画像 2 Sony Xperia Z4 Teardown: 手順 13、 3の画像 3
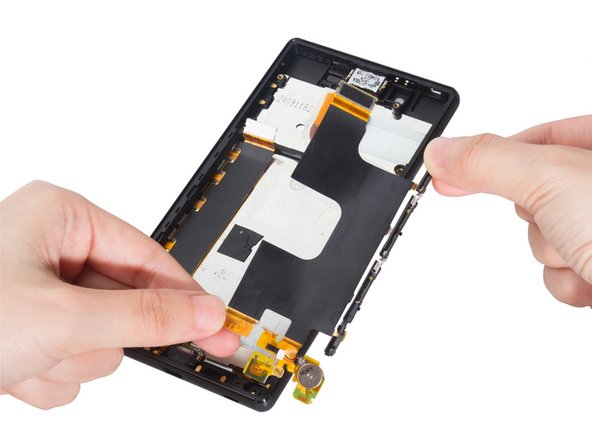
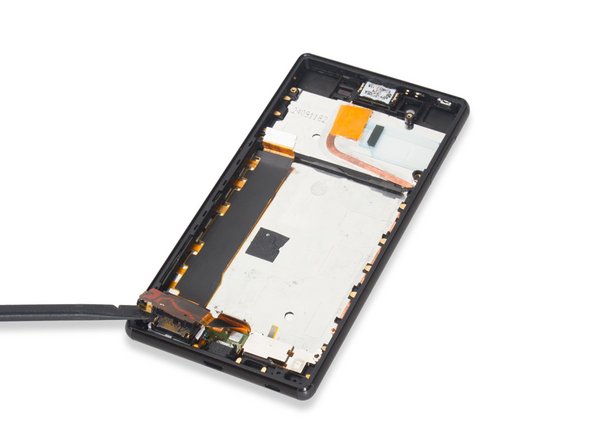
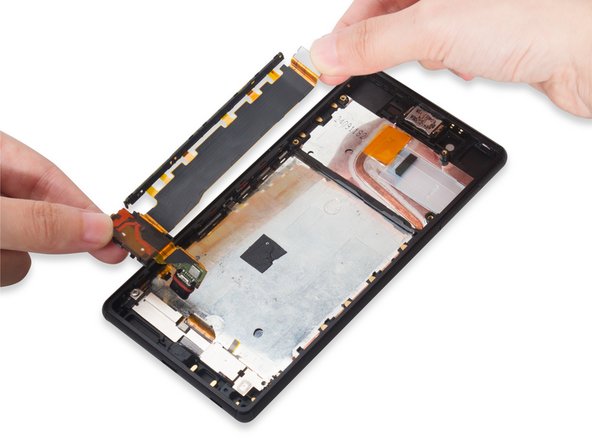
    • Remove main flex.

  14. Sony Xperia Z4 Teardown: 手順 14、 2の画像 1 Sony Xperia Z4 Teardown: 手順 14、 2の画像 2
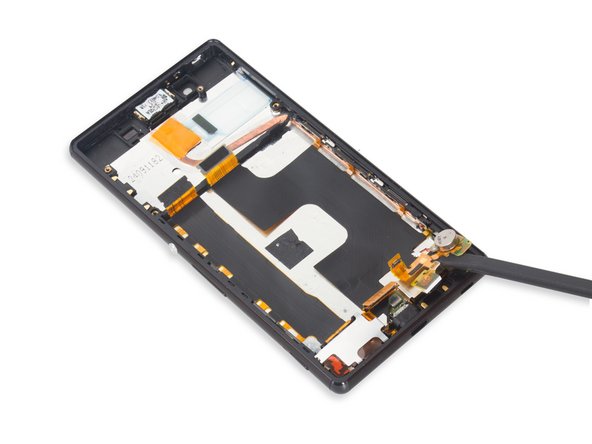
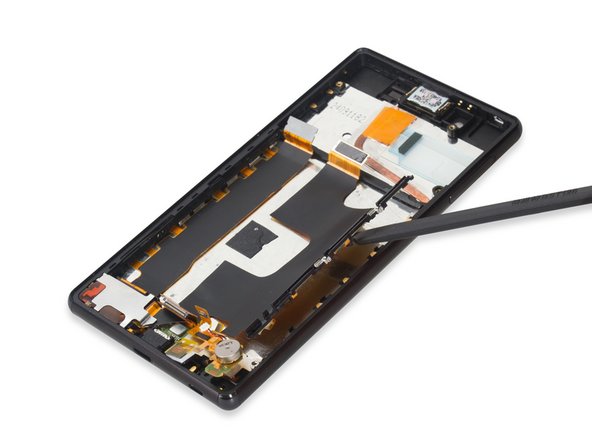
    • Remove loudspeaker securing bracket.

  15. Sony Xperia Z4 Teardown: 手順 15、 2の画像 1 Sony Xperia Z4 Teardown: 手順 15、 2の画像 2
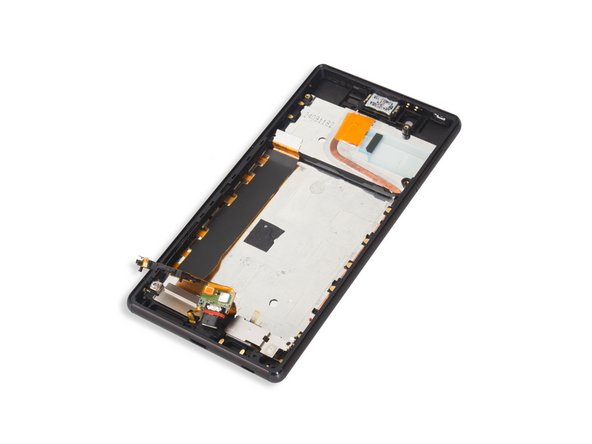
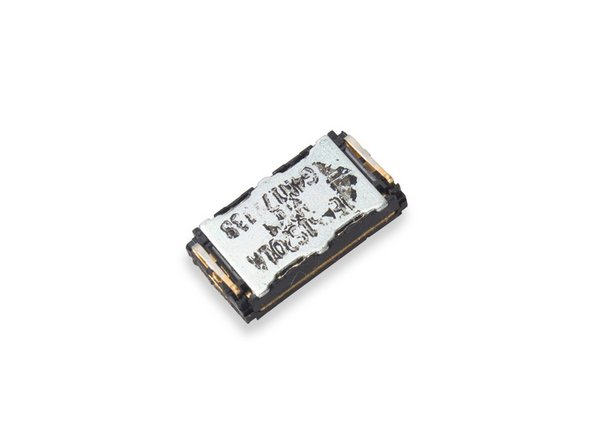
    • Remove loudspeaker hidden under the flex.

  16. Sony Xperia Z4 Teardown: 手順 16、 2の画像 1 Sony Xperia Z4 Teardown: 手順 16、 2の画像 2
    • Push the USB port out of the slot.

  17. Sony Xperia Z4 Teardown: 手順 17、 2の画像 1 Sony Xperia Z4 Teardown: 手順 17、 2の画像 2
    • Remove USB charging flex assembly.

  18. Sony Xperia Z4 Teardown: 手順 18、 2の画像 1 Sony Xperia Z4 Teardown: 手順 18、 2の画像 2
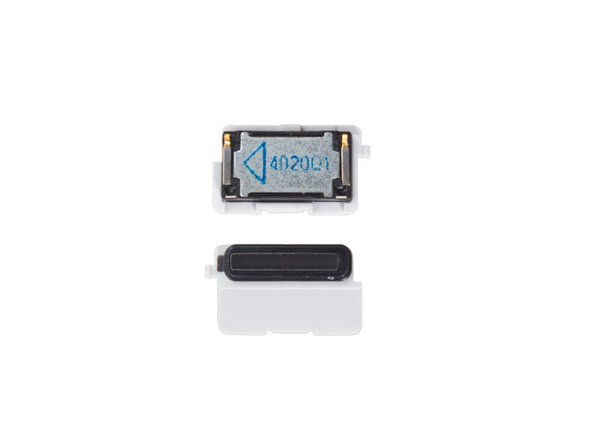
    • Remove earpiece speaker.

  19. Sony Xperia Z4 Teardown: 手順 19、 2の画像 1 Sony Xperia Z4 Teardown: 手順 19、 2の画像 2
    • Remove the metal bracket covering on the screen flex.

  20. Sony Xperia Z4 Teardown: 手順 20、 3の画像 1 Sony Xperia Z4 Teardown: 手順 20、 3の画像 2 Sony Xperia Z4 Teardown: 手順 20、 3の画像 3
    • Remove LCD screen carefully.

  21. Sony Xperia Z4 Teardown: 手順 21、 1の画像 1
    • Done.

作成者

1人の作成者と共同作成されました。

Sophia

メンバー登録日: 03/25/14

43,810 ポイント

62のガイドは作成済み

2 件のコメント

Is it possible to replace the nylon corners? I've heard it was possible in the previous xperia z devices like z2 and z3. Unfortunately I couldn't find the replacement corners for z3+ or z4 anywhere. Anyone has any idea about it?

Sanket - 返信

Late answer, but it seems like there’s replacement parts for the corners now. I don’t know how to replace them, though.

Farie Indriawan -

コメントを追加

統計データ:

過去 24時間: 1

過去 7 日: 17

過去 30 日: 67

今までの合計 35,817