メインコンテンツにスキップ

この分解は進行中です。 – 最新版を見るには定期的に再読み込みします。

必要な工具と部品

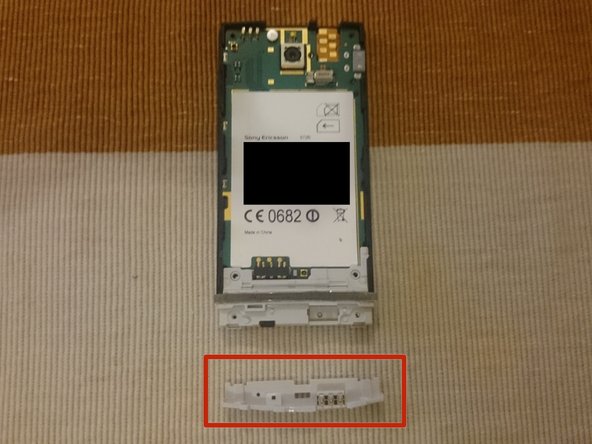
  1. Sony Xperia U Teardown, Sony Xperia U Teardown: 手順 1、 1の画像 1
    • Remove the back cover and the bottom clip. And also remove the sim card and battery.

  2. Sony Xperia U Teardown: 手順 2、 1の画像 1
    • Remove the 6 T5 screws

  3. Sony Xperia U Teardown: 手順 3、 1の画像 1
    • Remove the back piece, reveiling the headphone jack, speaker and the Liquid contact indicator.

    • Camera and flash

    • Vibrating motor

    • Headphone jack

    • Speaker

    • Liquid contact indicator

  4. Sony Xperia U Teardown: 手順 4、 2の画像 1 Sony Xperia U Teardown: 手順 4、 2の画像 2
    • Remove the 2 T5 screws.

    • Remove the lower antenna.

  5. Sony Xperia U Teardown: 手順 5、 2の画像 1 Sony Xperia U Teardown: 手順 5、 2の画像 2
    • Carefully remove the motherboard being aware on the lower left edge, there is the display connector.

    • Be aware of the display connector on the lower left.

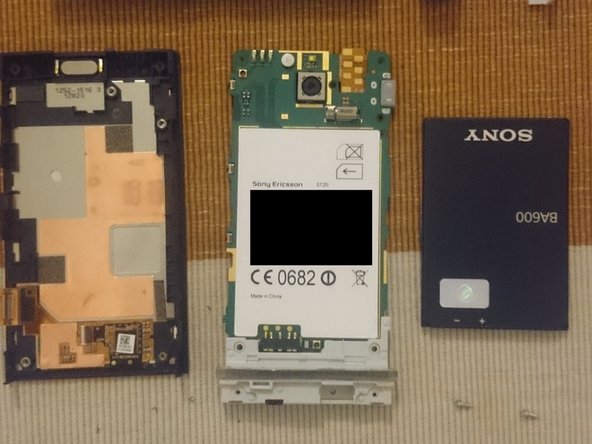
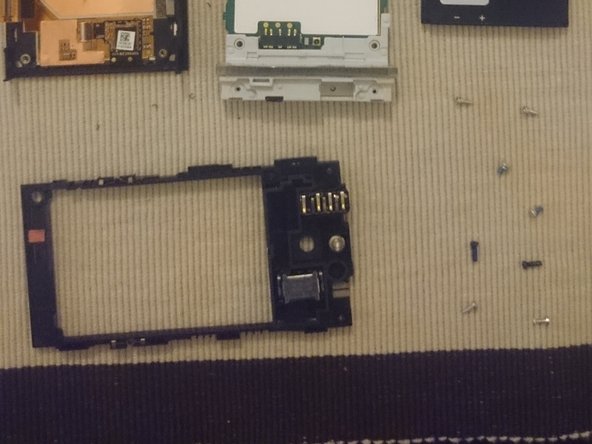
  6. Sony Xperia U Teardown: 手順 6、 3の画像 1 Sony Xperia U Teardown: 手順 6、 3の画像 2 Sony Xperia U Teardown: 手順 6、 3の画像 3
    • Removal back and bottom cap

    • Screen + main case, motherboard + antenna, battery

    • Back casing holding the headphone jack, speaker and liquid contact indicator.

作成者

1人の作成者と共同作成されました。

Anthony

メンバー登録日: 07/29/14

201 ポイント

1ガイドが承認済み

0 件のコメント

コメントを追加

統計データ:

過去 24時間: 0

過去 7 日: 0

過去 30 日: 5

今までの合計 3,086