メインコンテンツにスキップ

必要な工具と部品

この分解は修理ガイドでは ありません。 お持ちのSony Audio System RM-S100 Remoteを修理する際は、iFixitの修理ガイドをご利用ください。

  1. Sony Audio System RM-S100 Remote Teardown, Sony Audio System RM-S100 Remote Teardown: 手順 1、 2の画像 1 Sony Audio System RM-S100 Remote Teardown, Sony Audio System RM-S100 Remote Teardown: 手順 1、 2の画像 2
    • On the back of the remote there will be a battery cover. Open it up.

  2. Sony Audio System RM-S100 Remote Teardown: 手順 2、 3の画像 1 Sony Audio System RM-S100 Remote Teardown: 手順 2、 3の画像 2 Sony Audio System RM-S100 Remote Teardown: 手順 2、 3の画像 3
    この手順で使用する道具:
    Spudger
    $3.99
    購入する
    • See the little tab?

    • Don't break the tab when you open it. That will make it un-close-able!

    • Use your Spudger to open it up

    • Don’t snap your Spudger!

    • This is so incredibly hard to open. I recommend also using a 3.5mm Flat Head so you don’t snap your Spudger.

    • Voila! (Whatever that means...) Its open!

    • This is very hard to open without breaking the tab or your Spudger. The repairability score will take a hit.

  3. Sony Audio System RM-S100 Remote Teardown: 手順 3、 3の画像 1 Sony Audio System RM-S100 Remote Teardown: 手順 3、 3の画像 2 Sony Audio System RM-S100 Remote Teardown: 手順 3、 3の画像 3
    • Let’s start by removing the red thing.

    • You can remove it with your fingers.

    • Now pull out the PCB. (It is best to pull by the springs.)

  4. Sony Audio System RM-S100 Remote Teardown: 手順 4、 2の画像 1 Sony Audio System RM-S100 Remote Teardown: 手順 4、 2の画像 2
    • Pull out the button pad.

    • Now, pull out the spring.

    • And thats it!

  5. Sony Audio System RM-S100 Remote Teardown: 手順 5、 1の画像 1
    • A total of 7 parts. (I was expecting more.)

    • I would give this a repairability score of 8 out of 10.

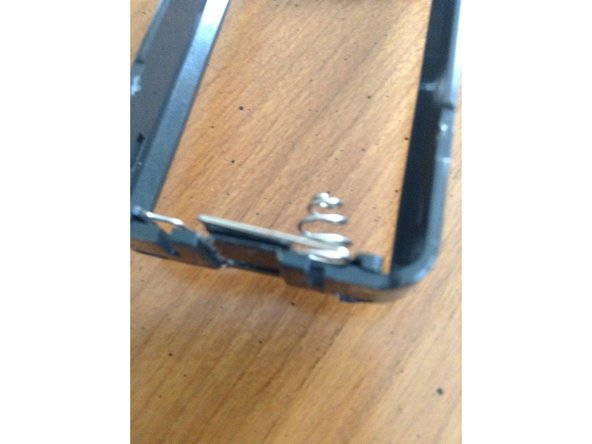
    • I almost Broke by Spudger =(

    • Insanely hard to open.

    • Easy to disassemble... once open.

    • No screws. (No Screws to lose! No need remember which screw goes where.)

    • Easy to assemble...unless the tab was broken.

Aiden

メンバー登録日: 09/19/15

17,429 ポイント

21のガイドは作成済み

4 件のコメント

This is a great first teardown! =) Keep it up!

Sam Goldheart - 返信

Thanks! I would do more but I don’t have much junk to disassemble that I don’t need.

Aiden -

Hi @captainsnowball ,

FYI

voilà French exclamation - meaning “There it is!” or “There you are!”

The “red thing” in Step 3 is most probably an IR filter, to filter out visible light to improve IR operation

jayeff - 返信

Ran into this while trying to clean an old RM U204. To anyone else looking to clean a 23 year old stereo receiver remote: the latch at the bottom doesn't work quite the same. The loop is connected to the bottom plastic instead, but starting there also got me to the finish line.

There are four latches on each side, requiring you to pull the top cover outwards. You will not open it without breaking some of them, and plastic prying tools will break against this rock. The plastic is soft, and your screwdriver will very easily damage it.

To Sony: why.

Minic - 返信

コメントを追加

統計データ:

過去 24時間: 1

過去 7 日: 5

過去 30 日: 17

今までの合計 3,246