メインコンテンツにスキップ

必要な工具と部品

この分解は修理ガイドでは ありません。 お持ちのSamsung SGH-X450を修理する際は、iFixitの修理ガイドをご利用ください。

  1. Samsung SGH-X450 Teardown, Samsung SGH-X450 Teardown: 手順 1、 1の画像 1
    • Take out the battery and SIM Card.

  2. Samsung SGH-X450 Teardown: 手順 2、 1の画像 1
    • Remove these screws.

  3. Samsung SGH-X450 Teardown: 手順 3、 1の画像 1
    • If the screws are removed, you can take the case of with your fingers or a small flathead screwdriver

  4. Samsung SGH-X450 Teardown: 手順 4、 1の画像 1
    • Now you see the PCB

    • Agere TR09WQTEF2B Processor

    • Agere PSC2106 Power Management IC

    • Battery contacts and power supply connector

    • SIM Card Slot

    • Back-Up battery

    • Antenna connector

    • 2,5mm Headphone Jack

  5. Samsung SGH-X450 Teardown: 手順 5、 1の画像 1
    • LCD Dispaly cable, you can release this connector with a small flathead screwdriver

    • Be careful here, You can break the flatcable!

  6. Samsung SGH-X450 Teardown: 手順 6、 2の画像 1 Samsung SGH-X450 Teardown: 手順 6、 2の画像 2
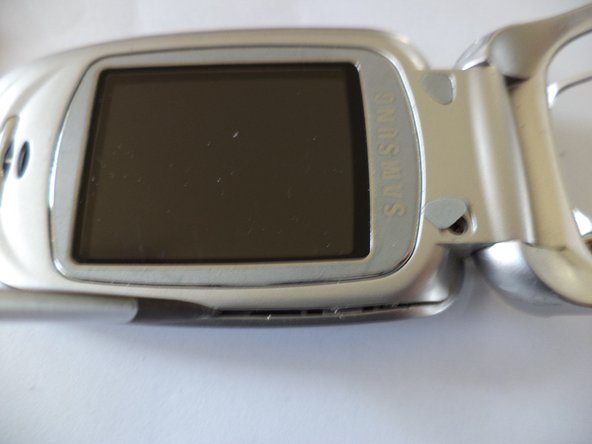
    • To take the LCD display out of the case, click the upper case open with a small flathead screwdriver or case opener. Under the two pads under the LCD Display are 2 screws.

    • Be also careful here, go not to far with the screwdriver so you can not damage the LCD display.

  7. Samsung SGH-X450 Teardown: 手順 7、 1の画像 1
    • Now you see this.

    • If you want to remove the LCD display, lift the PCB of the LCD display up with a small flathead screwdriver.

  8. Samsung SGH-X450 Teardown: 手順 8、 1の画像 1
    • Finished!

作成者

2人の作成者と共同で作成されました。

Bryan

メンバー登録日: 10/27/12

707 ポイント

5のガイドは作成済み

0 件のコメント

コメントを追加

統計データ:

過去 24時間: 0

過去 7 日: 2

過去 30 日: 8

今までの合計 1,799