メインコンテンツにスキップ

必要な工具と部品

この分解は修理ガイドでは ありません。 お持ちのSamsung Jitterbugを修理する際は、iFixitの修理ガイドをご利用ください。

  1. Samsung Jitterbug Teardown, Samsung Jitterbug Teardown: 手順 1、 3の画像 1 Samsung Jitterbug Teardown, Samsung Jitterbug Teardown: 手順 1、 3の画像 2 Samsung Jitterbug Teardown, Samsung Jitterbug Teardown: 手順 1、 3の画像 3
    • First remove the battery and rubber feet from base and under phone number inside.

    • Undo all six screws. Only the two under the battery will come out fully.

  2. Samsung Jitterbug Teardown: 手順 2、 2の画像 1 Samsung Jitterbug Teardown: 手順 2、 2の画像 2
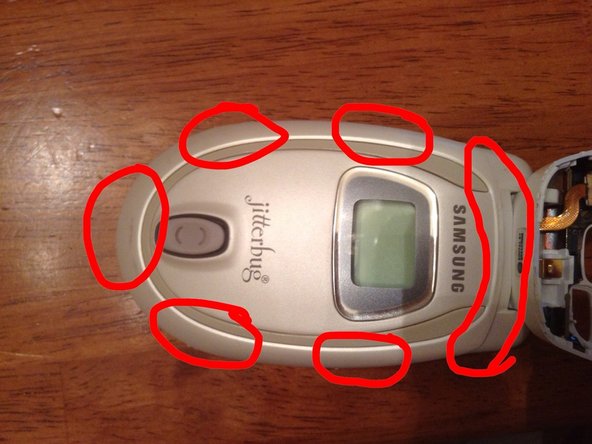
    • Pop the six clips indicated in green and remove back. I removed the two on the sides first, but it was a huge pain to open the rest of the way. I suggest starting from the top four.

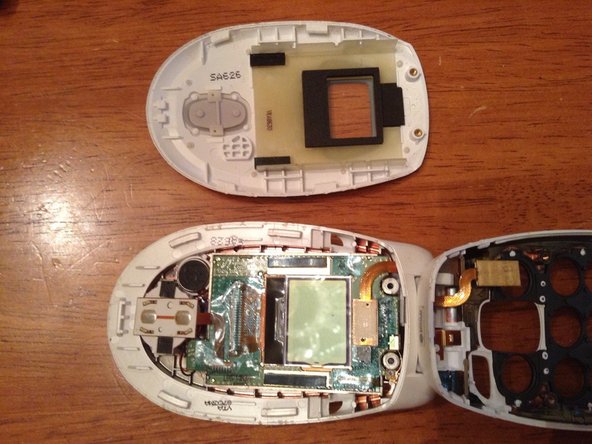
    • Blue is the connector to the screen and speaker board in the top of the phone.

    • Purple is the chip and orange is charging port.

    • The opposite side of the board (not pictured) has the microphone on it, it's a small black round bump on the bottom.

  3. Samsung Jitterbug Teardown: 手順 3、 3の画像 1 Samsung Jitterbug Teardown: 手順 3、 3の画像 2 Samsung Jitterbug Teardown: 手順 3、 3の画像 3
    • Unhook screen connector and pop out board (just put a screwdriver under and pop).

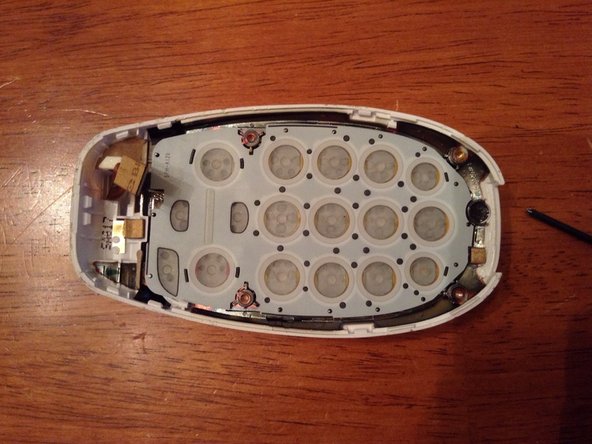
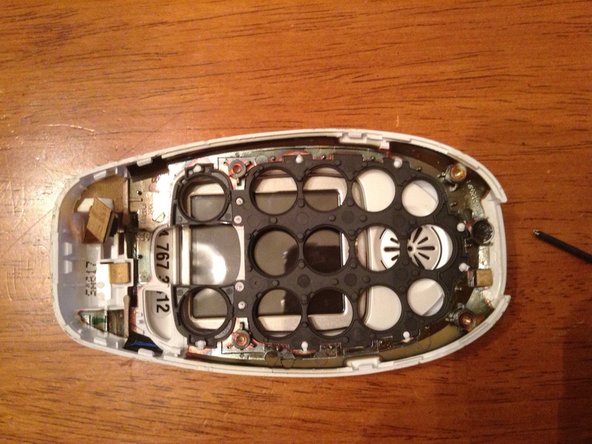
    • Peel off button pad.

  4. Samsung Jitterbug Teardown: 手順 4、 3の画像 1 Samsung Jitterbug Teardown: 手順 4、 3の画像 2 Samsung Jitterbug Teardown: 手順 4、 3の画像 3
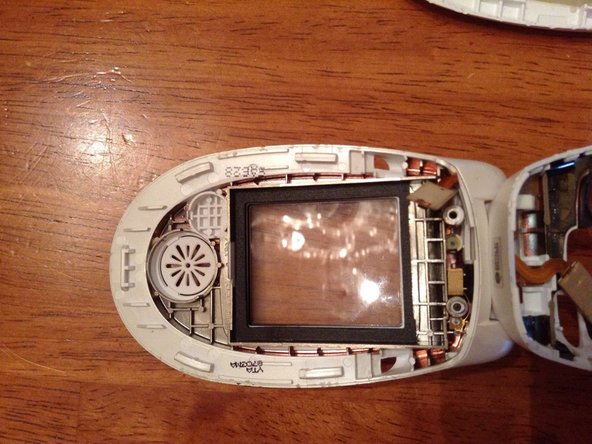
    • Remove rubber front, then turn over.

    • Pop all five clips. Start at the top near the hinge and work down.

  5. Samsung Jitterbug Teardown: 手順 5、 3の画像 1 Samsung Jitterbug Teardown: 手順 5、 3の画像 2 Samsung Jitterbug Teardown: 手順 5、 3の画像 3
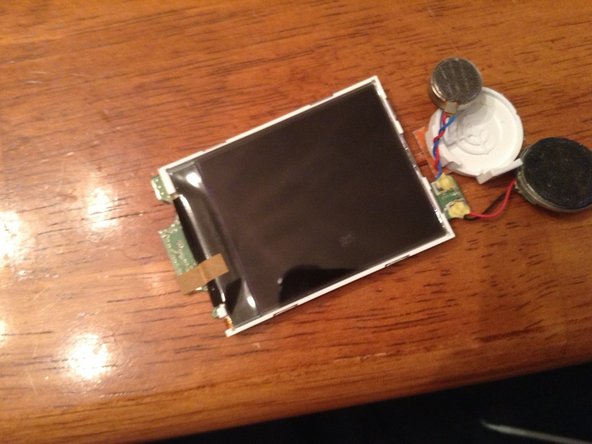
    • Blue is main screen and mini screen board. Green is button and underneath is the main speaker. Purple is

    • Pop out all pieces. Be careful not to break the cabling connecting the outer bits to the board.

作成者

1人の作成者と共同作成されました。

Kari Fox

メンバー登録日: 06/24/13

125 ポイント

1ガイドが承認済み

0 件のコメント

コメントを追加

統計データ:

過去 24時間: 0

過去 7 日: 4

過去 30 日: 8

今までの合計 2,101