メインコンテンツにスキップ

必要な工具と部品

この分解は修理ガイドでは ありません。 お持ちのRedOctane X-Plorerを修理する際は、iFixitの修理ガイドをご利用ください。

  1. RedOctane X-Plorer Teardown, Case: 手順 1、 1の画像 1
    • Remove all 16 #10-torx screws from the back side of the case.

    • Gently separate the case pieces.

    • A strong magnet helps greatly when taking out the screws.

    • Keep in mind when resembling, the case is plastic so, don't tighten the screws too tight.

  2. RedOctane X-Plorer Teardown, Neck: 手順 2、 1の画像 1
    • Unscrew the 4 #10-torx screws.

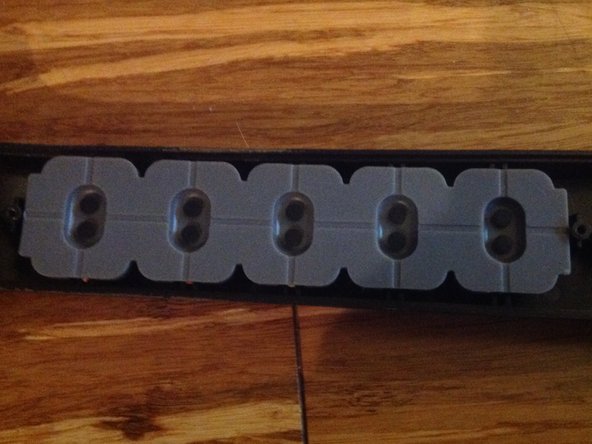
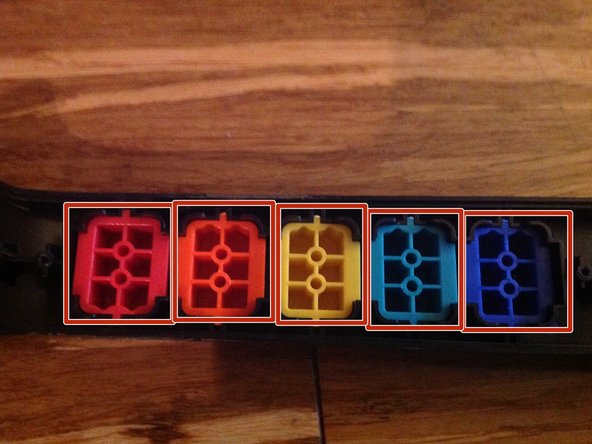
  3. RedOctane X-Plorer Teardown, Colored Keys: 手順 3、 3の画像 1 RedOctane X-Plorer Teardown, Colored Keys: 手順 3、 3の画像 2 RedOctane X-Plorer Teardown, Colored Keys: 手順 3、 3の画像 3
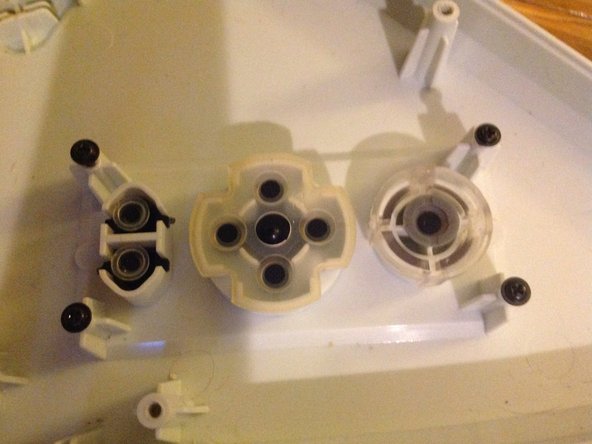
    • Unscrew the 2 Philips head screws

    • Peel off the pads.

    • Push the colored keys out from the other side.

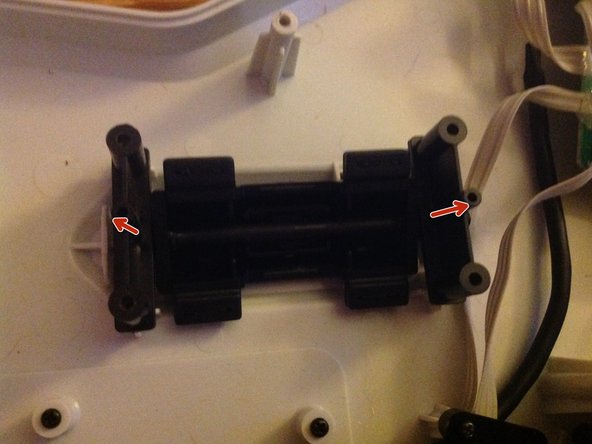
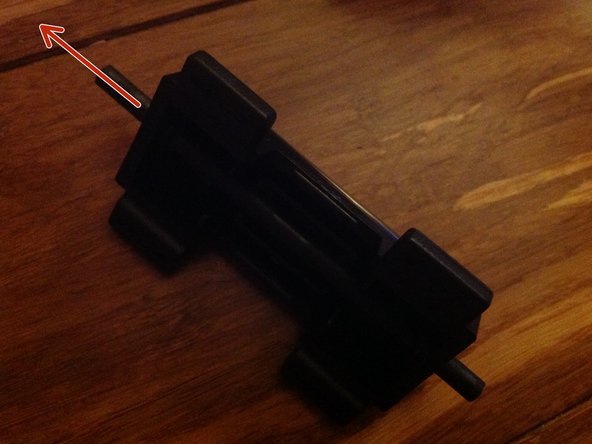
  4. RedOctane X-Plorer Teardown, Strum Bar: 手順 4、 3の画像 1 RedOctane X-Plorer Teardown, Strum Bar: 手順 4、 3の画像 2 RedOctane X-Plorer Teardown, Strum Bar: 手順 4、 3の画像 3
    • Unscrew the red screws and pull the board out.

    • Then, unscrew the blue screws

    • Pull the bracket things off.

    • Pull out the pin.

  5. RedOctane X-Plorer Teardown, Unused port: 手順 5、 1の画像 1
    • Unscrew the 4 Philips head screws.

  6. RedOctane X-Plorer Teardown, Aux Port: 手順 6、 1の画像 1
    • Unscrew these 2 Philips head screws.

  7. RedOctane X-Plorer Teardown, Whammy Bar: 手順 7、 2の画像 1 RedOctane X-Plorer Teardown, Whammy Bar: 手順 7、 2の画像 2
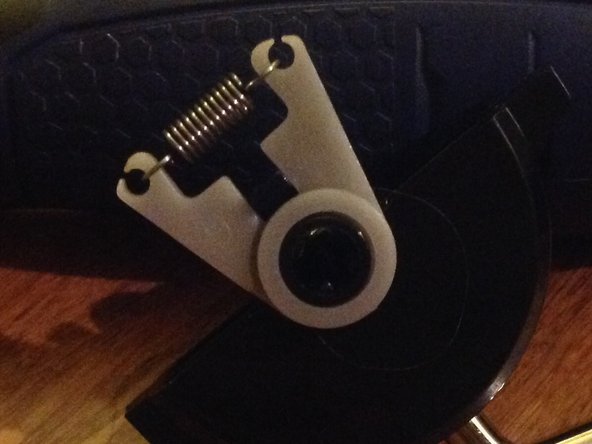
    • Push from the other side until it comes out.

    • Take the spring off with the connector

  8. RedOctane X-Plorer Teardown, Motherboard: 手順 8、 2の画像 1 RedOctane X-Plorer Teardown, Motherboard: 手順 8、 2の画像 2
    • Unscrew the 4 Philips head screws.

    • Peel off the contact pads.

作成者

3人の作成者と共同で作成されました。

Jackson Poer

メンバー登録日: 04/08/17

671 ポイント

2のガイドは作成済み

コメント 1 件

"unused port" is for a footpedal switch,not positive but believe all GH style guitars have one

Valden Tharbosen - 返信

コメントを追加

統計データ:

過去 24時間: 1

過去 7 日: 22

過去 30 日: 67

今までの合計 3,351