メインコンテンツにスキップ

必要な工具と部品

この分解は修理ガイドでは ありません。 お持ちのRatchetを修理する際は、iFixitの修理ガイドをご利用ください。

  1. Ratchet Teardown, Duralast Ratchet Teardown: 手順 1、 1の画像 1
    • Complete ratchet

  2. Ratchet Teardown, Removing the flexible head: 手順 2、 1の画像 1
    • The head is attached with a machine screw and a split washer to make the head hold its position.

    • If the head slips sometimes the helical split washer can be bent out or replaced.

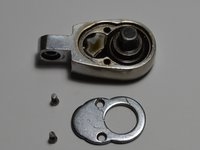
  3. Ratchet Teardown, Removing the ratcheting mechanism: 手順 3、 2の画像 1 Ratchet Teardown, Removing the ratcheting mechanism: 手順 3、 2の画像 2
    • Head opened and in pieces

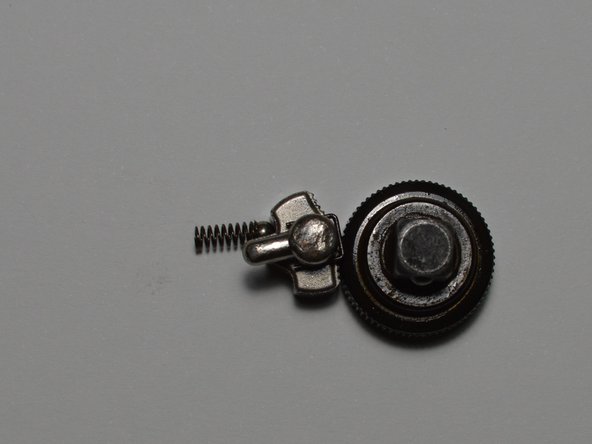
  4. Ratchet Teardown, Ratcheting Mechanism: 手順 4、 3の画像 1 Ratchet Teardown, Ratcheting Mechanism: 手順 4、 3の画像 2 Ratchet Teardown, Ratcheting Mechanism: 手順 4、 3の画像 3
    • Ratcheting mechanism in various views

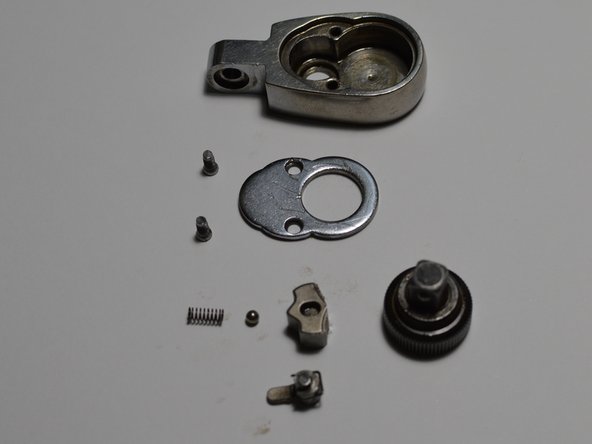
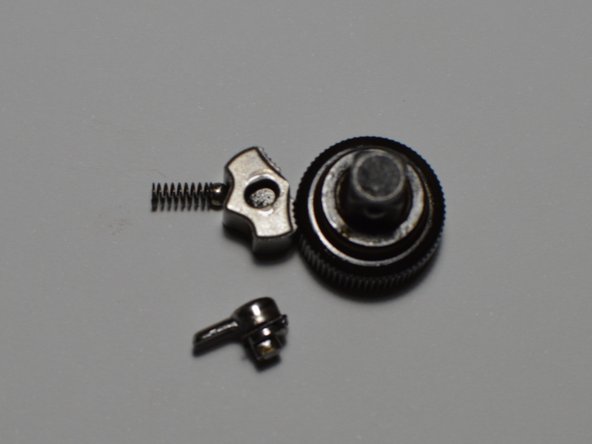
  5. Ratchet Teardown, Ratchet Mechanism Parts: 手順 5、 1の画像 1
    • Spring: holds ball bearing against pawl

    • Ball bearing: holds pawl in its position

    • Pawl: allows gear/tang to rotate in only one direction

    • Gear/Tang: part that rotates

    • Lever: selects the pawls position and what direction the gear turns

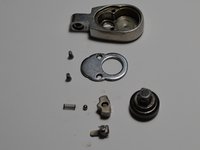
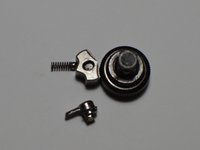
  6. Ratchet Teardown, Complete Ratchet: 手順 6、 1の画像 1
    • All parts laid out

作成者

1人の作成者と共同作成されました。

Wieli

メンバー登録日: 01/08/23

2,141 ポイント

13のガイドは作成済み

0件のガイドコメント

コメントを追加

統計データ:

過去 24時間: 1

過去 7 日: 7

過去 30 日: 42

今までの合計 985