メインコンテンツにスキップ

この分解は修理ガイドでは ありません。 お持ちのPunkt MP02を修理する際は、iFixitの修理ガイドをご利用ください。

  1. Punkt MP02 Teardown, Remove Sim card tray: 手順 1、 2の画像 1 Punkt MP02 Teardown, Remove Sim card tray: 手順 1、 2の画像 2
    • Remove Sim tray

  2. Punkt MP02 Teardown: 手順 2、 2の画像 1 Punkt MP02 Teardown: 手順 2、 2の画像 2
    • Using a knife start prying at the back in the top right corner. Then use a metal spudger to remove the back piece.

    • The back piece is held in place with a (not so strong) sticker and some hooks (see second picture for a side view of the hooks).

  3. Punkt MP02 Teardown: 手順 3、 1の画像 1
    • Remove two screws.

    • in my case one of the screws was covered by a small white sticker

  4. Punkt MP02 Teardown: 手順 4、 3の画像 1 Punkt MP02 Teardown: 手順 4、 3の画像 2 Punkt MP02 Teardown: 手順 4、 3の画像 3
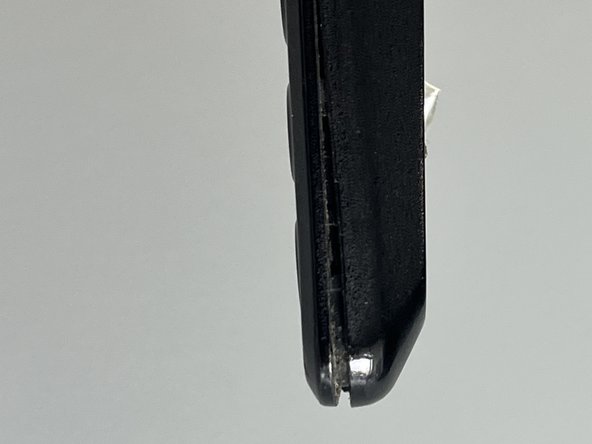
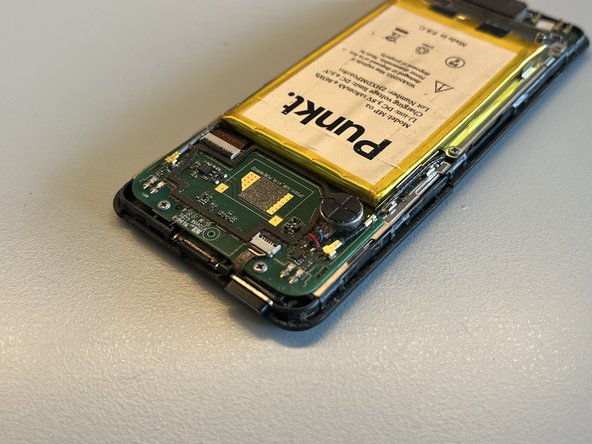
    • using a metal spudger I started separating the two halves of the phone shell on the right of the USB port.

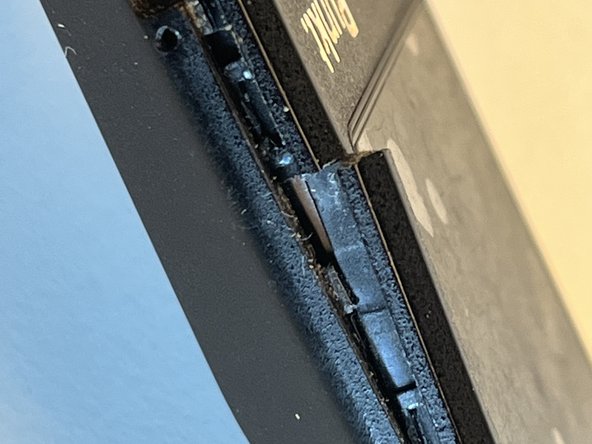
    • by carefully inserting and twisting the spudger I could unclip the two halves to separate them

    • be careful not to insert the spudger too deep, you could damage the mainboard or battery

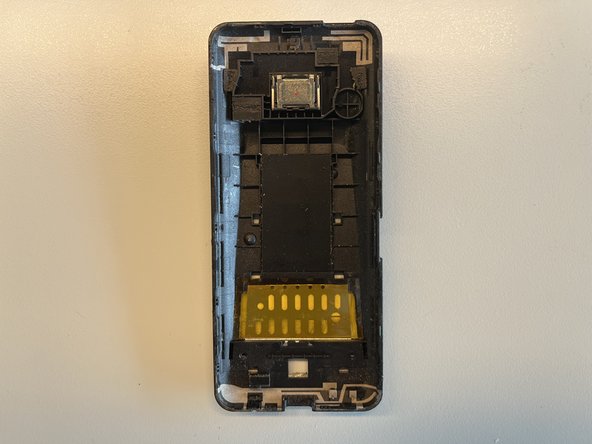
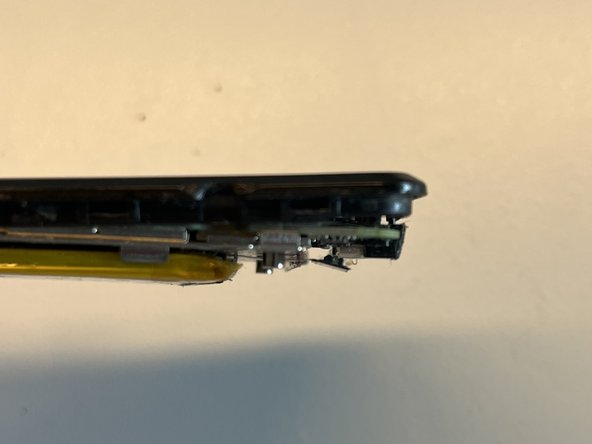
    • as I wasn't careful enough, the frame broke in two places

  5. Punkt MP02 Teardown: 手順 5、 2の画像 1 Punkt MP02 Teardown: 手順 5、 2の画像 2
    • now remove the back half

    • I looks like the back contains come antennas and a speaker

  6. Punkt MP02 Teardown: 手順 6、 3の画像 1 Punkt MP02 Teardown: 手順 6、 3の画像 2 Punkt MP02 Teardown: 手順 6、 3の画像 3
    • now remove the spongy piece that sits ontop of the USB port

    • at this stage I noticed a screw falling on my table and the screw to the right of the USB port was missing

    • I also noticed the screw to the left being loose

  7. Punkt MP02 Teardown: 手順 7、 1の画像 1
    • Now remove eight screws and the power button

  8. Punkt MP02 Teardown: 手順 8、 1の画像 1
    • I unplugged the two antenna cables

    • unplug the battery connector

  9. Punkt MP02 Teardown: 手順 9、 1の画像 1
    • now I opened the clips that hold the ribbon cables

  10. Punkt MP02 Teardown: 手順 10、 3の画像 1 Punkt MP02 Teardown: 手順 10、 3の画像 2 Punkt MP02 Teardown: 手順 10、 3の画像 3
    • at this point the device felt loose and I didn't know how to continue - I noticed after beginning to pull on the battery pull tabs that the mainboard separated

  11. Punkt MP02 Teardown: 手順 11、 1の画像 1
    • by gently moving the mainboard down (direction of USB port) the mainboard could be separated

    • notice the metal hook that prevents the device from being separated without downwards movement

  12. Punkt MP02 Teardown: 手順 12、 1の画像 1
    • remove the middle screw

  13. Punkt MP02 Teardown: 手順 13、 2の画像 1 Punkt MP02 Teardown: 手順 13、 2の画像 2
    • Now I could remove the screen and main board

作成者

2人の作成者と共同で作成されました。

Florian

メンバー登録日: 08/24/23

237 ポイント

1ガイドが承認済み

コメント 1 件

Thank you for posting this guide. It'll become more valuable as these devices age--I anticipate having to replace the battery sometime in the next two years.

vvaylon_k - 返信

コメントを追加

統計データ:

過去 24時間: 3

過去 7 日: 18

過去 30 日: 78

今までの合計 1,080