はじめに
My Puffco Peak has a micro usb port, and it failed as it does on many devices with frequent use. I called Puffco, who informed me that my device was just beyond the one year warranty. I asked if they offer repair service or parts, and they stated that the device is out of warranty, they don’t offer repair service and do not sell parts. Well, I decided to break it down and of course, found that the micro usb port is soldered to the board and can be either a loose solder joint, or needs to be replaced.
-
-
This is held on with adhesive tape. You can warm this up with something to soften the glue
-
-
-
After removing the glass, roll the rubber boot from the bottom up, and slide off in one piece.
-
-
-
-
These are small T6 Torx screws that need to be removed to separate the case halves
-
-
-
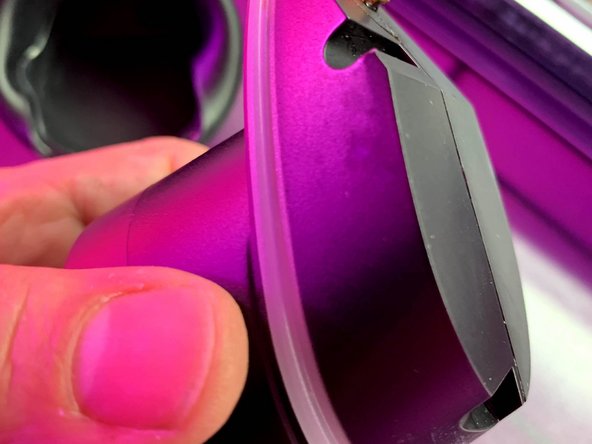
Once screws are removed, remove the warranty tape (notice the void after removal). The halves are held together with glue. I warmed mine up on a heating mantle.
-
-
-
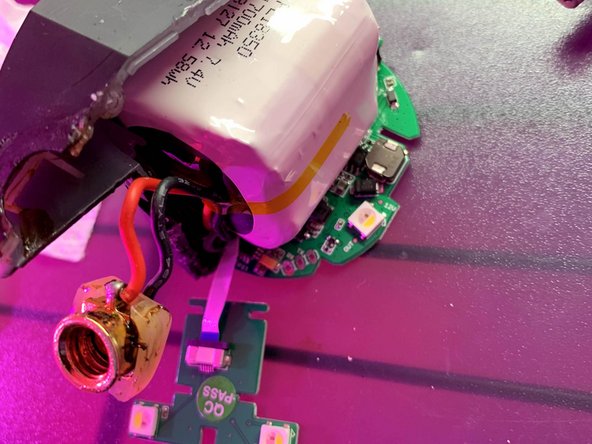
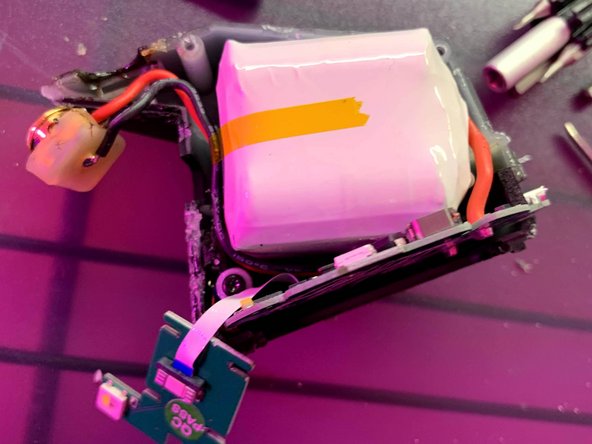
Once the halves are separated, you can carefully remove the board. Take care not to break the two wires that connect to the case LEDs. Now you can access and repair or replace switches, lights and charge ports, extending the life of your $400 investment!
-


6 件のコメント
Dose anyone know how to fix one tht
Thanks for sharing the information on the puffco peak pro vape
Do you sell parts?
LA’s L.A.B - 返信