分解
This is a quick teardown of the playstation move controller.
この分解は修理ガイドでは ありません。 お持ちのPlayStation Moveを修理する際は、iFixitの修理ガイドをご利用ください。
Playstation Move Controller
Remove the 4 screws holding the back over and trigger button on.
Once open you will see two ribbon cables.
The one connected to the trigger button is removable.
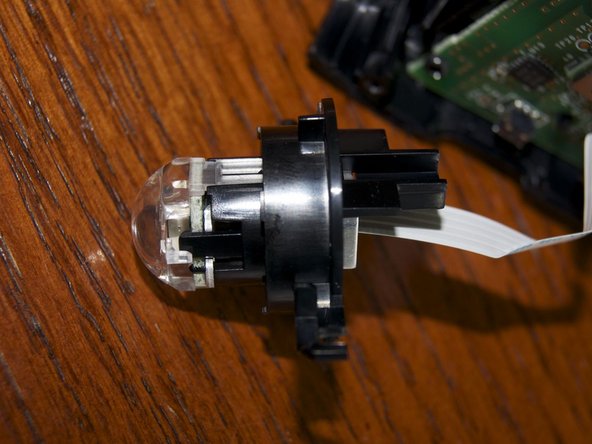
The ribbon cable attached to light globe is soldered on.
Light Globe Cover and the LED Module can be separated.
The battery can easily be removed. There is connector on the side of the board.
Battery Specs: Single Cell 1380 mAh 3.7 Volt
Sony Part: LIS1441
Remove the inner plastic (1 Screw) frame to expose the logic board
Remove the 2 top screws and one bottom screw to remove the logic board from the controller.
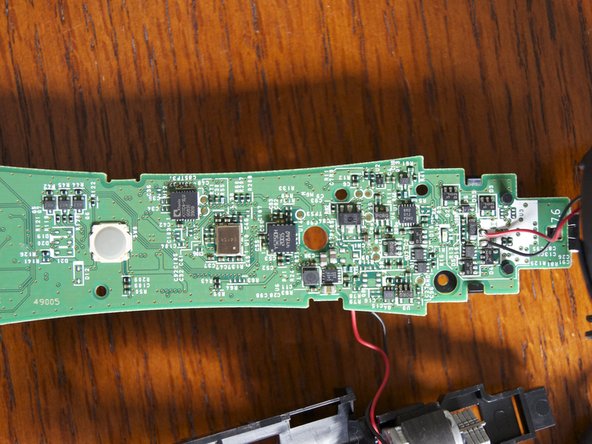
Logic Board
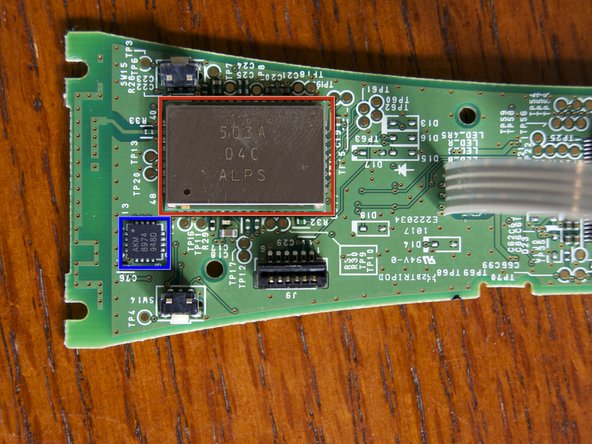
Chip Closeups Included
503A 04c ALPS - Radio Module
AKM8974948D - MEMS Gyroscope
5人の作成者と共同で作成されました。
616 ポイント
3のガイドは作成済み
バッジ: 1
AKM 8974 - 3-axis Electronic Compass
Xeno - 2013年5月27日 返信
サイズを選択し、以下のコードをコピーして、このガイドを小さなウィジェットとしてサイト/フォーラムに埋め込みます。
過去 24時間: 1
過去 7 日: 5
過去 30 日: 38
今までの合計 18,405