メインコンテンツにスキップ

必要な工具と部品

この分解は修理ガイドでは ありません。 お持ちのPlayStation 2 Slimlineを修理する際は、iFixitの修理ガイドをご利用ください。

  1. PlayStation 2 Slimline Teardown, Let's get started: 手順 1、 1の画像 1
    • Start with the console upside down.

  2. PlayStation 2 Slimline Teardown: 手順 2、 2の画像 1 PlayStation 2 Slimline Teardown: 手順 2、 2の画像 2
    • Remove the six screw covers and place on project mat.

    • Remove the six 4.0 mm screws on the base of the PS2. (Place on your project mat.)

  3. PlayStation 2 Slimline Teardown: 手順 3、 3の画像 1 PlayStation 2 Slimline Teardown: 手順 3、 3の画像 2 PlayStation 2 Slimline Teardown: 手順 3、 3の画像 3
    • Separate the bottom of PS2 from the top. Place to the side.

  4. PlayStation 2 Slimline Teardown: 手順 4、 1の画像 1
    この手順で使用する道具:
    Tweezers
    $4.99
    購入する
    • ''This PS2 that I am tearing down has no clock battery!!"

    • Locate the clock battery. Take tweezers and gently disconnect from motherboard. (Place on project mat)

  5. PlayStation 2 Slimline Teardown: 手順 5、 2の画像 1 PlayStation 2 Slimline Teardown: 手順 5、 2の画像 2
    • IR sensor on the motherboard.

    • Gently use a spudger to release the blue/ white ribbon from motherboard, (Place IR sensor on project mat)

  6. PlayStation 2 Slimline Teardown: 手順 6、 3の画像 1 PlayStation 2 Slimline Teardown: 手順 6、 3の画像 2 PlayStation 2 Slimline Teardown: 手順 6、 3の画像 3
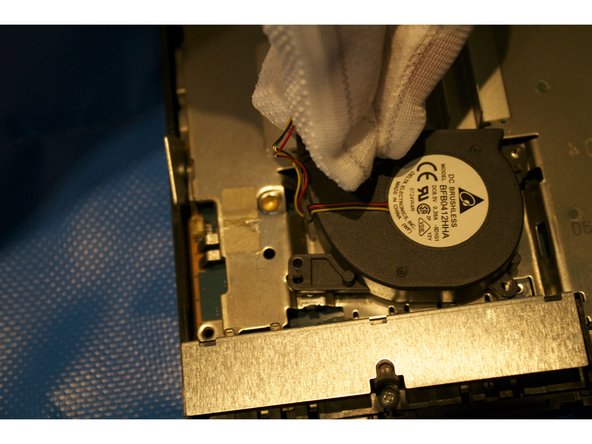
    • Fan has red, black, and yellow wires under hold down tape. Remove the tape gently.

    • Release the connector gently from motherboard.

    • There three 1.6 mm screws around the base of the fan. Place both fan and screws on your project mat.

  7. PlayStation 2 Slimline Teardown: 手順 7、 3の画像 1 PlayStation 2 Slimline Teardown: 手順 7、 3の画像 2 PlayStation 2 Slimline Teardown: 手順 7、 3の画像 3
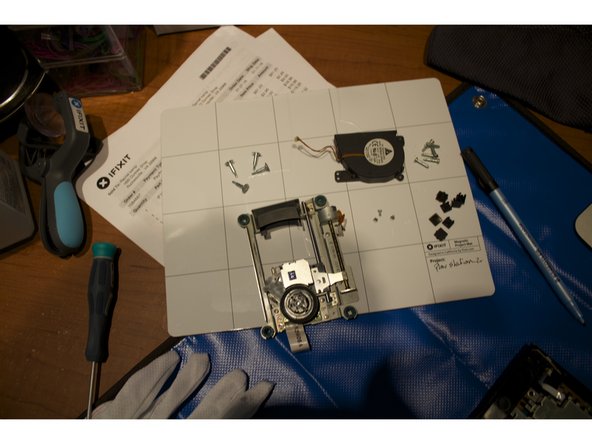
    • Optical drive on the motherboard

    • There are four 4.0 mm screws holding the optical drive.

    • Remove the four screws and place the optical drive with it's screws on your project mat.

  8. PlayStation 2 Slimline Teardown: 手順 8、 1の画像 1
    • There is a ribbon attached to the motherboard here. With your spudger, gently detach the ribbon from the motherboard's connection.

  9. PlayStation 2 Slimline Teardown: 手順 9、 1の画像 1
    • Remove the single 2.4 mm screw located on the metal casing at the top of the motherboard.

  10. PlayStation 2 Slimline Teardown: 手順 10、 2の画像 1 PlayStation 2 Slimline Teardown: 手順 10、 2の画像 2
    • Gently lift the metal casing from the motherboard. Place it to the side.

  11. PlayStation 2 Slimline Teardown: 手順 11、 1の画像 1
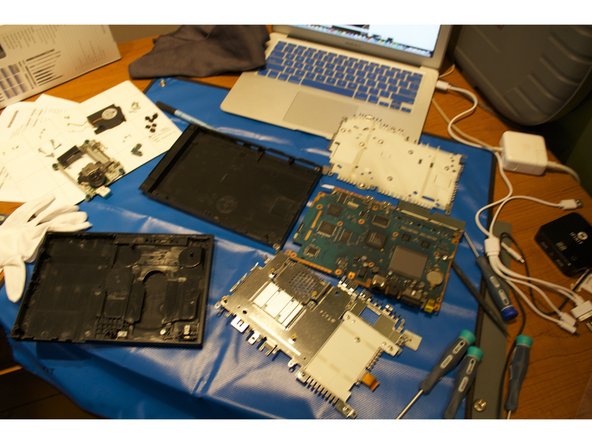
    • Flip the motherboard over and remove the five screws of the second metal casing.

    • Place screws on project mat and casing to the side,

  12. PlayStation 2 Slimline Teardown: 手順 12、 2の画像 1 PlayStation 2 Slimline Teardown: 手順 12、 2の画像 2
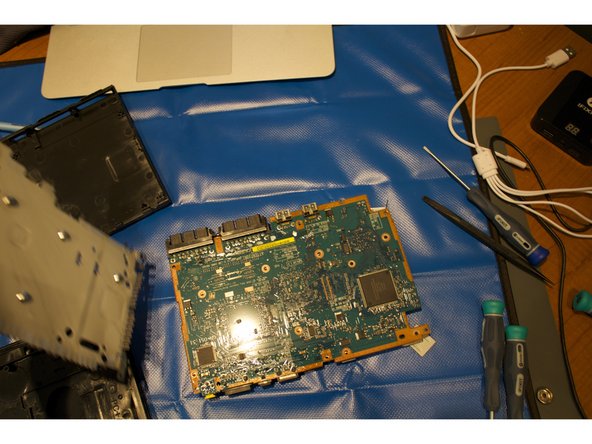
    • Motherboard of PS2

    • Thank you for reading through this PS2 tear down. I hope this was helpful,

作成者

4人の作成者と共同で作成されました。

kempc8

メンバー登録日: 11/22/13

899 ポイント

7のガイドは作成済み

チーム

K and K Fixit K and K Fixit人のメンバー

Business

1 メンバー

11のガイドは作成済み

2 件のコメント

Easy there Cricket, kempc8 is (partly) right about the clock battery. There is no clock battery to disconnect in step 4, that is correct. But there is one in step 12 in a bracket, that is correct too. The reason kempc8 mentioned there is because there are other types of the PS2 slimline which do have a clock battery to remove in step 4 (seen in step 3 of this teardown)

So there is no need to call the teardown stupid, it’s well written imho.

DBX12 - 返信

This is strange, but I have PS2 and optical drive mount by 3, 4mm screws, and another one is small, like for motherboard. The screw is located in a right low corner of the optical drive.

alexspidermoscow - 返信

コメントを追加

統計データ:

過去 24時間: 10

過去 7 日: 39

過去 30 日: 256

今までの合計 20,594