メインコンテンツにスキップ

必要な工具と部品

この分解は修理ガイドでは ありません。 お持ちのPicstart Plus Development Programmerを修理する際は、iFixitの修理ガイドをご利用ください。

  1. Picstart Plus Development Programmer Teardown, Picstart Plus Development Programmer Teardown: 手順 1、 3の画像 1 Picstart Plus Development Programmer Teardown, Picstart Plus Development Programmer Teardown: 手順 1、 3の画像 2 Picstart Plus Development Programmer Teardown, Picstart Plus Development Programmer Teardown: 手順 1、 3の画像 3
    • Remove 4 Phillips screws located on the back side of the holding plate.

    • After the screws are removed, remove the case of the development programmer.

    • Carefully take out the circuit board with component side facing up. Put the case aside.

  2. Picstart Plus Development Programmer Teardown: 手順 2、 2の画像 1 Picstart Plus Development Programmer Teardown: 手順 2、 2の画像 2
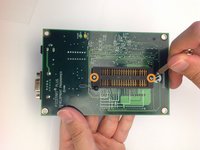
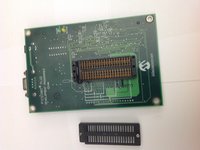
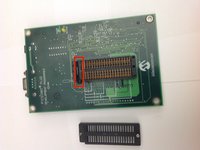
    • Disconnect the microcontroller module from the main board using a spudger or a similar tool.

    • Set the microcontroller module aside.

  3. Picstart Plus Development Programmer Teardown: 手順 3、 2の画像 1 Picstart Plus Development Programmer Teardown: 手順 3、 2の画像 2
    • Flip over the mainboard so that the component side is facing down and remove the small Pan head screws that holds the cover of the IC holder

    • Remove the cover of the IC holder.

  4. Picstart Plus Development Programmer Teardown: 手順 4、 2の画像 1 Picstart Plus Development Programmer Teardown: 手順 4、 2の画像 2
    • Remove the IC holder lever along with the small metal plate that covers the lever.

    • Set the lever and the lever cover aside.

  5. Picstart Plus Development Programmer Teardown: 手順 5、 1の画像 1
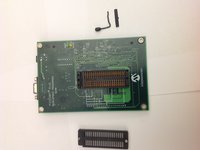
    • Congratulations! You have completely dismantled the PICSTART Plus Development Programmer!

    • All the extracted components are shown in the picture.

作成者

3人の作成者と共同で作成されました。

Brad

メンバー登録日: 11/17/13

656 ポイント

2のガイドは作成済み

0 件のコメント

コメントを追加

統計データ:

過去 24時間: 0

過去 7 日: 0

過去 30 日: 6

今までの合計 2,398