はじめに
In this teardown guide, we will look at how to dismantle a panini iron. The iron used in this example is an anonymously produced one.
To dismantle this product not much is needed: skill nor tools. A Phillips screwdriver, a Tamper Proof Spanner, a combination plier and an iOpener will get you nearly all the way. Below is a simple step by step guide on how to take the panini iron apart.
必要な工具と部品
-
-
Start by taking off the handle bar with the side handles by removing the screws on the side of the product.
-
-
-
Next, seperate the handle bar from the side bars by unscrewing the screws on the inside of the handle bar.
-
-
-
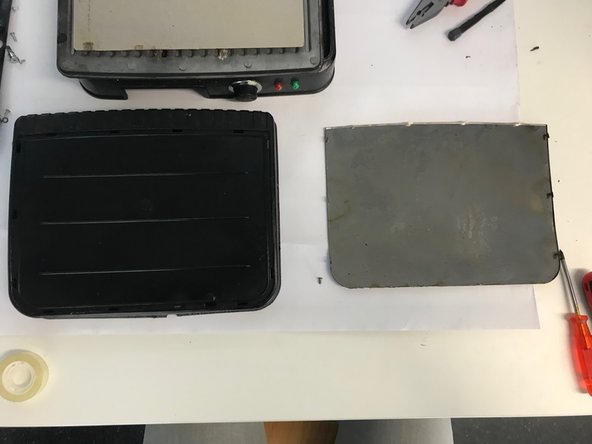
Now, take the top cover off. It should come off automatically, as the screws that held the side handles also held the top off the panini iron. Then, we can take of the metal top cover, by bending the pieces of iron that keep it together.
-
-
-
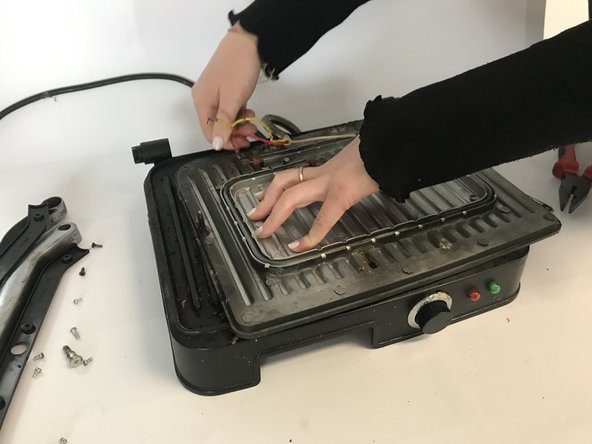
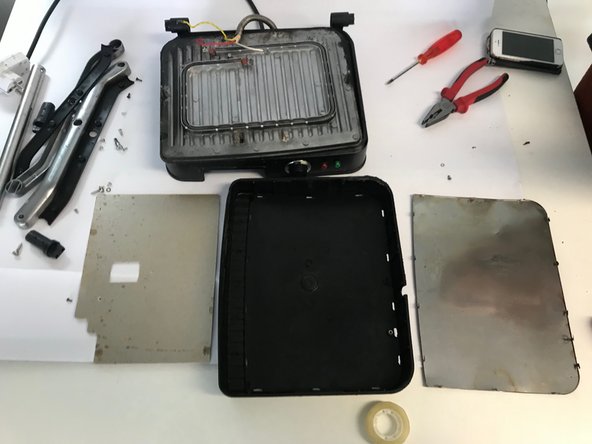
After that, we can disconnect the wires and take the heat shield of the upper heating plate. The upper heating plate should be free now.
-
-
-
-
Now that the top is entirely dismantled, we can continue with the bottom. Turn the product around and remove all the screws from the bottom cover (this is where you'll need the Tamper Proof Spanner). The cover of the electronics will fall off automatically.
-
-
-
Next, the lower heating plate can be unscrewed. There are some wires attached that can be seen when lifting it up from the bottom cover.
-
-
-
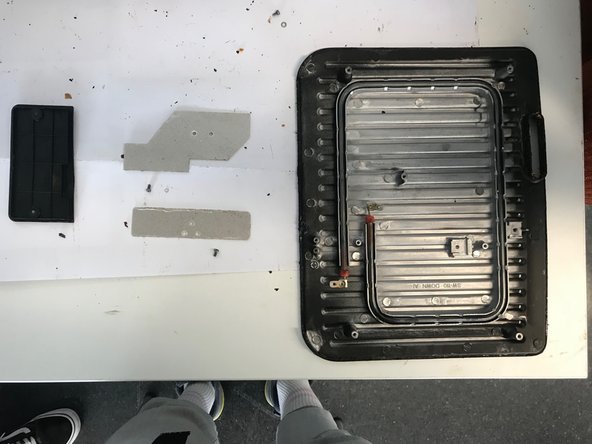
Take the rest of the screws out of the inside of the bottom cover. This allows for the heat shield to come out.
-
-
-
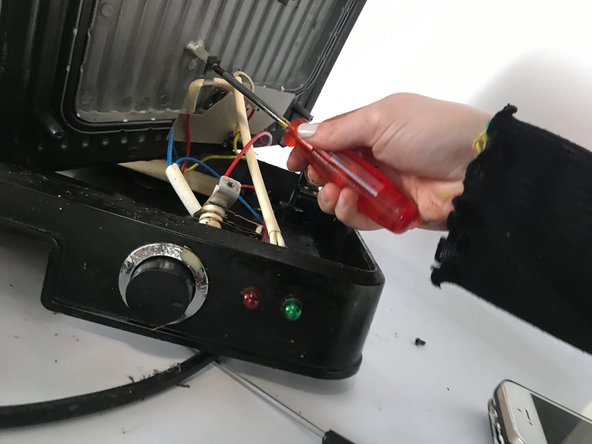
What’s left now is the wiring in the bottom and the last heat shield. The wiring can be disconnected outside of the cover. There is little plastic parts attached, that can be taken off, after which the wires can be disconnected.
-
-
-
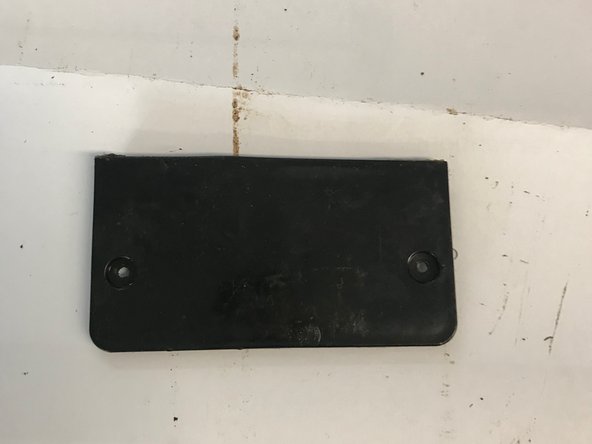
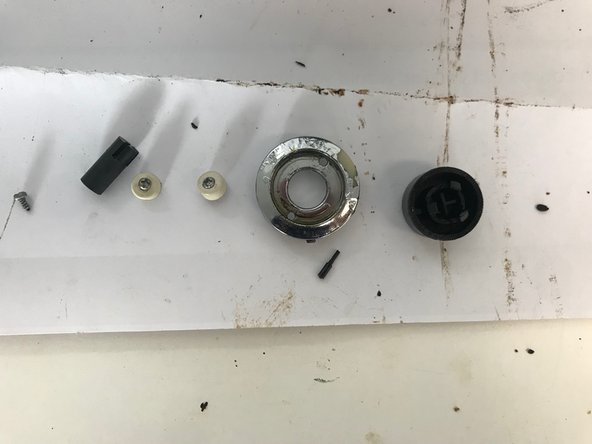
The last step is to take out the button and the covers of the neon indicator's. They are attached with snapfits, so can be pushed out.
-